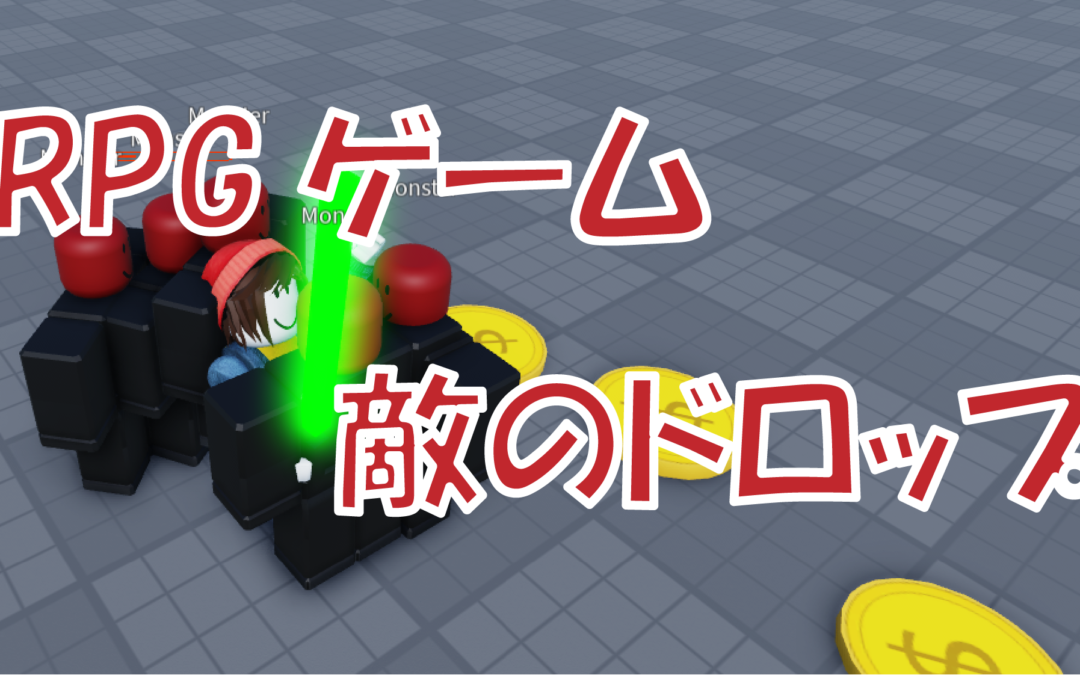
Create enemy AI that drops items
Prerequisite
You should have finished the following tutorials before continuing:
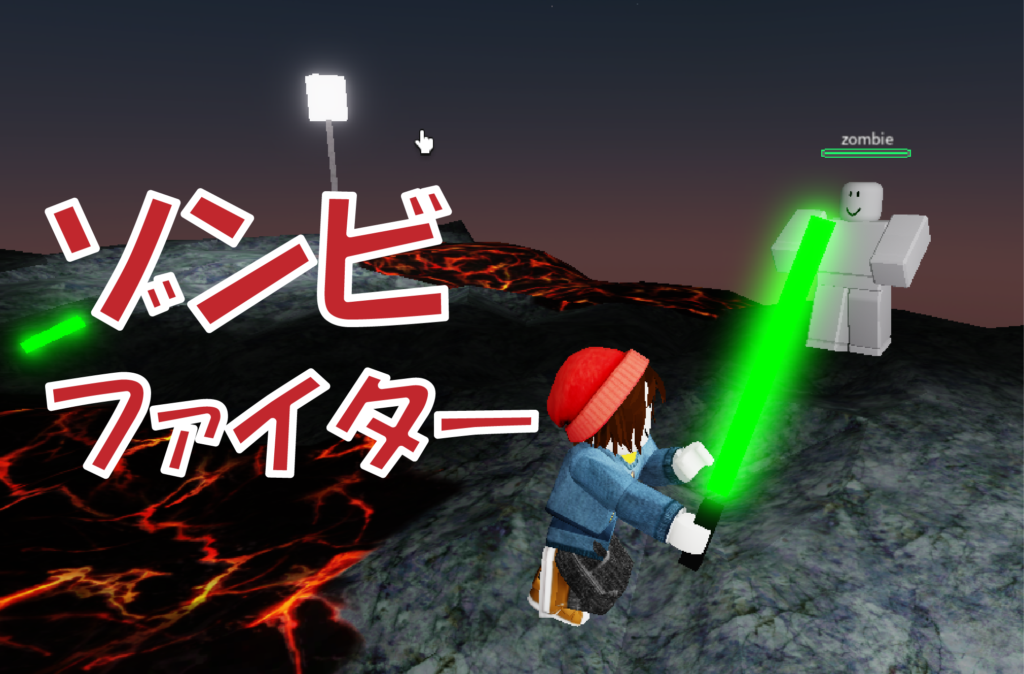
[Game Creation] Zombie Fighter

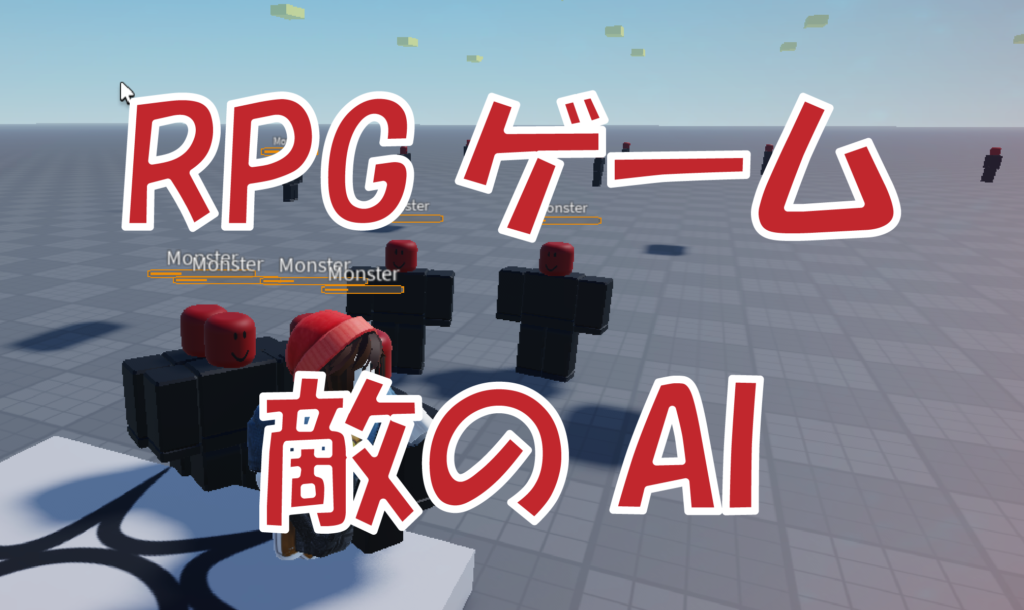
[Roblox Lesson] RPG Part I: Enemy AI
Preparation
Step 1: Open your RPG Part I game

Step 2 (Optional): Create a new copy from your current save
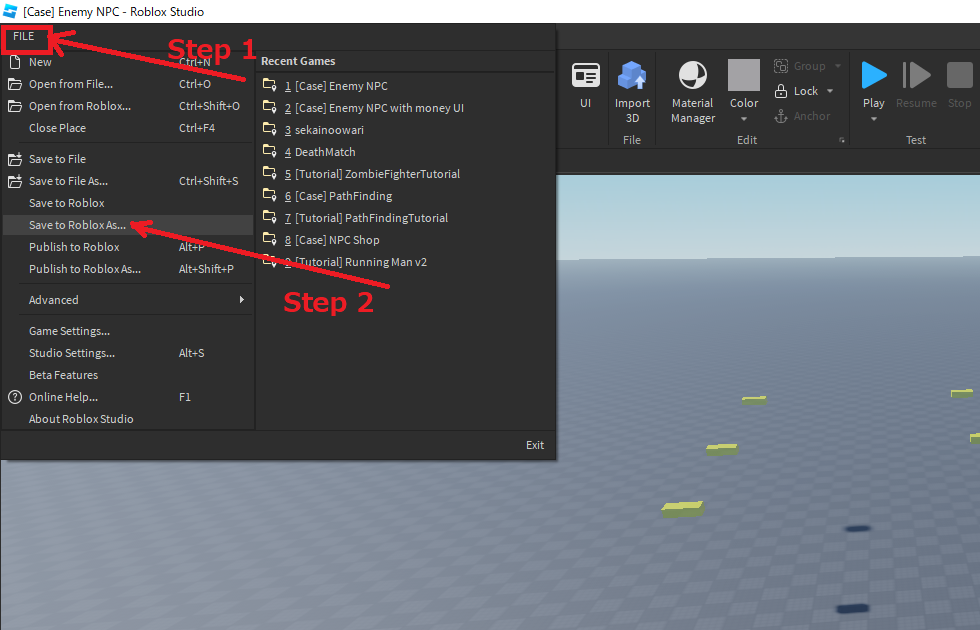
Step 3: Click “Open from Roblox…” and select the “Zombie Figher” game file you have created in the earlier tutorial:


Step 4: In the “Zombie Fighter” game, copy the “sword” and “atkAnimation”:

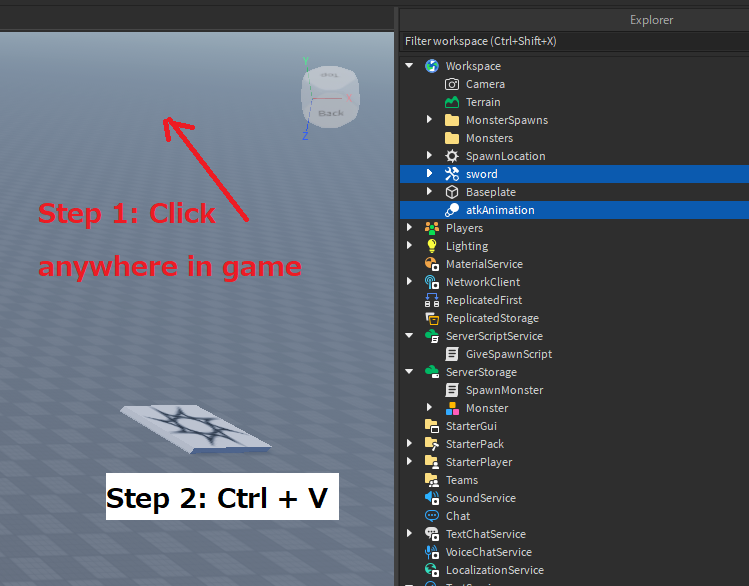
Step 5: Go back to your RPG Part I game (or newly created save in Step 2), hold Ctrl and press V to paste the copied item:
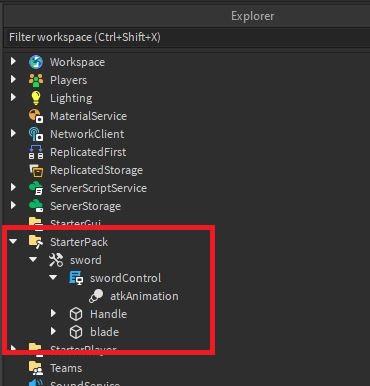
Step 6: Move the “sword” and “atkAnimation” to the follow location as shown:
Sword Behavior
Step 7: Reedit “swordControl” as follow:
game.StarterPack.sword.swordControl

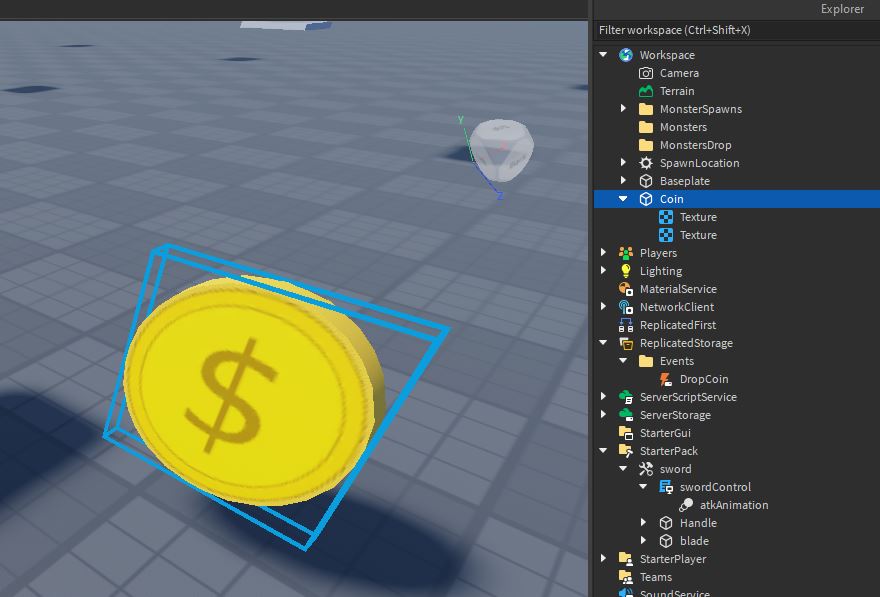
Step 8: Under “ReplicatedStorage”, add a new folder named “Events”, and add a new RemoteEvent named “DropCoin” as shown:

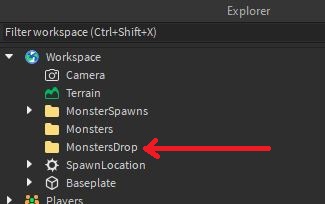
Step 9: Add a new folder named “MonstersDrop” under “Workspace”:
Drop Item (coin) Behavior
Step 10: Create a coin under “Workspace” (or use any pre-made coin in the Toolbox). After finish creating one, move the coin to “ServerStorage”:

Step 11: Create a new script under “ServerScriptService” and name it “CoinController”. Type the following:
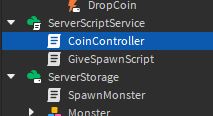
game.ServerScriptService.CoinController

Test the game
If you test the game, you will now be able to kill the monsters with coins that a player can pick up:
In the next tutorial [Roblox Lesson] RPG Part IV: Money System – GUI, we will be creating a GUI to keep track of how much money a character has picked up.