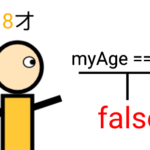
Constraints in Roblox Studio are very handy in creating different physical mechanism. Examples below are some of the implementations of these constraints.
Constraints that work along with scripts can often create some interesting results in Roblox Studio.
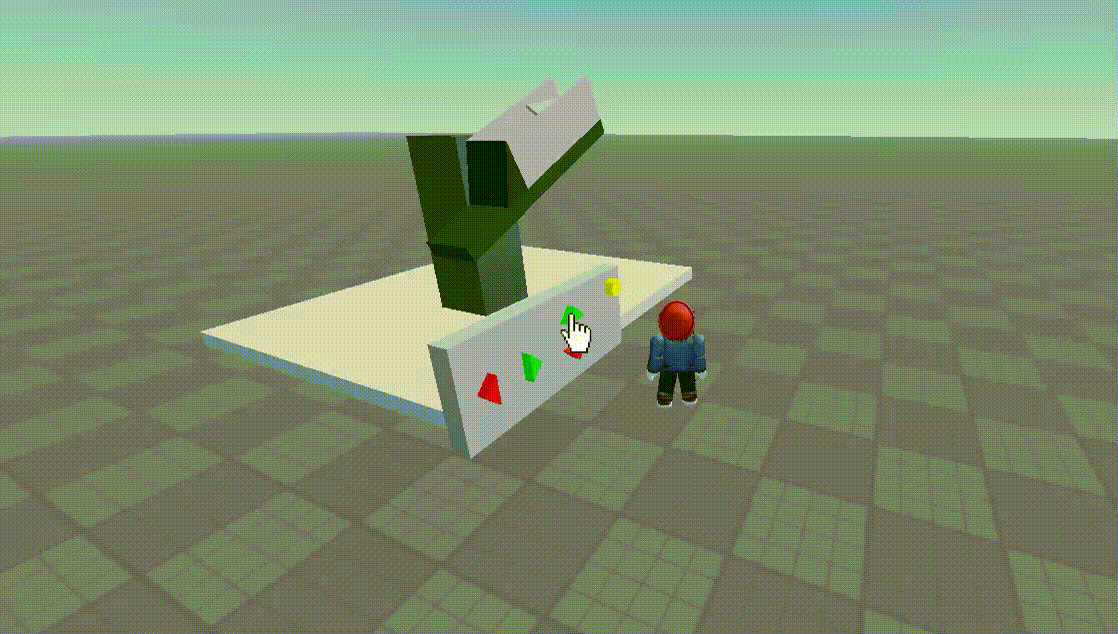
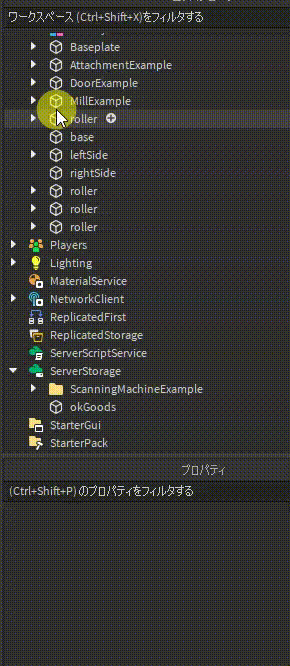
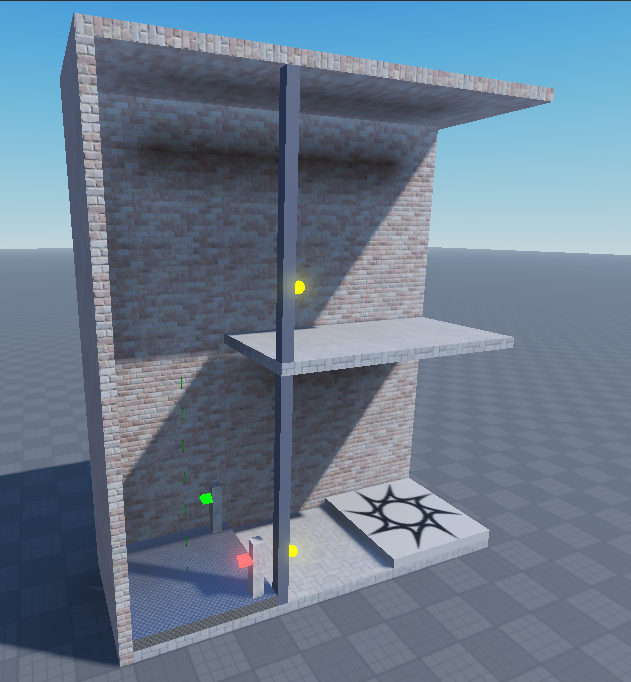
1. Goods Scanner (Hinge)
We will create the following machine using Hinge Constraint:

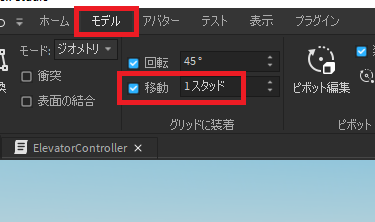
Make sure you have Stud move locked to 1 stud when you follow this tutorial!
1. Create the conveyor parts. Name them “base” and “leftSide” and “rightSide”:

Note: Make sure you anchored all these parts!
2. Create the roller part, and name it “roller”:


3. Create a HingeConstraint between the “roller” and the “leftSide”:

4. Duplicate the roller AND the “Attachment” inside the “leftSide” part (NOT the leftSide itself), and move them to the next position:
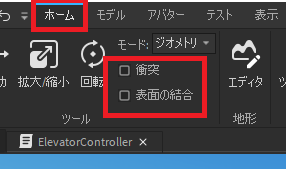
Make sure your ![]() (Join Surfaces option) is OFF!
(Join Surfaces option) is OFF!
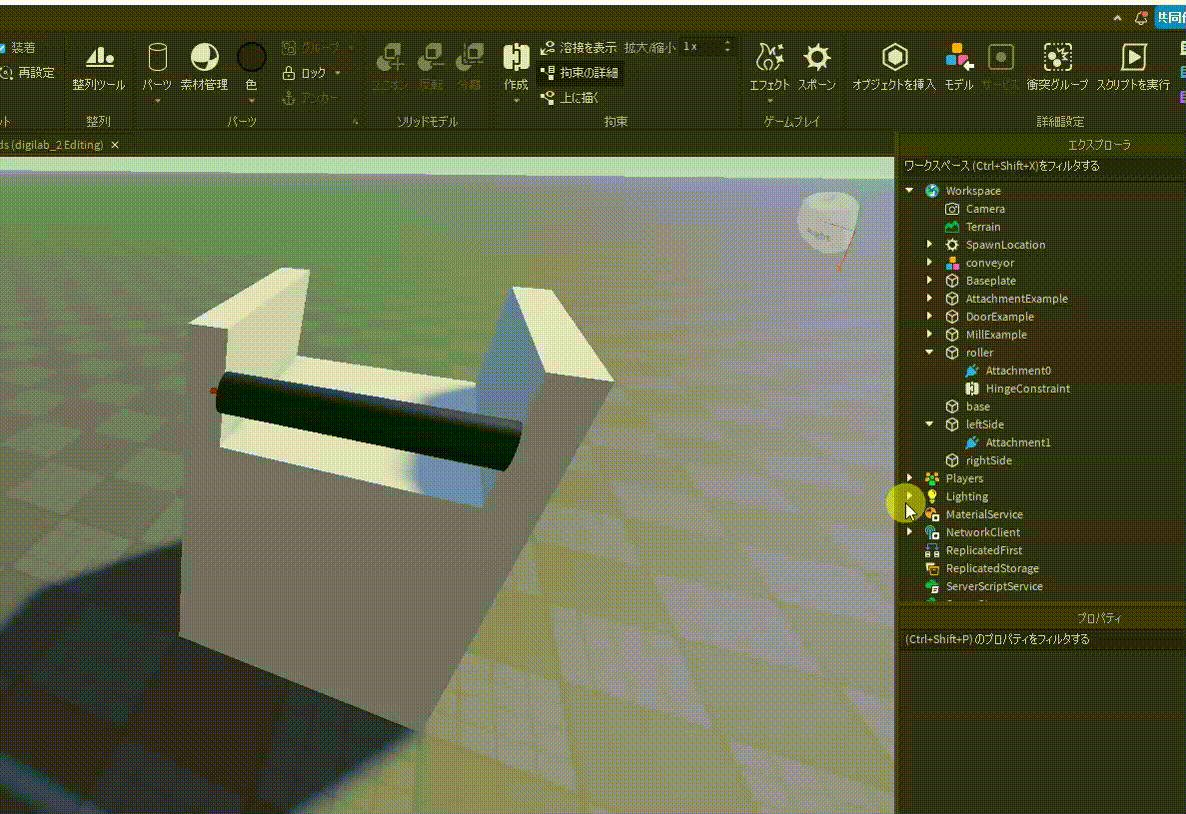
Select all the parts you have created, right click and group them as a Model, name it “Conveyor”:
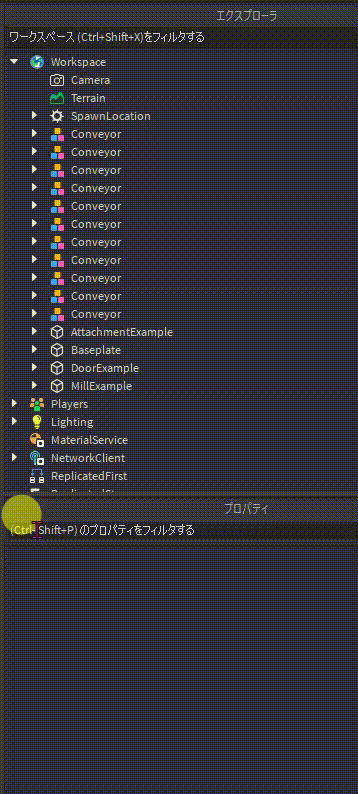
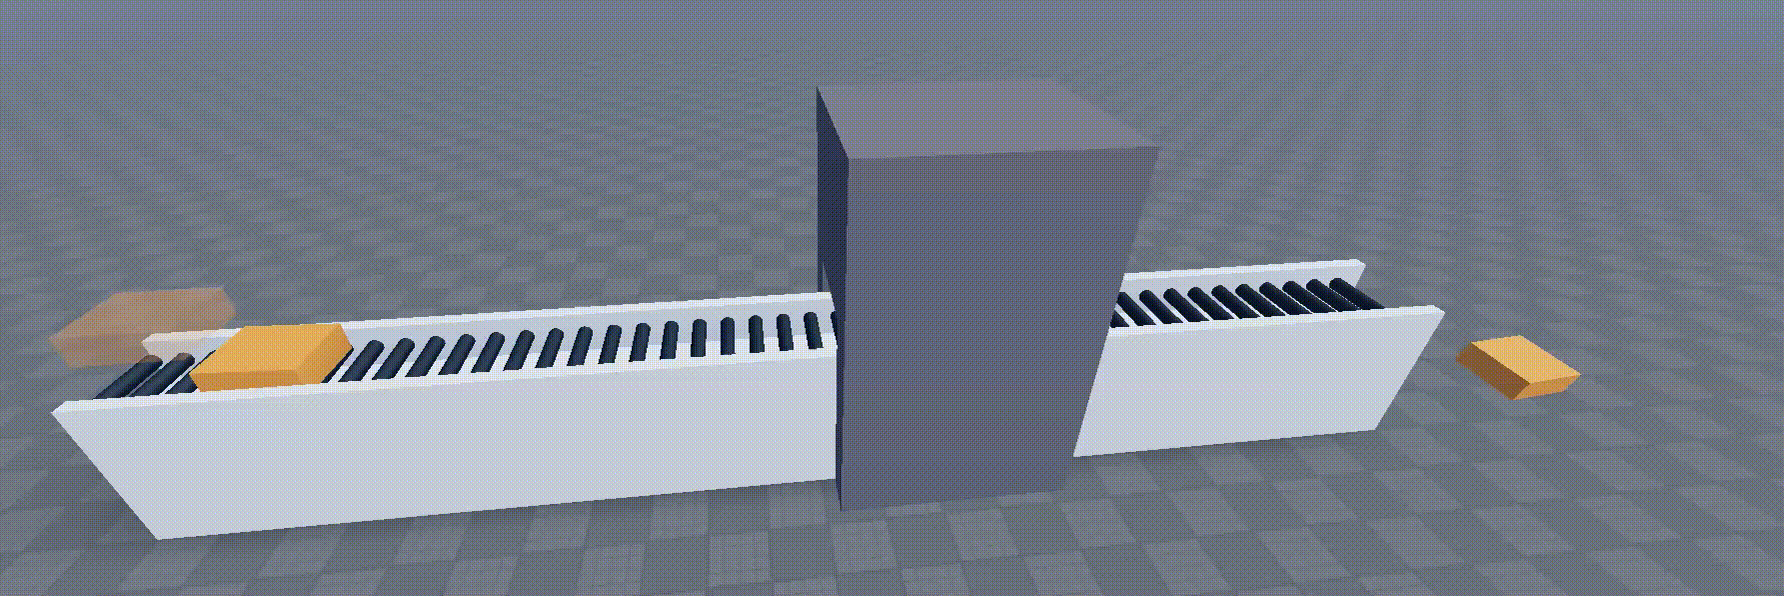
5. Now that we have finished creating a conveyor, let’s duplicate them and make them one long conveyor:


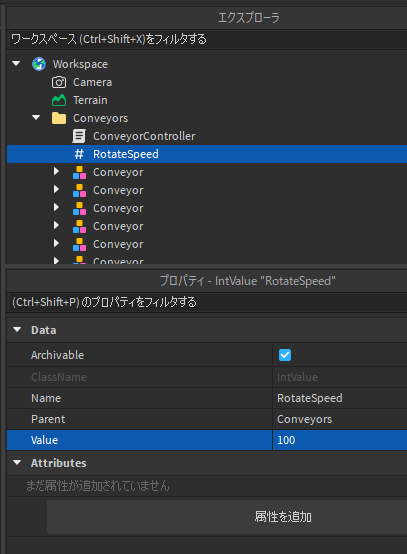
And group them into a folder named “Conveyors” (I made around 9-12 of those eventually):
6. Create a script file name “ConveyorController”, and an IntValue name “RotateSpeed”:

7. Change the “RotateSpeed” value to 100 for now. This will determine the speed of how fast our conveyor will roll:
8. In our conveyor script, type the following:

Explaination:
- Line 1: Refer our folder location
- Line 2: Get all the items under our conveyor folder
- Line 3: Refer to the IntValue we created earlier
- Line 5: Loop through all the items in conveyorsDesc
- Line 6: If the current item is a “HingeConstraint”, then execute the code below
- Line 7: Change the Hinge type to Motor. With Motor mode, we can make the HingeConstraint rotate constantly
- Line 9: Use rotateSpeed as an reference, and multiply -1 to change the direction of the rotation.
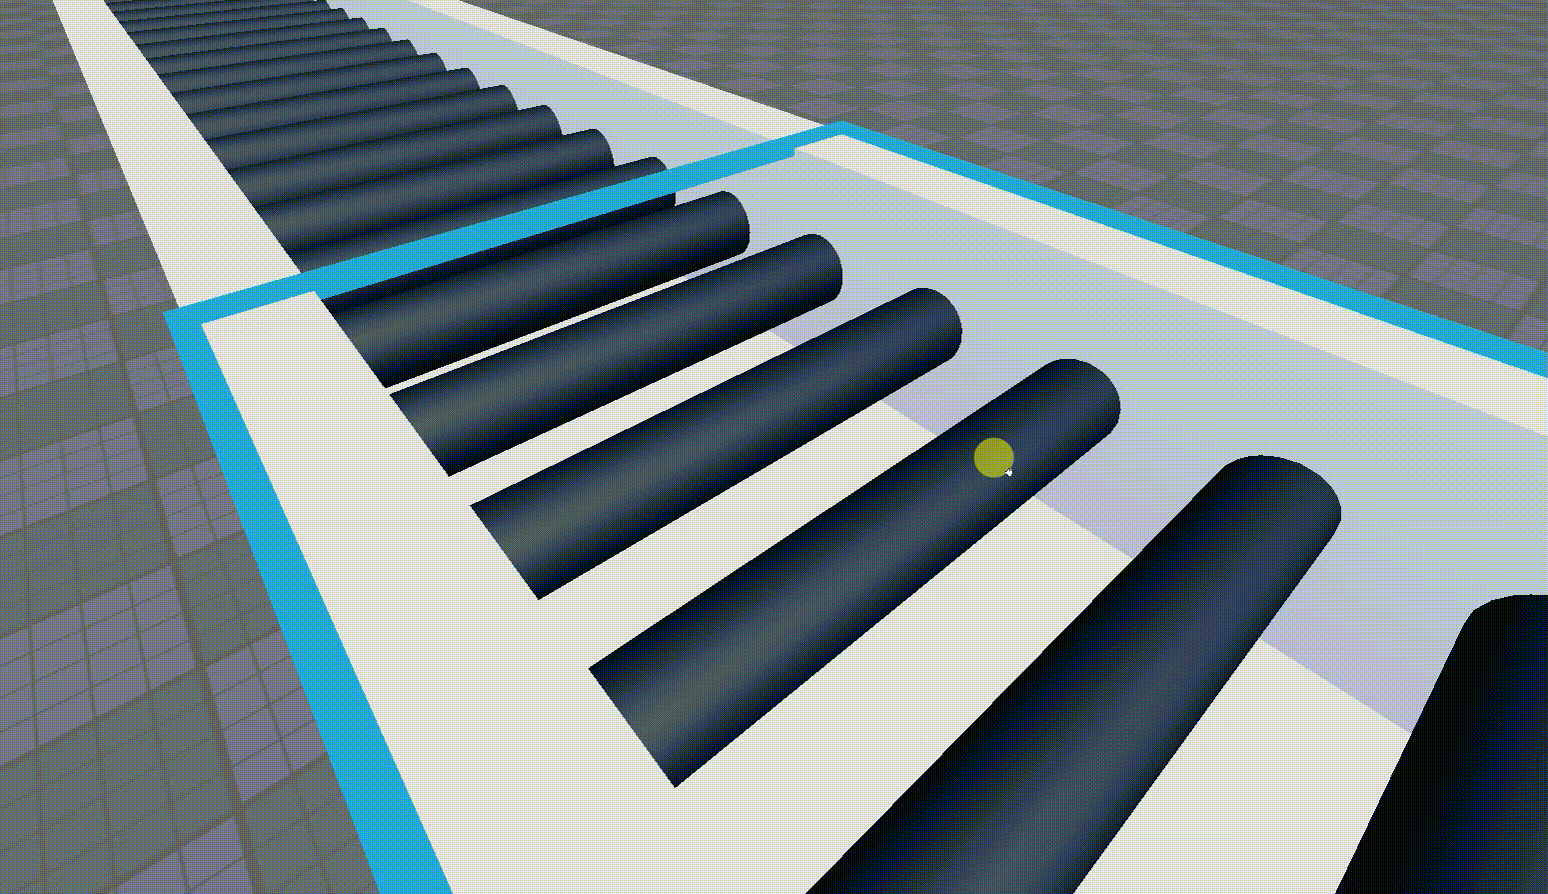
9. Try it out:
10. Now let’s make a goods generator. First create a goods object:


11. Duplicate it, and put one of it to “ServerStorage”. Then name the one under Workspace “okGoodsGenerator”:

12. Change its properties:
- Transparency: 0.7
- CanCollide: False
- Anchor: True
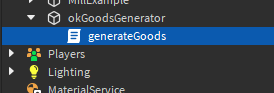
13. Add a script under it, and name it “generateGoods”:
14. Type the following:

Explaination:
- Line 1: Repeat line 2-4 every 2 seconds
- Line 2: Get the “okGoods” part we stored under ServerStorage, and create a new clone of it
- Line 3-4: Assign the clone’s parent, and bring it to where the generator is
After adding the scanner decoration:
2. Simple Elevator (Prismatic)
Using Prismatic Constraint, we can build a simple elevator:
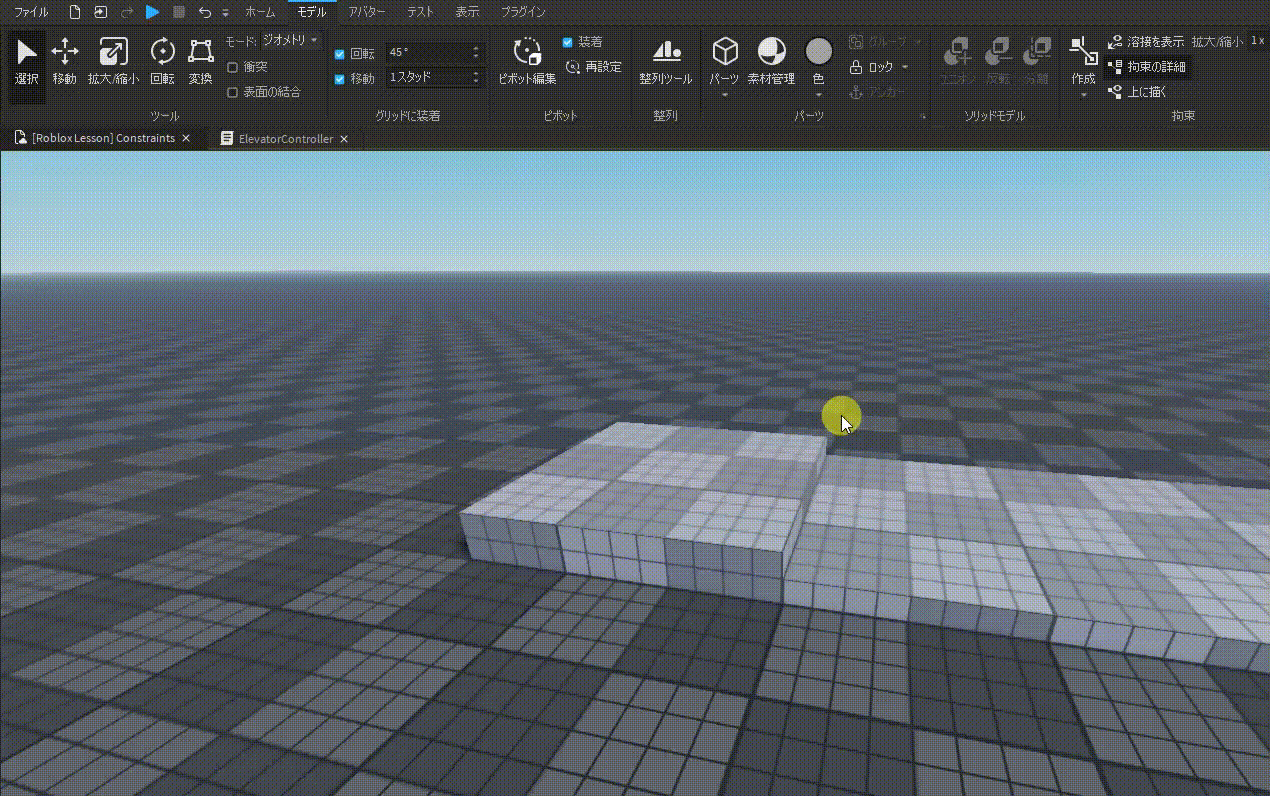
1. Turn on the “Grid Material” for visual assistance:

2. Also make sure the followings are correct:
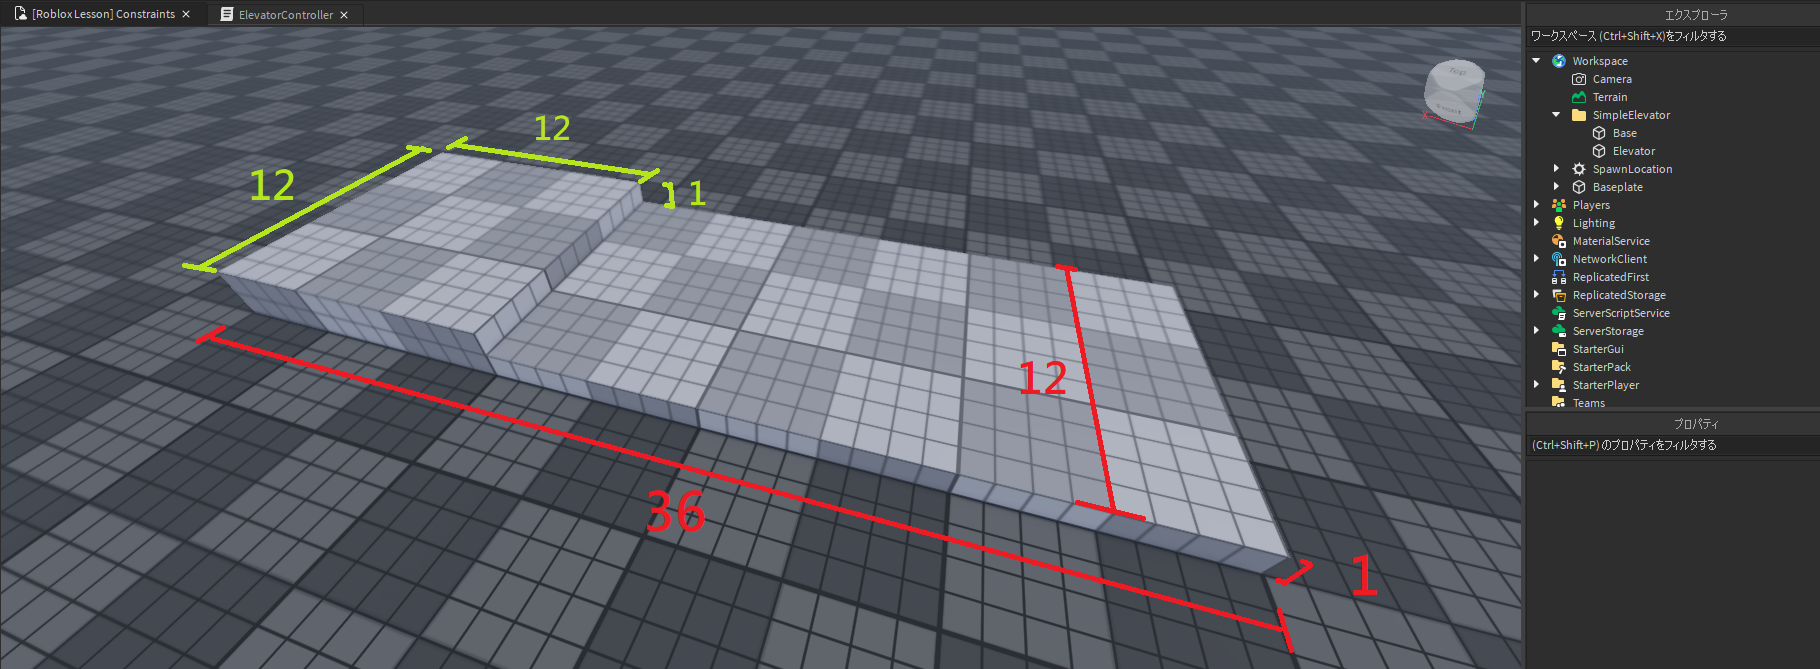
3. Build the base part and the elevator part under the same folder. Name the folder “SimpleElevator”:
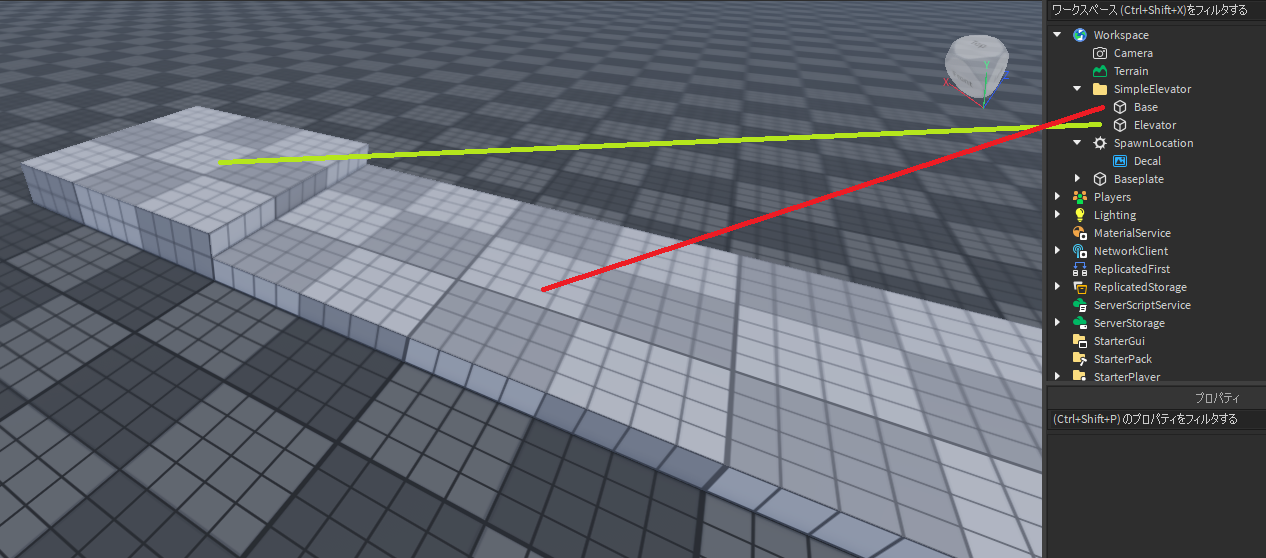
4. Bring the Elevator part higher so that we can add the Constraint between the Base part and the Elevator part.
Note: Make sure to create the constraint from the base first, then the bottom of the Elevator:
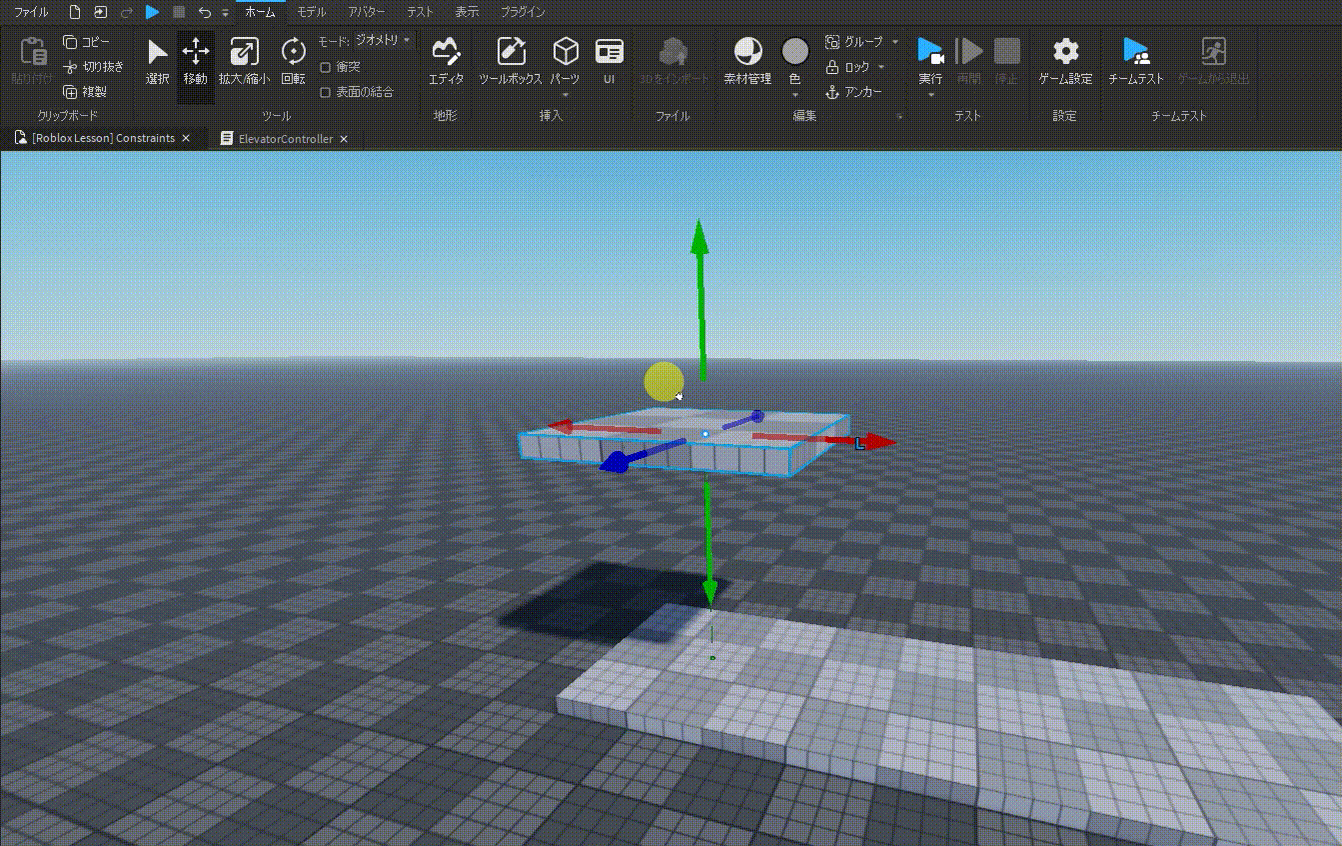
5. Adjust the constraint position:
6. Move the Elevator back to the starting position:
7. Create a pole next to the Elevator as shown (remember to anchor it):
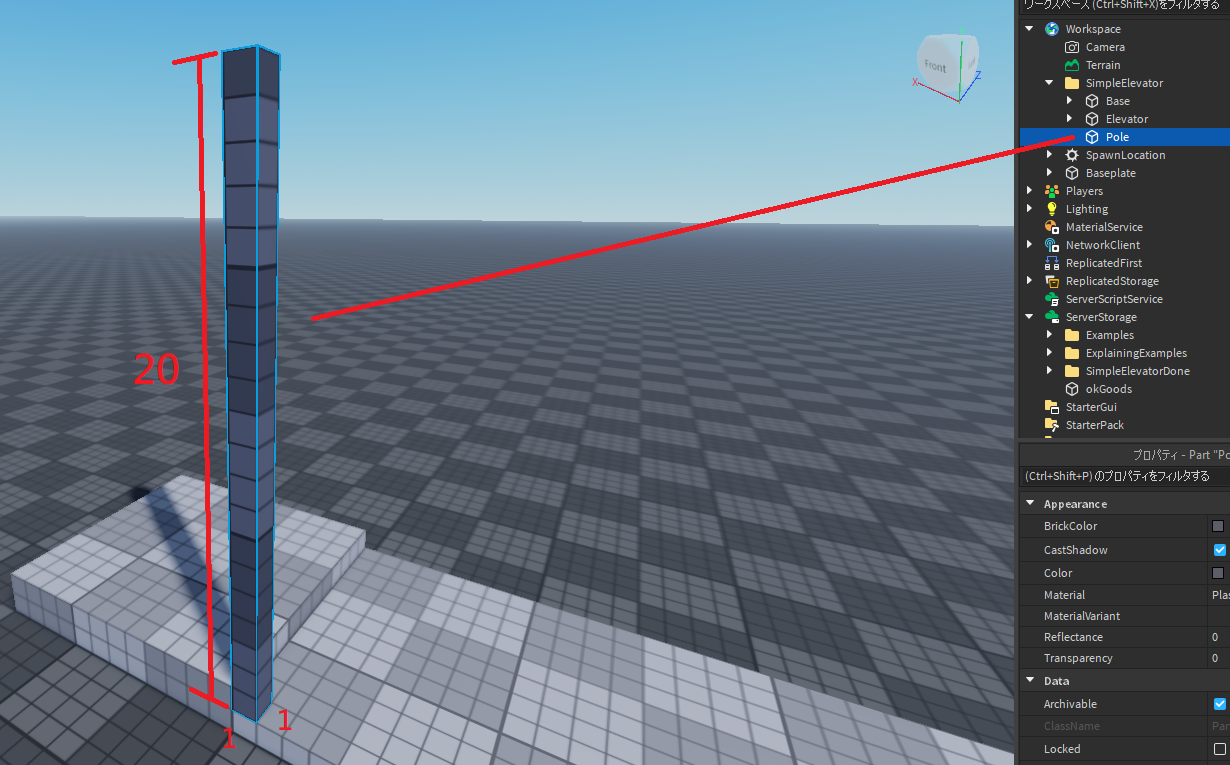
8. Create 2nd floor on top of the pole (remember to anchor it):

9. Duplicate the pole, and put it to the position as shown (again, anchor it):

10. Create two buttons as shown. We will do it by adding ProximityPrompt into the buttons:
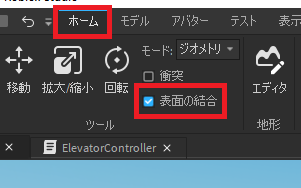
11. Turn on auto welding:
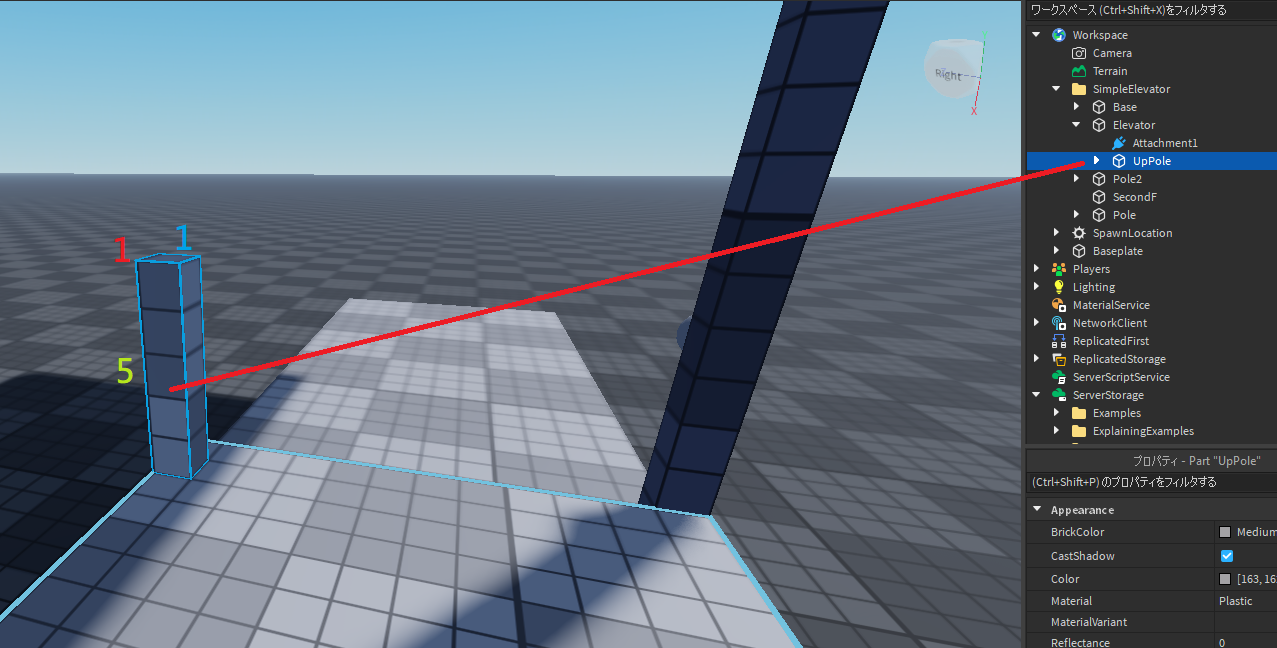
12. Create the following part, and name it “UpPole”:
13. Create a trangle part, name it “UpBtn”. Add a ProximityPrompt under it, and name it “UpBtnPP”:
14. Duplicate “UpPole”, reposition it, and name it “DownPole”. Also name the child to “DownBtn” and “DownBtnPP” respectively:
15. Enable “LimitsEnabled” under “PrismaticConstraint”:
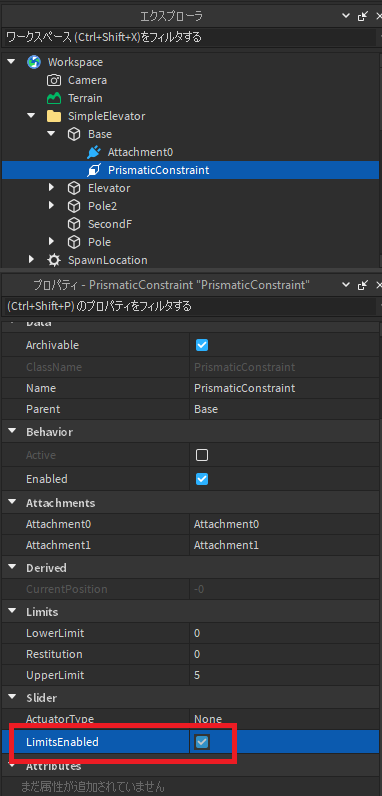
And set “UpperLimit” to 20:

16. Set “AcuatorType” to “Servo”, and setup the values for “ServoMaxForce”, “Speed”, “TargetPosition” respectively:

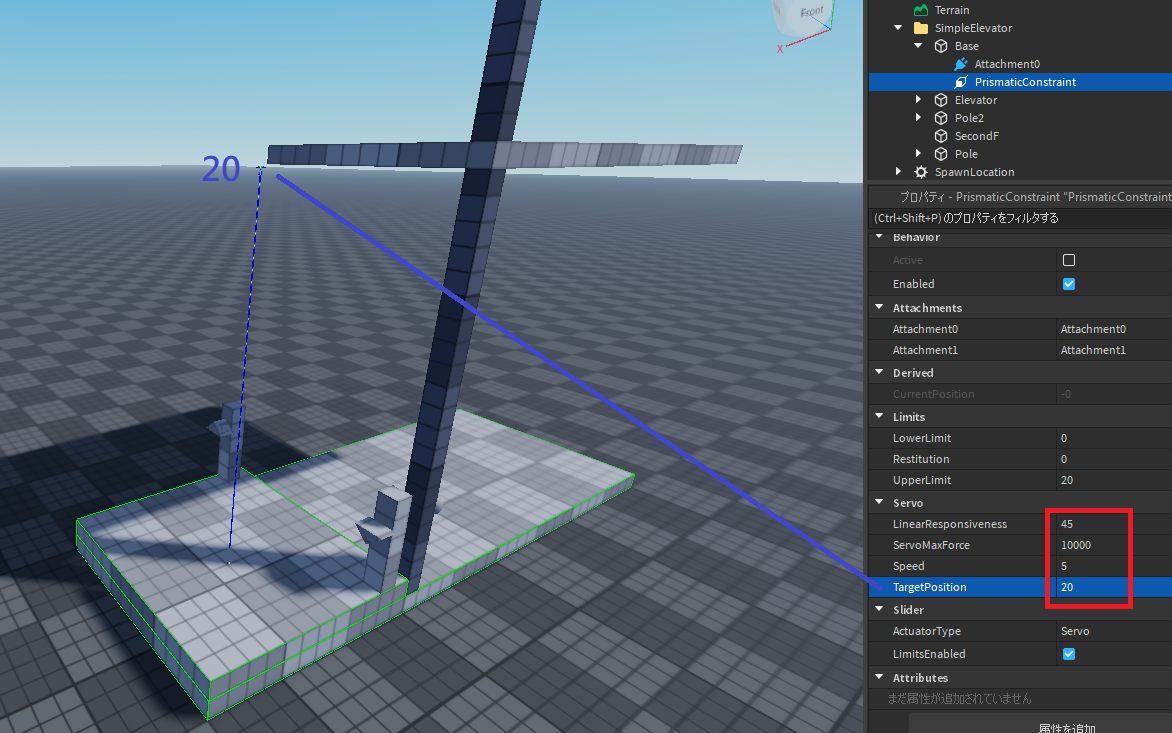
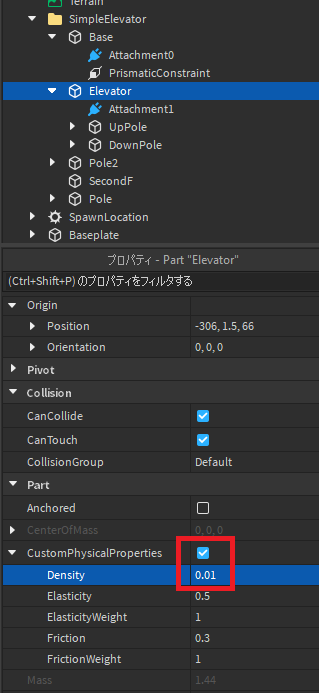
17. Enable “CustomPhysicalProperties” under “Elevator”. Change its “Density” to 0.01:
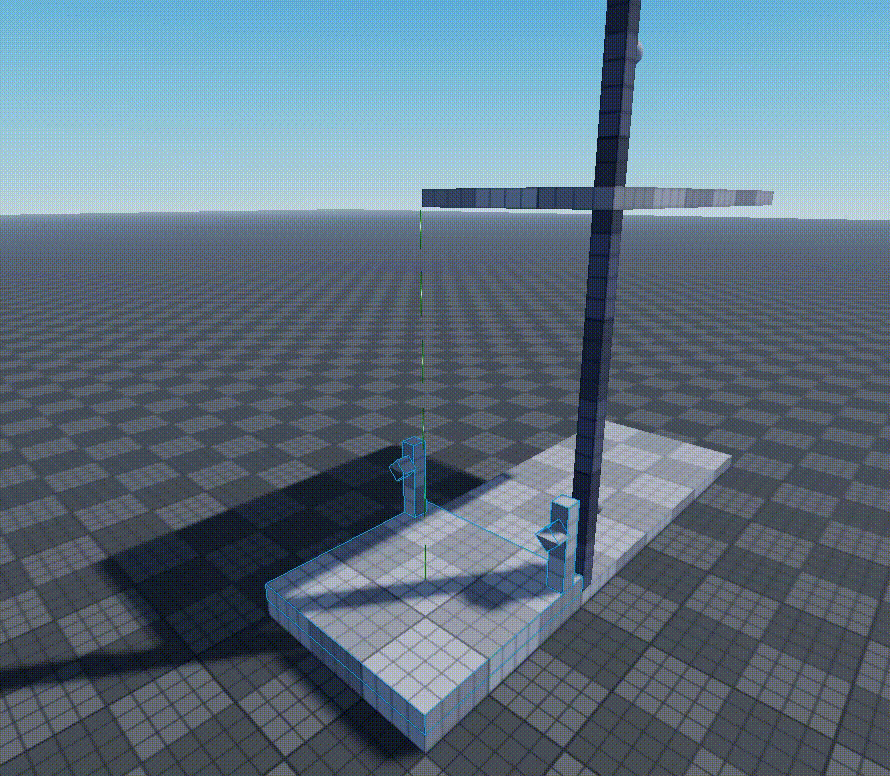
18. If you test run the game, you can see the Elevator goes up (because its PrismaticConstraint’s “TargetPosition” has been set to 20):
19. Create a script under the folder “SimpleElevator”, and name the script “ElevatorController”:

game.Workspace.SimpleElevator.ElevatorController
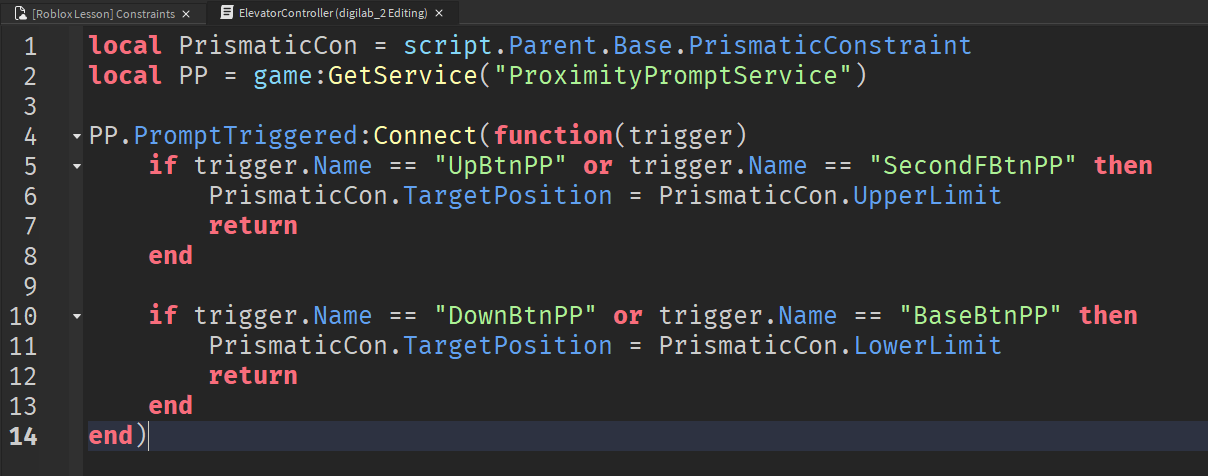
- Line 1: Refer to the PrismaticConstraint between the “Base” and the “Elevator”
- Line 4: Whenever a ProximityPrompt is triggered (i.e. a player hit key E on any button), execute the function. trigger is the ProximityPrompt being triggered by the player
- Line 5-8: If a player triggers the up button or the second floor button, then set the Elevator’s target position to its UpperLimit (i.e. 20)
- Line 10-13: If a player triggers the down button or the base floor button, then set the Elevator’s target position to its LowerLimit (i.e. 0)
20. Turn off “Grid Material”. Add colors and decoration to the parts in your own favor:


Side Note: If you want to add walls around, you will have to adjust the button poles position so that it doesn’t hit the wall while moving:

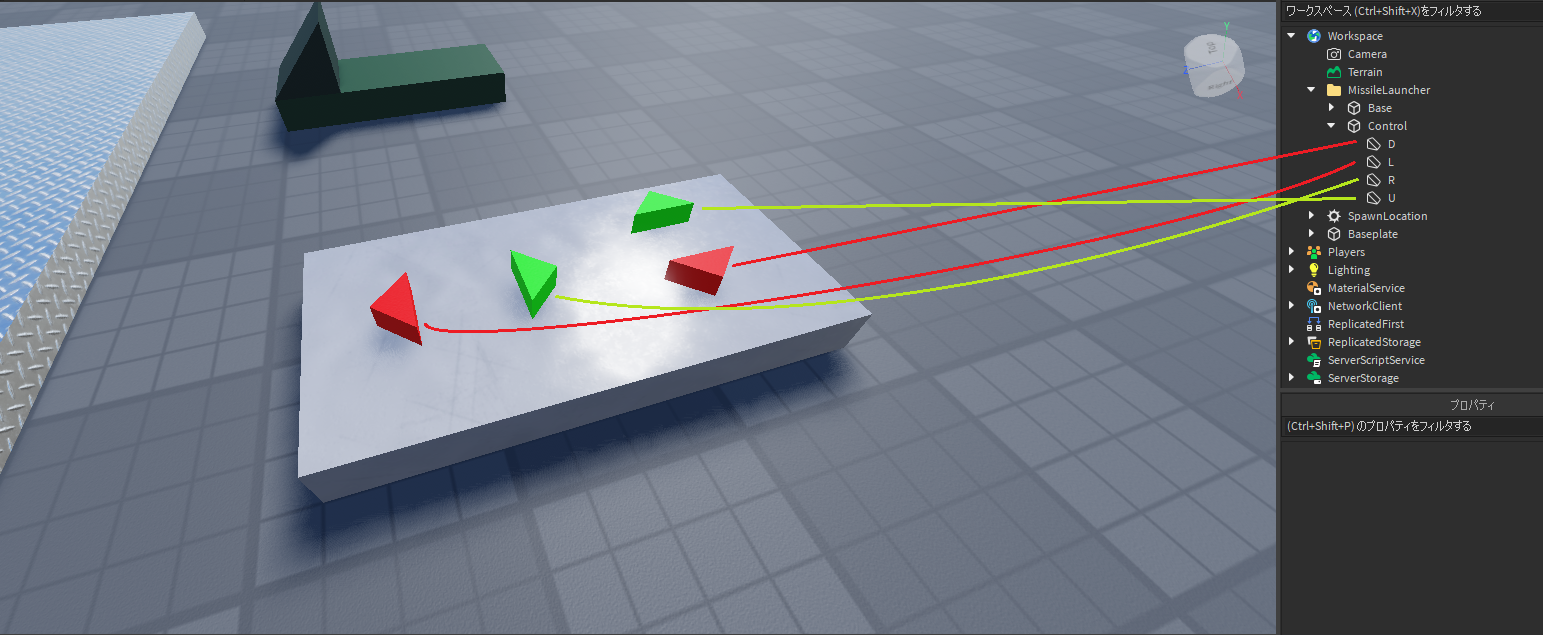
3. Missile Launcher (Hinge + VectorForce)
We will now create a missile launcher using Hinge and VectorForce.
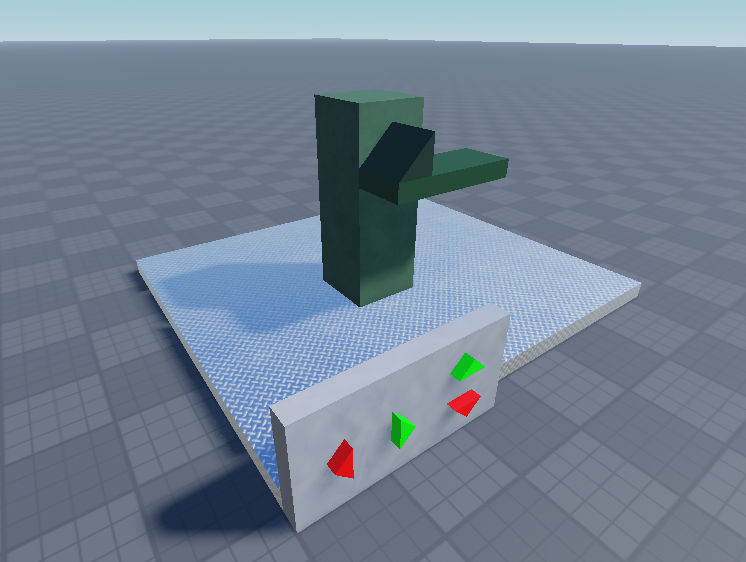
First, we will make a controllable rotating base for the launcher using Hinge constraints and click detectors:
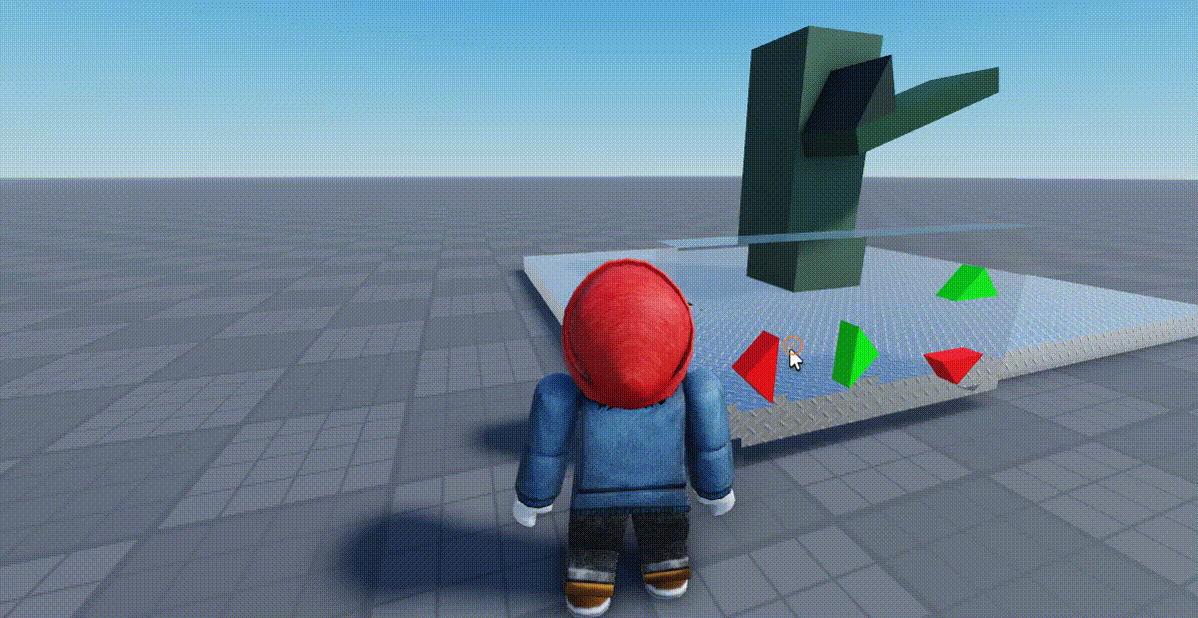
1. Create the following parts (no specific size needed):
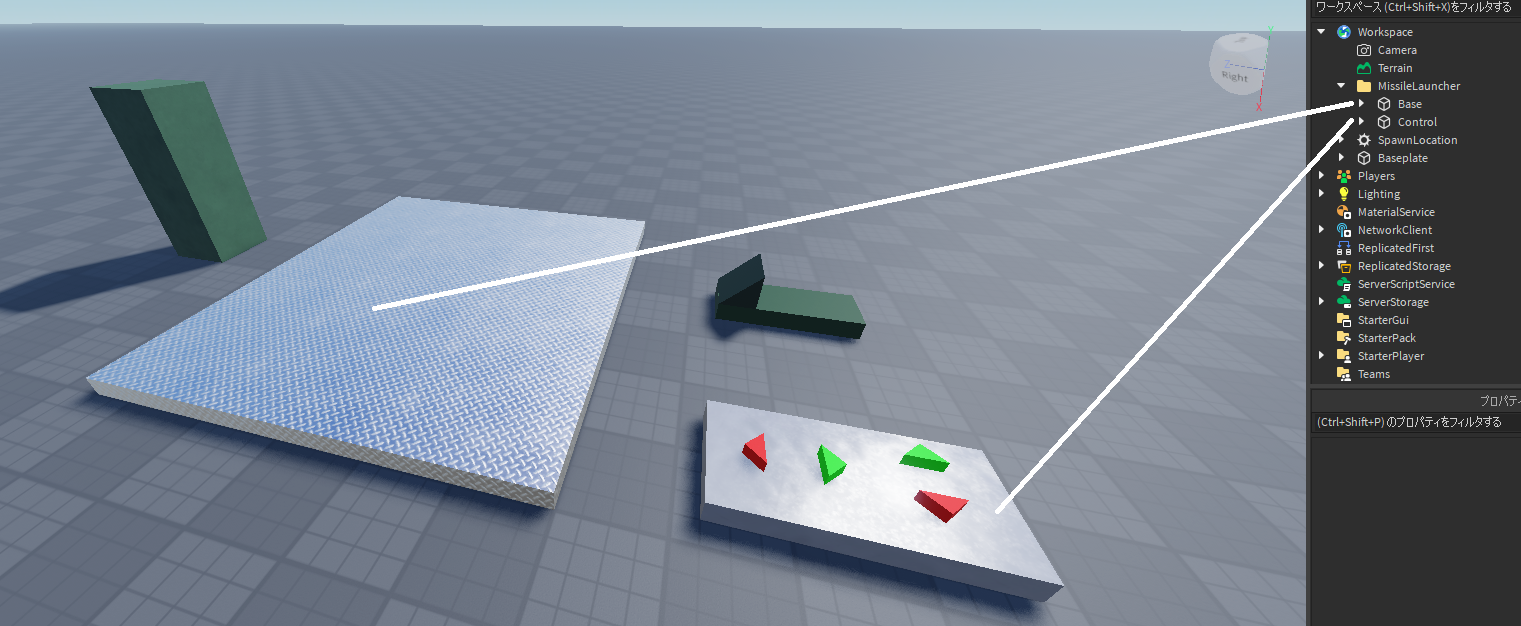
2. Assemble them into position (make sure Welding is off!):
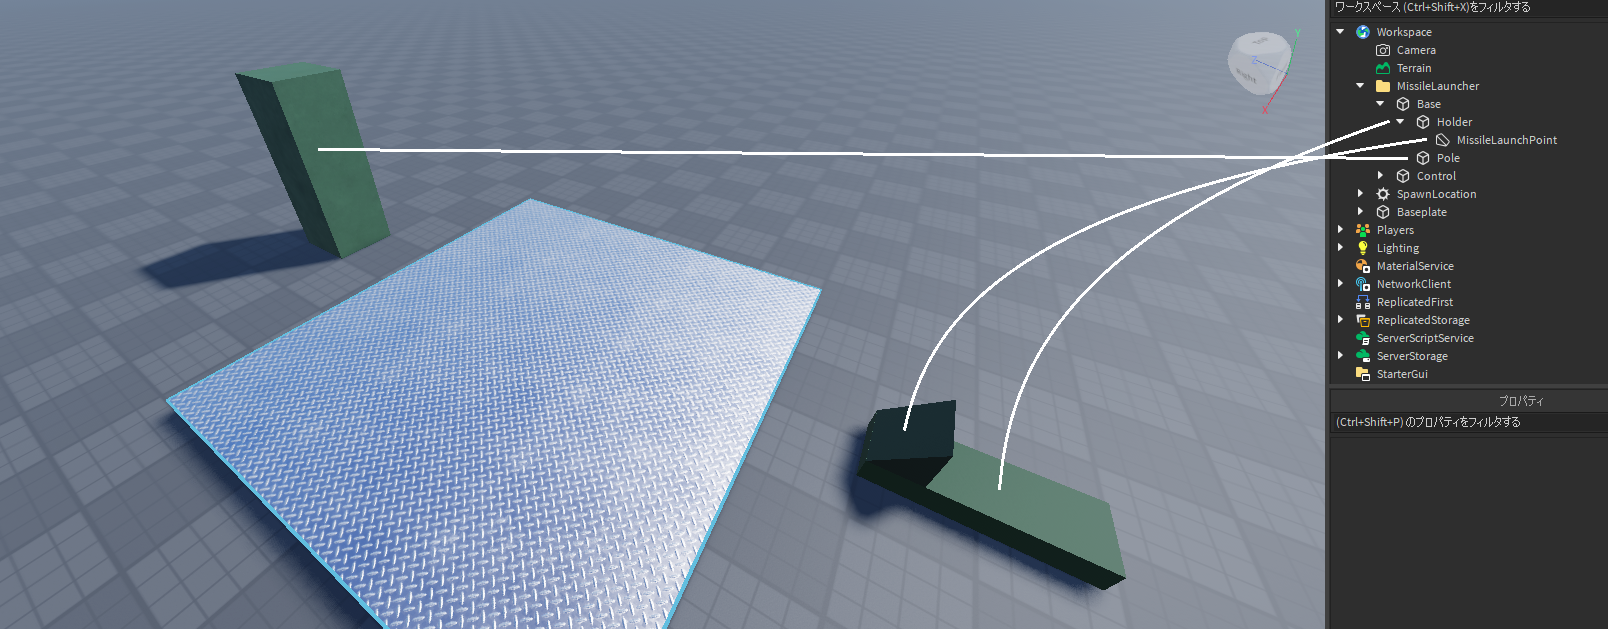
3. Add Hinge Constraint from the base part to the pole part:
4. Add another Hinge Constraint from the pole part to the holder part:
5. If you test run the game and see the MissileLaunchPoint fell down:
Wrong case
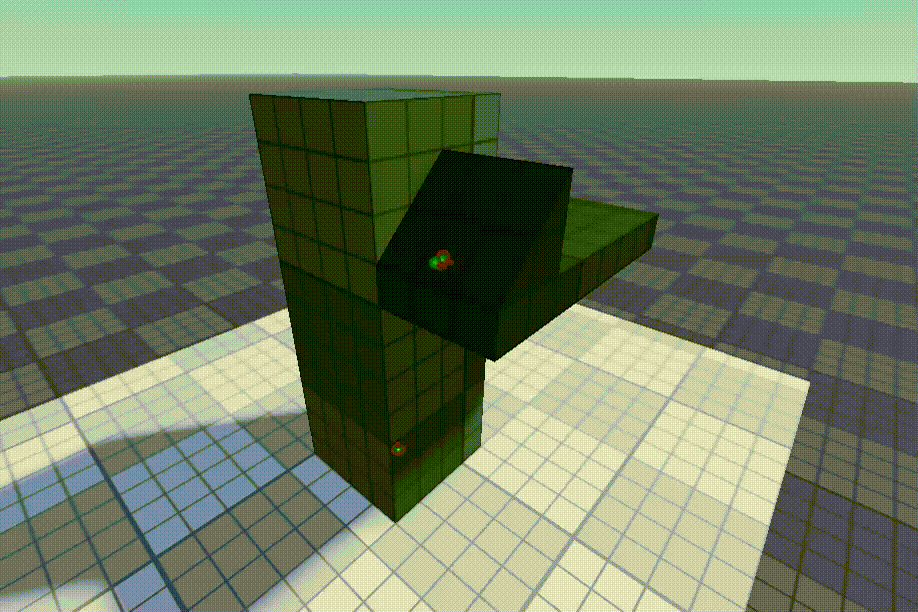
it means the LaunchPoint is not welded to the holder. Do the following:
Correct case
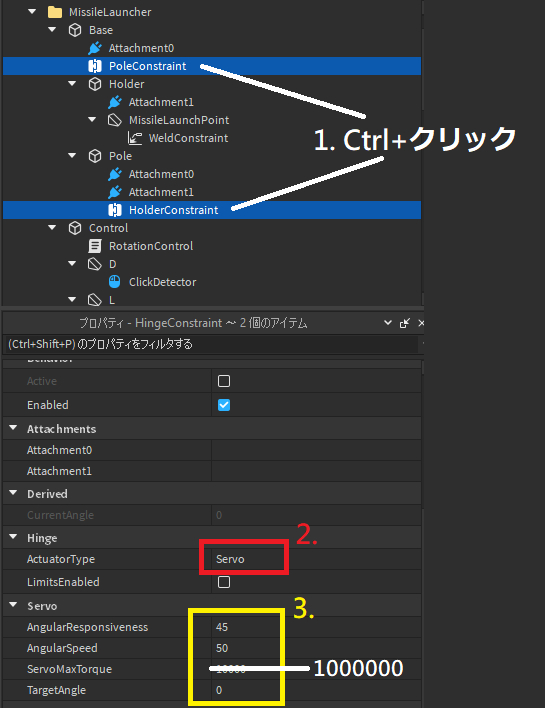
6. Rename the following files:

7. Select both of these renamed constraints, and:
- 1. Change its “ActuatorType” to “Servo”
- 2. Change their “AngularSpeed” to 50
- 3. Change their “ServoMaxTorque” to 1000000
8. Add the following files:
9. Edit the “RotationControl” script:
game.Workspace.MissileLauncher.Control.RotationControl
10. Test if you can click on the buttons and control the rotation of the launcher:

11. Let’s make our holder a little bit longer, and build 2 walls on it:
Lengthen Holder
Heighten MissileLaunchPoint

Build 2 Walls
Now we have our rotating base created, we will now build the missile and its VectorForce.
1. Grid setting:
2. Build a Missile:
[Missile img here]
First create the Missile parts below:
Main body
Head

Combine Head and Body:

Union them:
Fin
Create a fin:
Duplicate the fins, and assemble them onto the Main body:
Duplicate the fins and move them to the front part of the rocket for better balancing. Then union all of them:
Rotate and change its orientation for easier positioning:
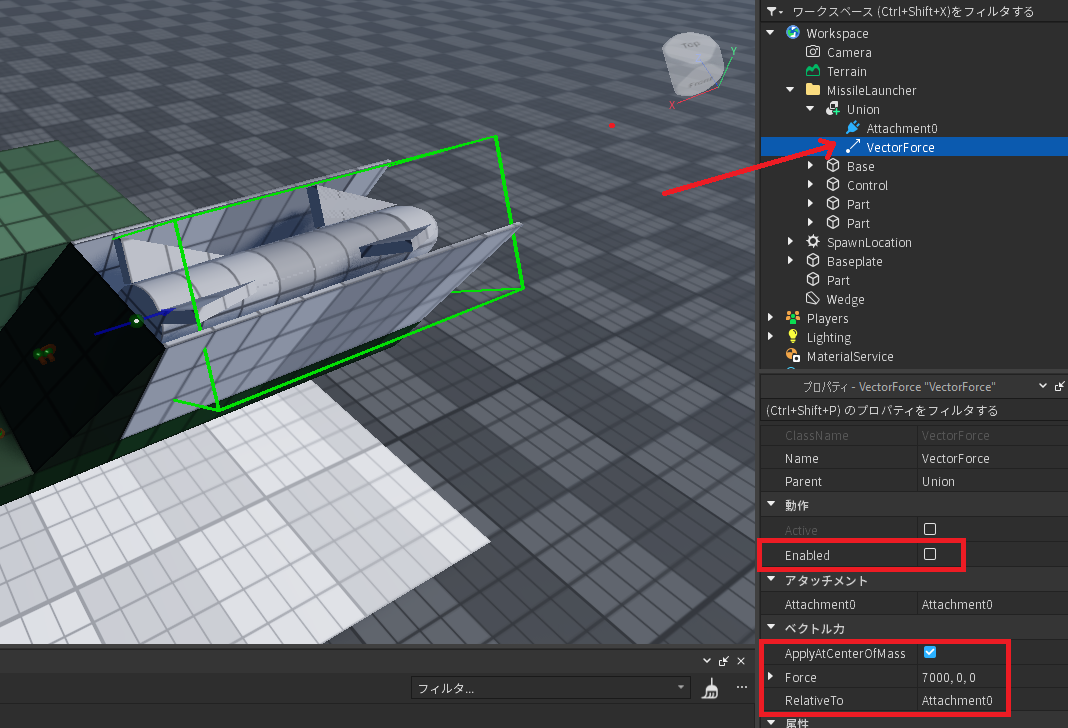
3. Add a VectorForce onto the Missile:
4. Mount the Missile onto the launcher (adjust the size of the missile if it can’t fit into the launcher):
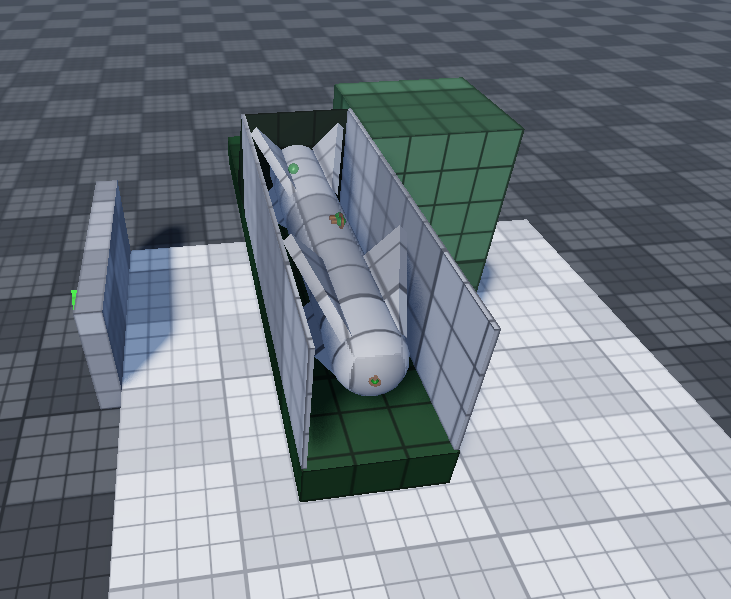
5. Edit its VectorForce values:
6. We need a control button to control when to shoot the missile. It is the same as how we made the other control buttons earlier:
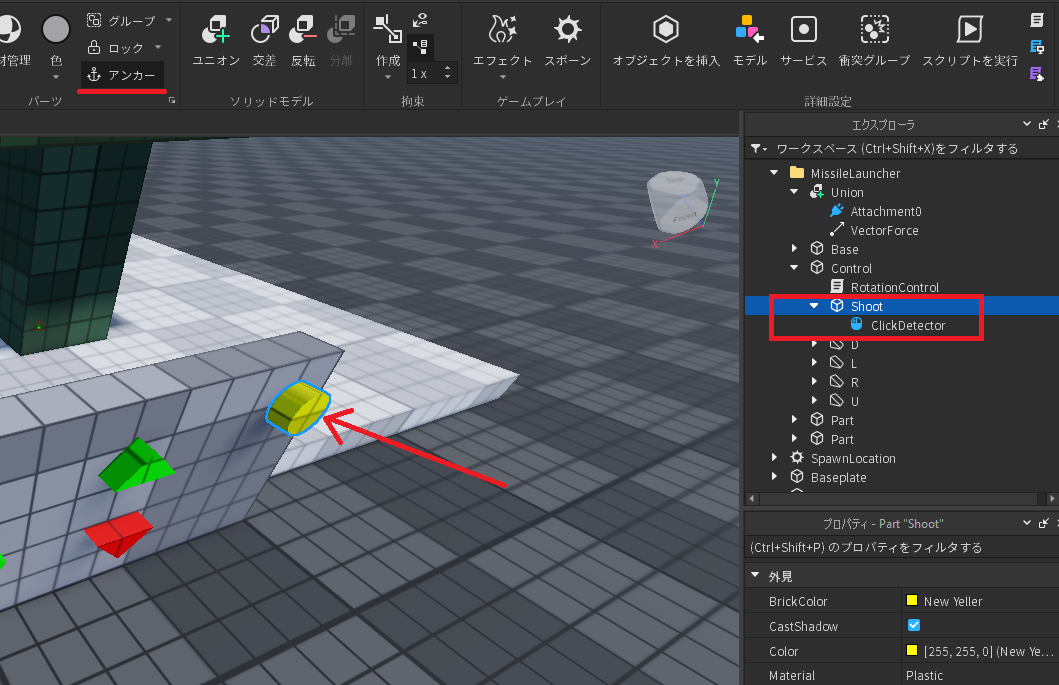
7. Since the control script is not only controlling the rotation, let’s rename our script file to “LauncherControl”. Add the following shooting logics to the LauncherControl script:

Test it out!

(Optional) Add the following script to create explosion effect: