Money System
We will now create a in-game money system (with the GUI we have created in the previous tutorial) that can keep track of how much money you have in your Roblox player account.
This money tracking record will not be erased even when a player left a game session:
To do so, we will be using an API service called “ProfileService”, created by Roblox user “loleris”, found on this website:
Prerequisite
You should have finished the following tutorials before continuing:
Preparation
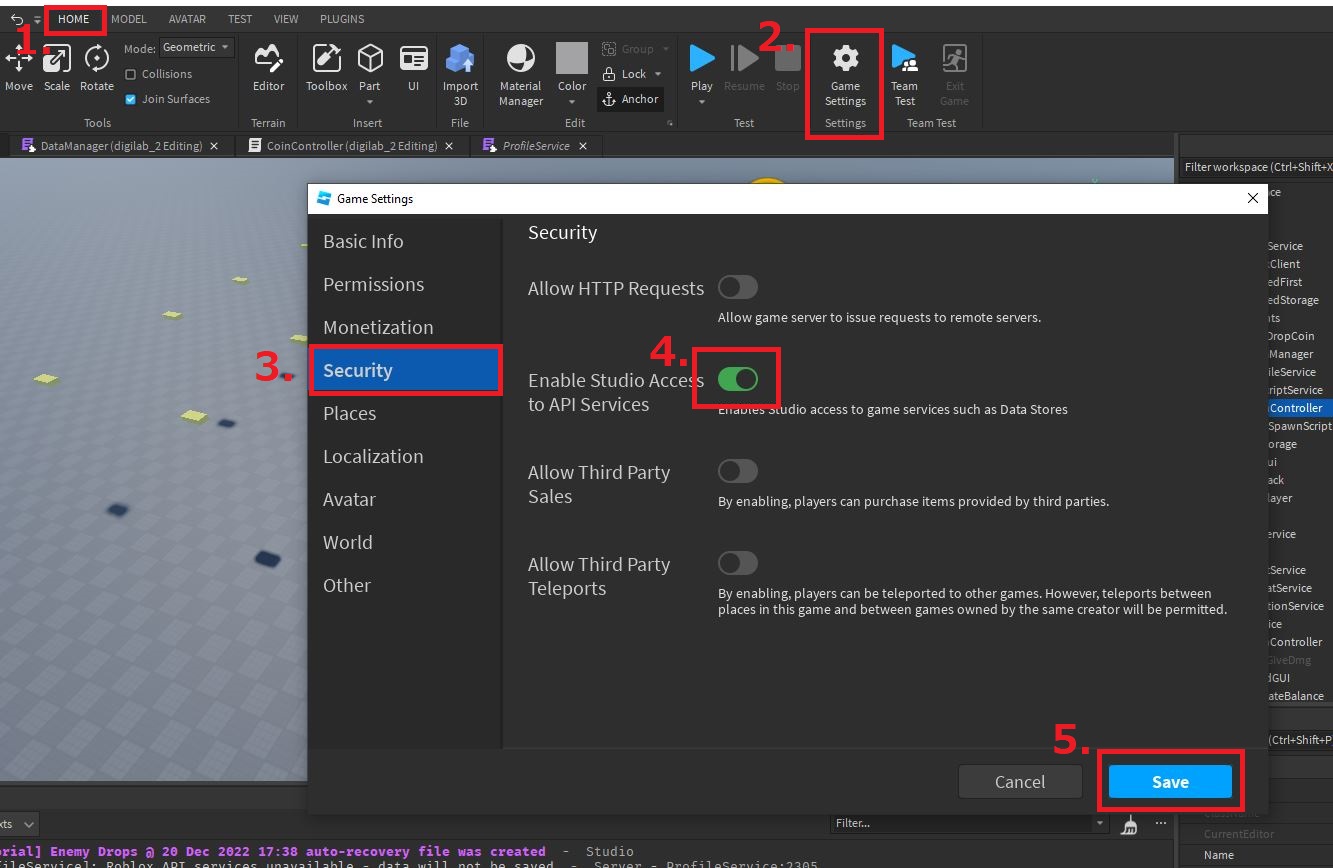
Enable Studio Access to API Service
What is a data storage? Why do we need it?
As the name suggests, a data storage is a place to store any data that we want to reuse in the future.
For instance, we can use a data storage to store all the players who has played our RPG game before, including their HP, character Level and their money balance:
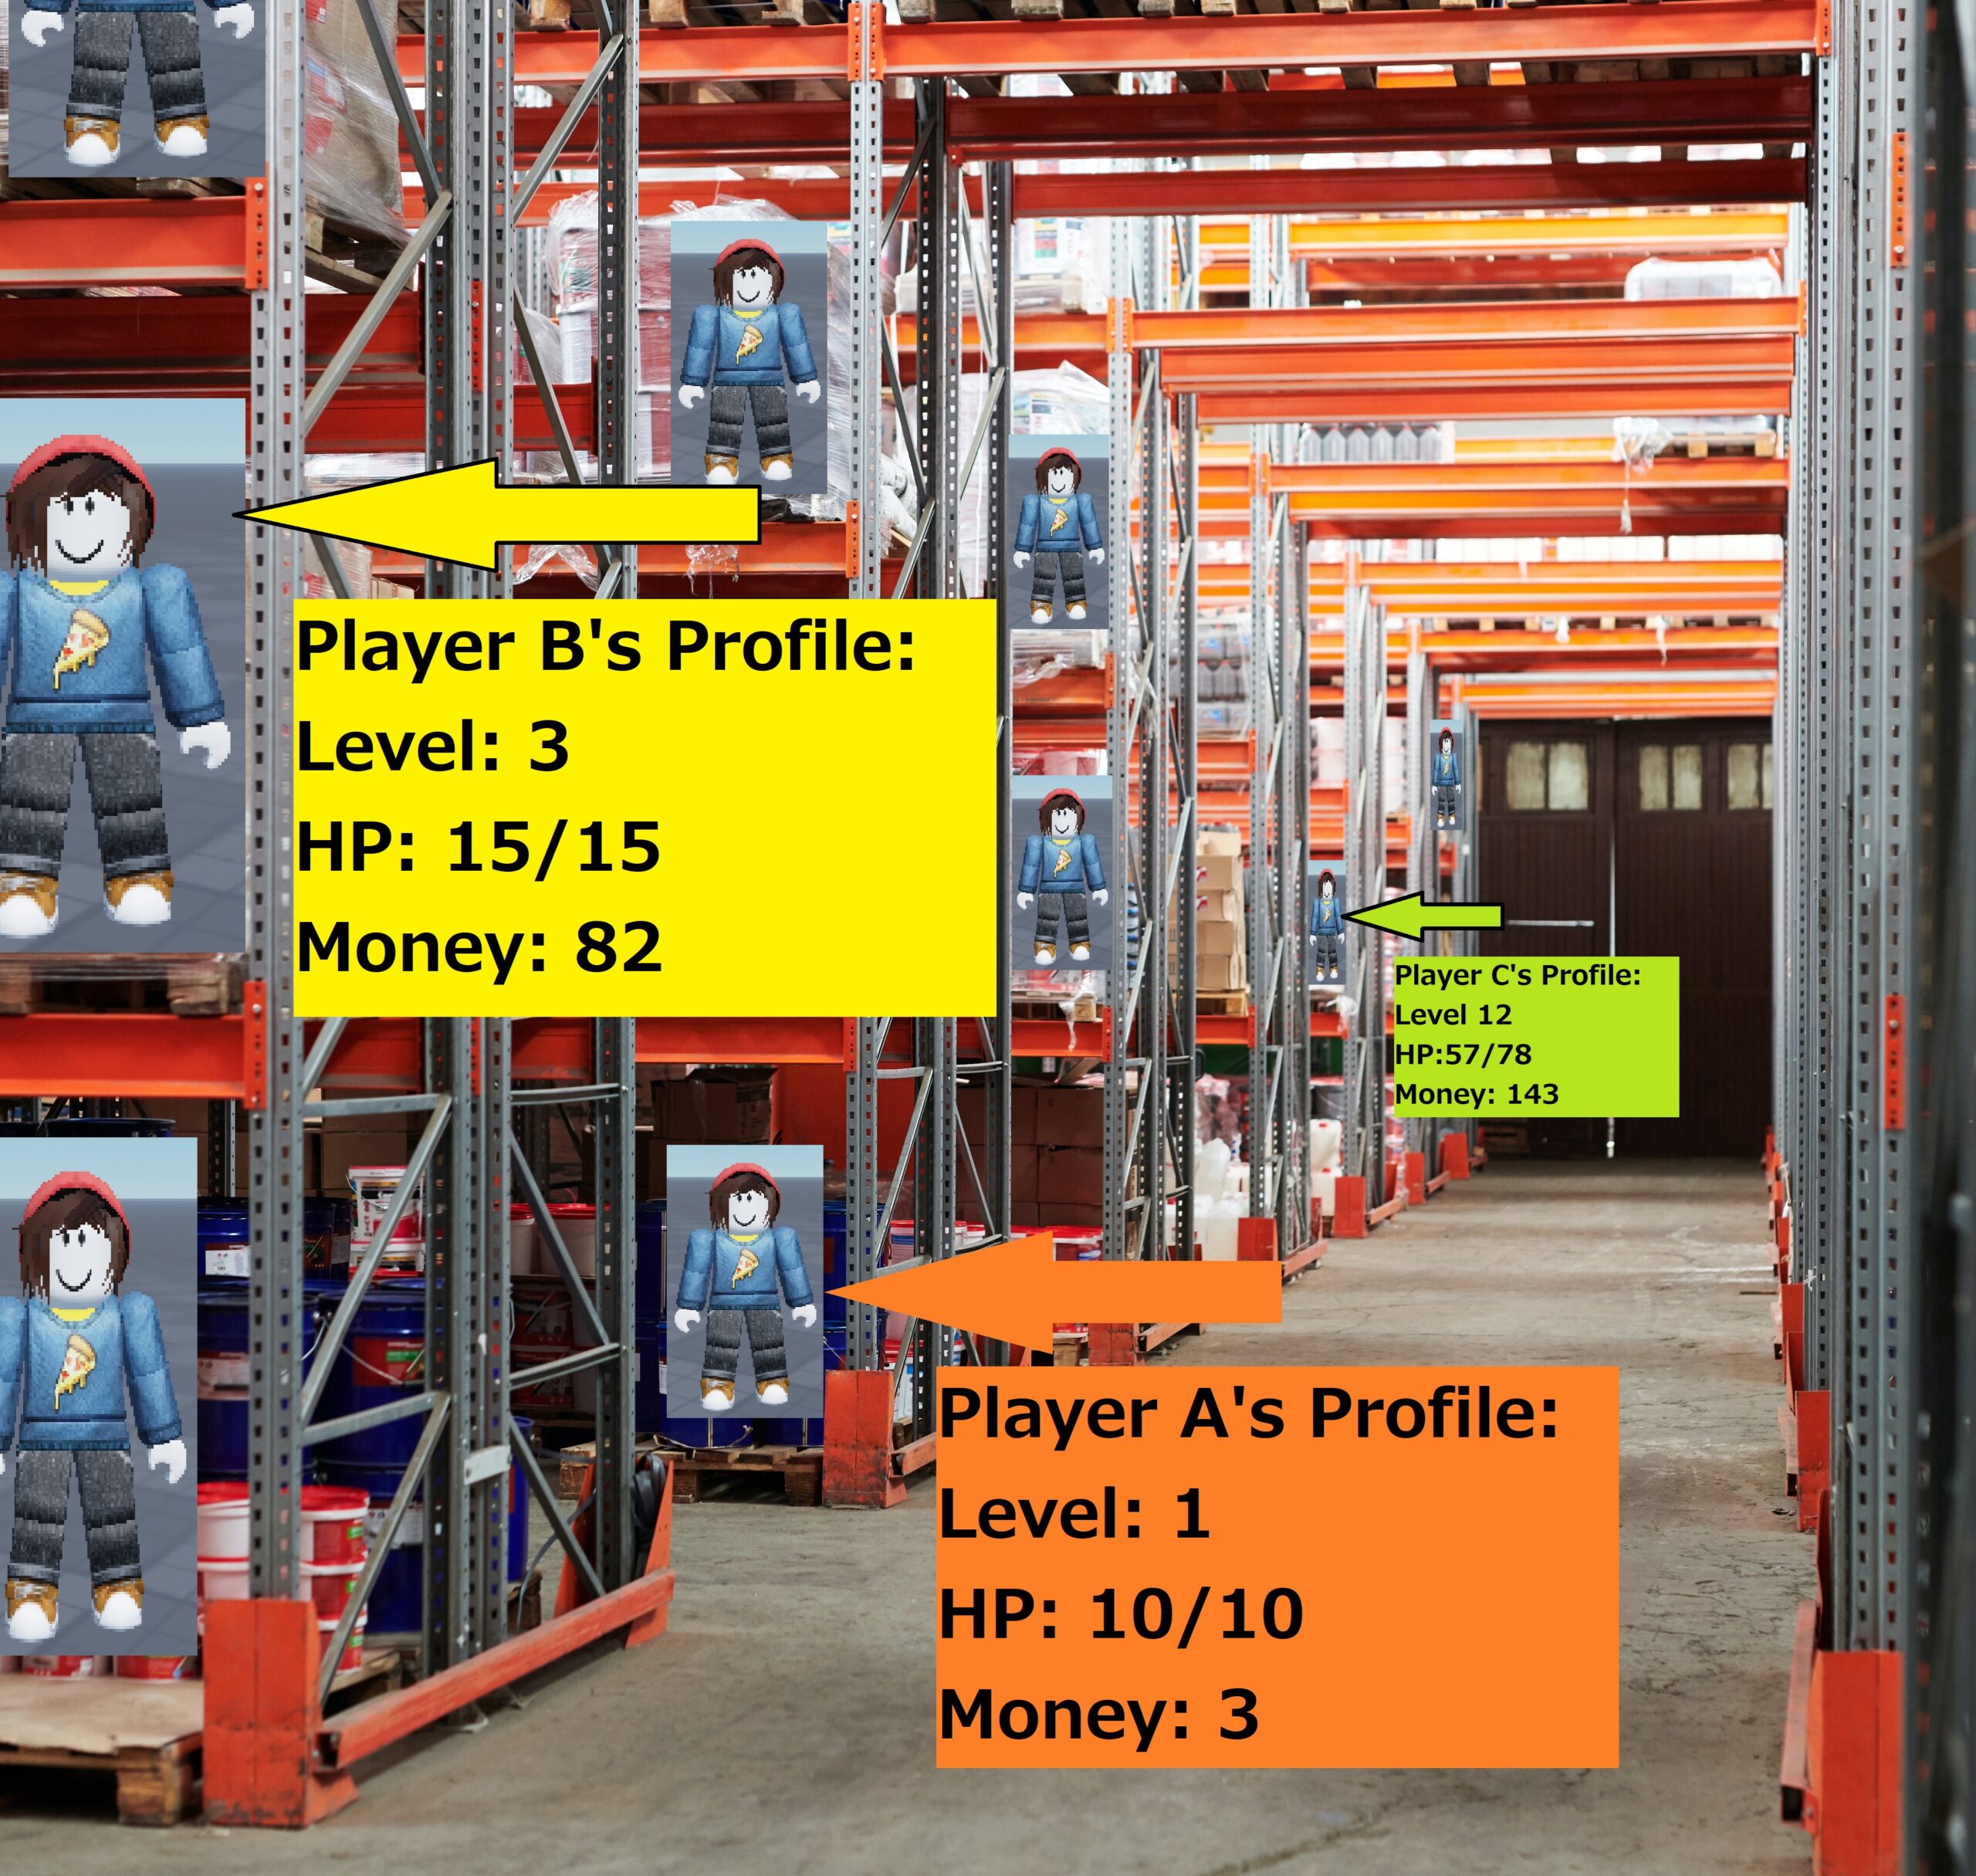
When a player joins our RPG game, we can retrieve the player’s previous information and assign them to the player:

(Fig. 1)
- Left: When Player B just joined a Roblox game. We don’t know his profile information just yet.
- Middle: Our Roblox game server asks the data storage that we have set up earlier (in cloud, service provided by the Roblox company) for a profile matching with Player B’s name.
- Right: If Player B ‘s profile is found, then the game server will retrieve that information and assign it to the player.
There are many implementation on how to use the data storage. Storing a player’s money amount is just one of it.
Data Storage – ProfileService
We will be using a modified version of DataStore service called “ProfileService”. It is created by a Roblox user named “loleris“.
This tutorial is referrencing to a youtube video created by okeanskiy, with some adjustment fitting to the game we are creating:
There is also an article from the ProfileService official website on the basic usage of the api:
https://madstudioroblox.github.io/ProfileService/tutorial/basic_usage/
Setting up ProfileService & DataManager
Step 1: Import “ProfileService” module as shown:
https://madstudioroblox.github.io/ProfileService/tutorial/settingup/
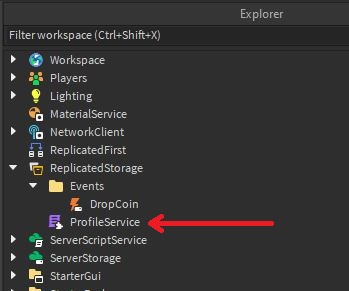
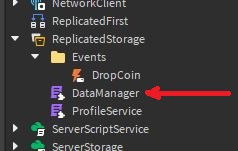
Step 2: Move the “ProfileService” to “ReplicatedStorage”:
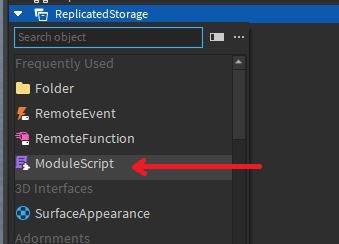
Step 3: Create a “ModuleScript” under “ReplicatedStorage”, and rename it “DataManager”:
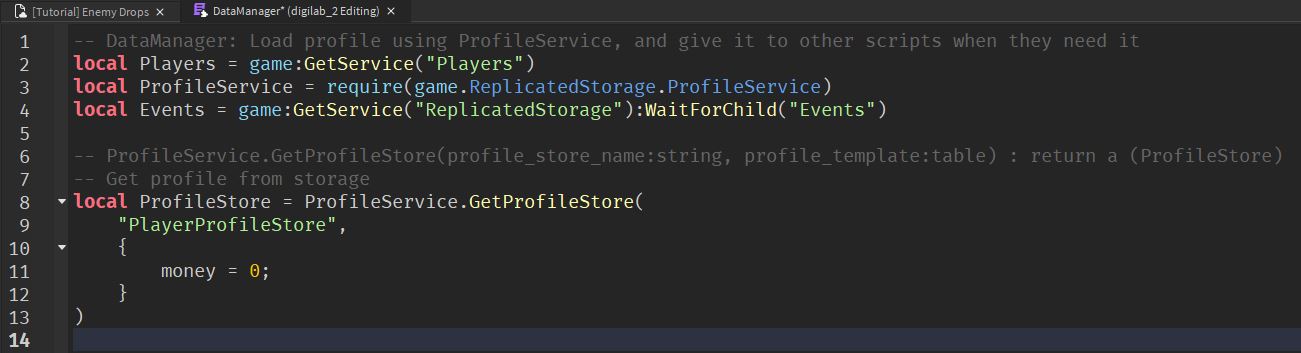
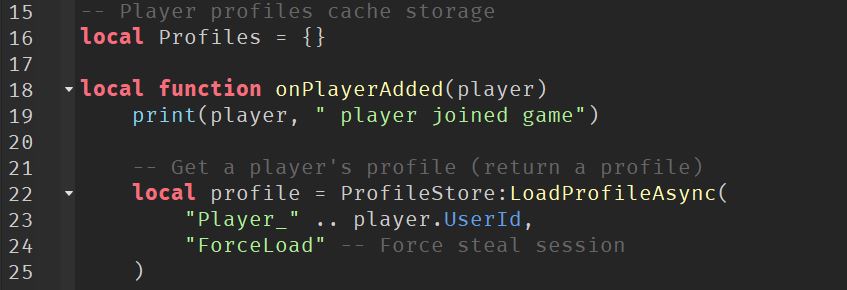
“DataManager” is a ModuleScript for handling data stored by “ProfileService”. We use it to gather player’s information from the data storage and return it back to the game server:
game.ReplicatedStorage.DataManager


Nothing would be executed if we test our game at the moment. It is because ModuleScript has to be called by other scripts using require() function in order for it to start running.
Step 4: Call the “DataManager” in “CoinController”:
game.ServerScriptService.CoinController

- Line 5: Call the “DataManager” from “ReplicatedStorage”
- Line 18: After a player touching a coin and after that coin is destroyed, retrieve the player’s profile using DataManager (DM:Get(player))
Let’s also add a line at line 19 to print out our current character’s money credit:

Test it out by picking up some coins (it is ok to see error for now). Make sure you have your Output windows ready:
If you notice the Output window, it keeps telling us that we have 0 gold in our character, even we have picked up some.
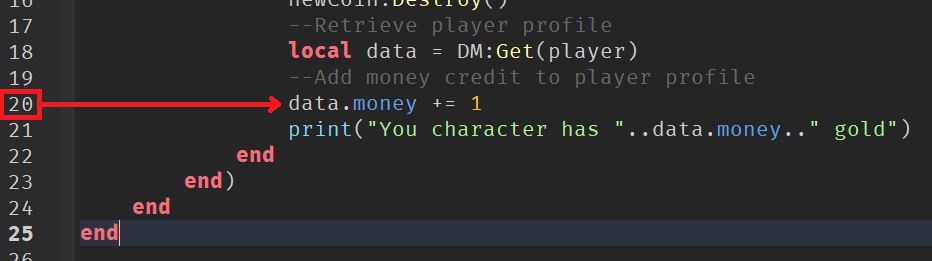
Step 5: Add money to the character when coins are picked up
game.ServerScriptService.CoinController:20
Run the same test again. You should see we are picking up coins in the Output window:
Try running the game few more times (stop and play). You will notice your previous data still exists even after restarting the game.
Display your money data in GUI
We now can see the money information through the Output window, but not the GUI on the top right corner yet (still 0):

Step 1: Create a “RemoteEvent” under “ReplicatedStorage.Events”. Name it “UpdateBalance”:

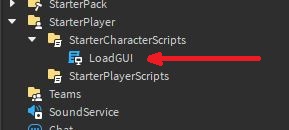
Step 2: Create a “LocalScript” under “StarterPlayer.StarterCharacterScripts”. Name it “LoadGUI”:
This “LoadGUI” will take the money data that is sent from the game server (line 10), and load the data into a player’s character GUI (Line 3, 7):
game.StarterPlayer.StarterCharacterScripts.LoadGUI

Step 3: Add line 22 in “CoinController”. This line will take care the Server-to-Client communication:
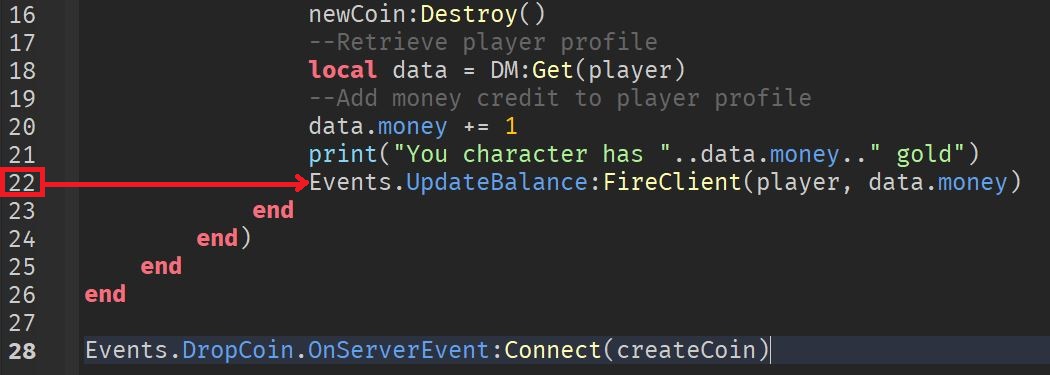
In simple words, the server will send a updated money number to a player’s “LoadGUI”, and the “LoadGUI” will display the updated data onto the gamescreen: