Money System GUI
In this tutorial, we will make a money GUI – a text box that can keep tracks of how much money our character has in our Roblox game.
Note: The money GUI functionality won’t be completed until next tutorial. We are only creating its visualized element in this tutorial.
Prerequisite
You should have finished the following tutorials before continuing:
Preparation
Open the game you have created in RPG Part III lesson: Monster Item Drop.

Money GUI
If you are not sure what GUI is, here is a video that explains briefly what a GUI is:
We need some visualized image and text to show how much money our character has. We will create a GUI to do so:
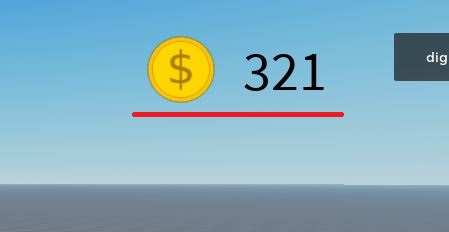
Let’s first take a look at what we will be creating:

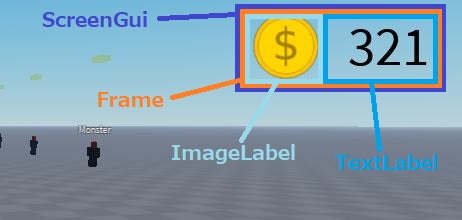
(Fig. 1)
- The ScreenGui “MoneyGui” we have just created act as a container for all the elements.
- The “Frame” will be used as a constrainted area that keeps every element stays within the frame boundry.
- The “ImageLabel” will be our money icon, and the “TextLabel” will be used to show our money amount.
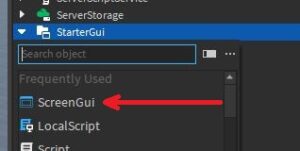
Step 1: Create the “ScreenGui” and name it “MoneyGui”:
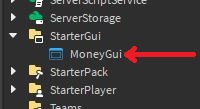
At this moment you won’t see anything changed yet on the game screen. ScreenGui is just an invisible container that keeps GUI elements within it.
Step 2: Create a “Frame” under “MoneyGui”:

Now you will see a white box appears at the top left corner of the game screen:

This frame is a visible element to keep multiple elements within the same area, just as explained in Fig. 1 above.
Step 3: Adjust the size of the Frame
We could just use the dragging function to size our frame. However, we won’t be sizing our frame by dragging since it couldn’t be auto scaled while the screen size varies. In other words, the frame size stays the same no matter how big the screen is:
The way to solve this is by entering its scaled size value (Min: 0, Max: 1):

This is now auto-scaled, but we also want to keep its shape as a fixed-ratio rectangle. So we will have to lock its “SizeConstraint” to “RelativeXX”:

Select and Move the “Frame” to the place where we want to display our GUI:
Step 4: Create an “ImageLabel” under “Frame”:

We will be using the image below:
(Image ID: 11749426410)
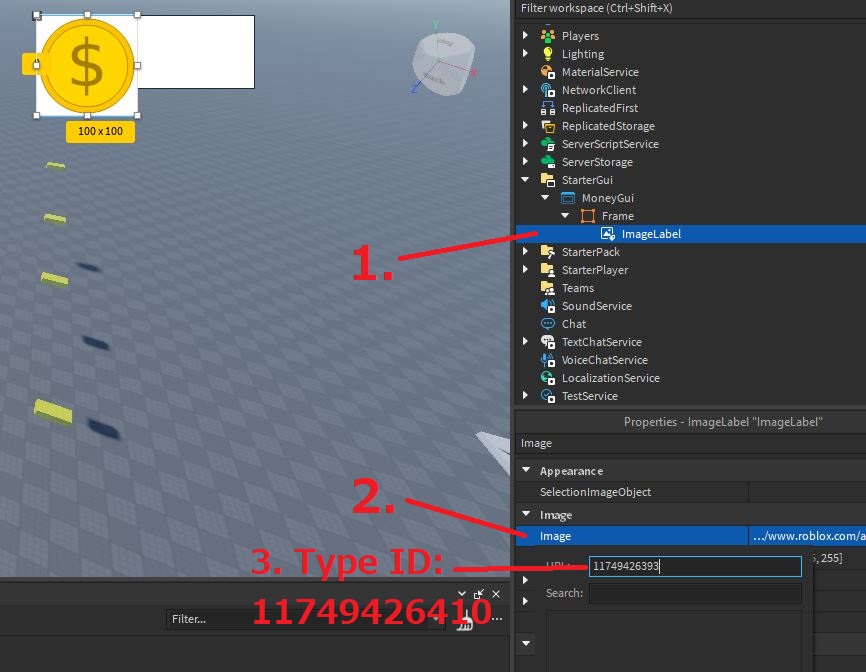
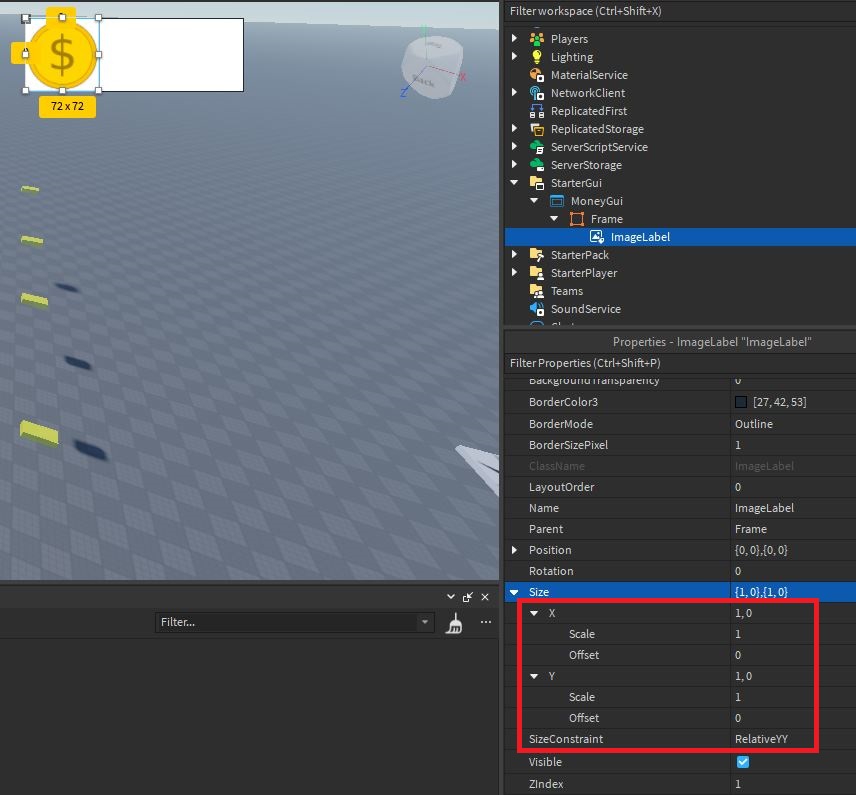
And set its scaled size and “SizeConstraint” to “RelativeYY”, so that it will stay within the frame:
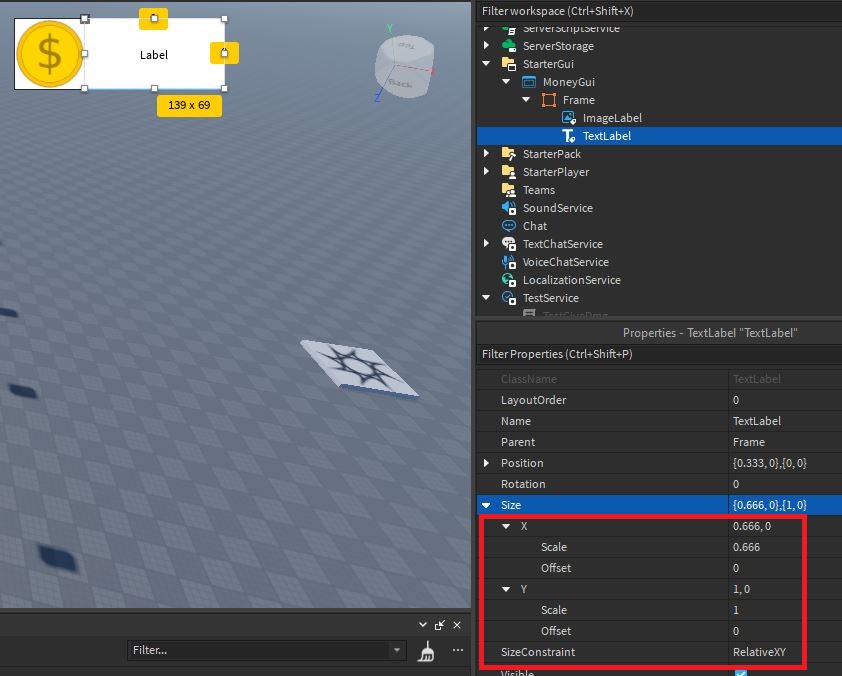
Step 5: Create a “TextLabel” under “Frame”:

Change its position:

And also its size so it fits into the frame:
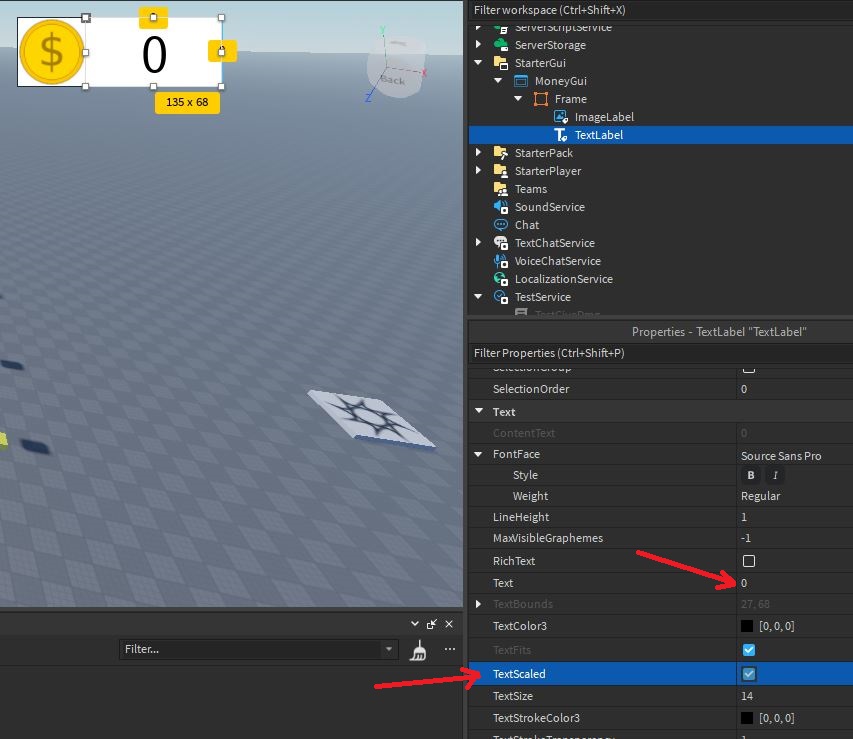
The text inside the box is too small, so we need to auto-scale it:
To make our money GUI looks better, let’s make all our elements transparent:
Test
Now let’s test our game to see if any newly joined player could see our GUI on the top right of the screen:
In the next tutorial [Roblox Lesson] RPG Part V: Money System – Data Storage (ProfileService), we will finish our money GUI so that it shows the correct money amount.