Introduction
Welcome to Running Man Game Tutorial!
Let’s follow this step by step tutorial and create your own Running Man game!
Game Overview
This is how the game works:
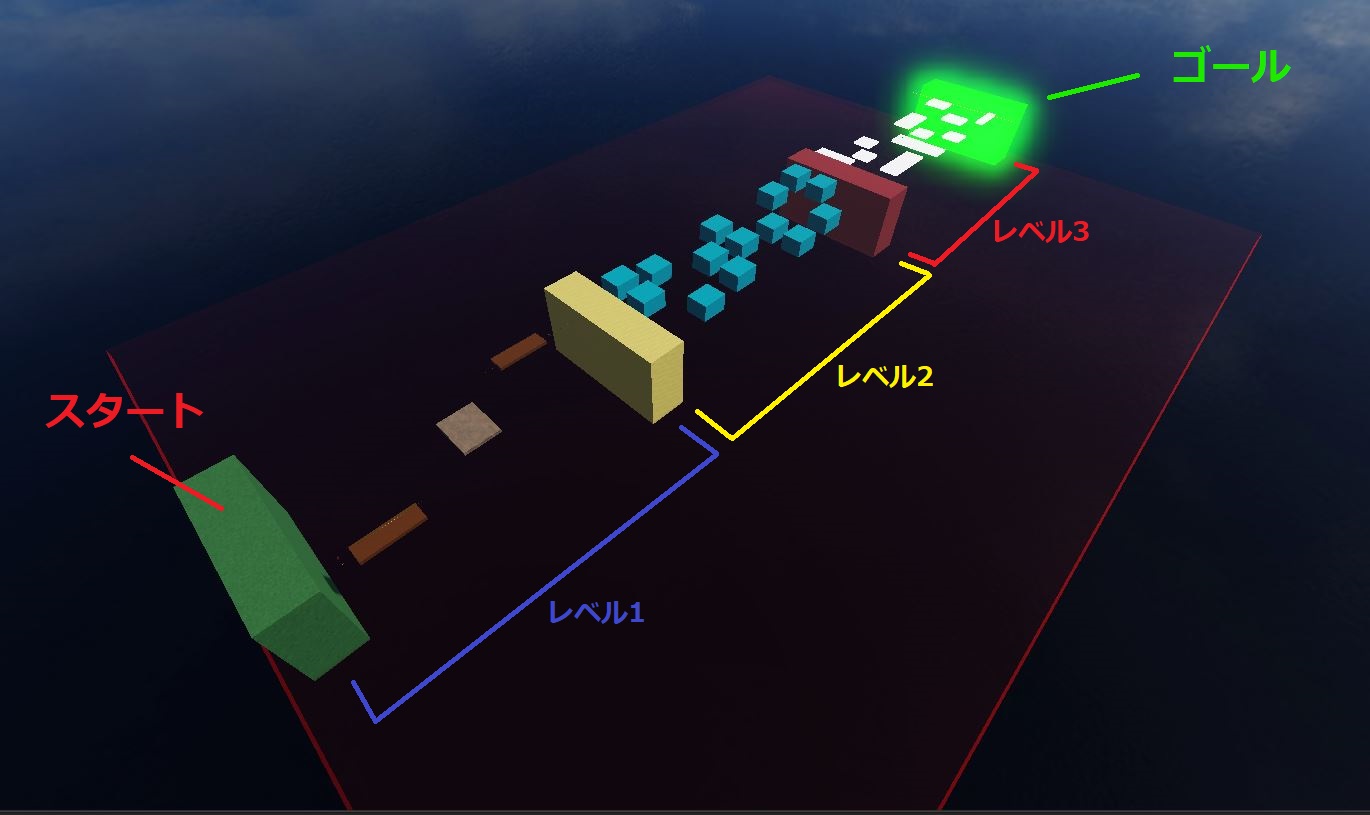
Start/Level 1:
Level 2:
Level 3:
Goal:
Step 1: Create folders/parts
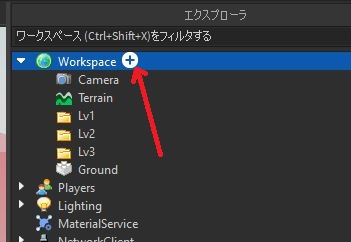
1. Create new file
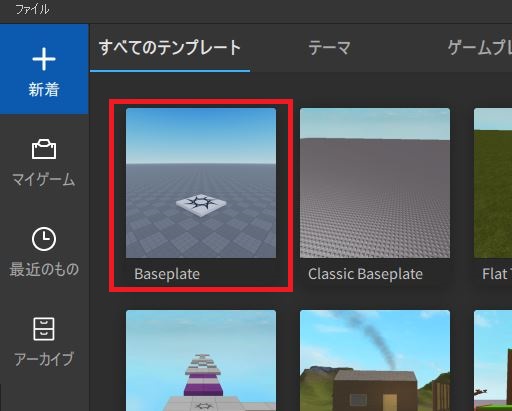
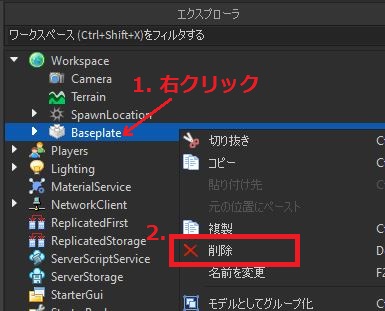
2. Delete Baseplate and SpawnLocation:

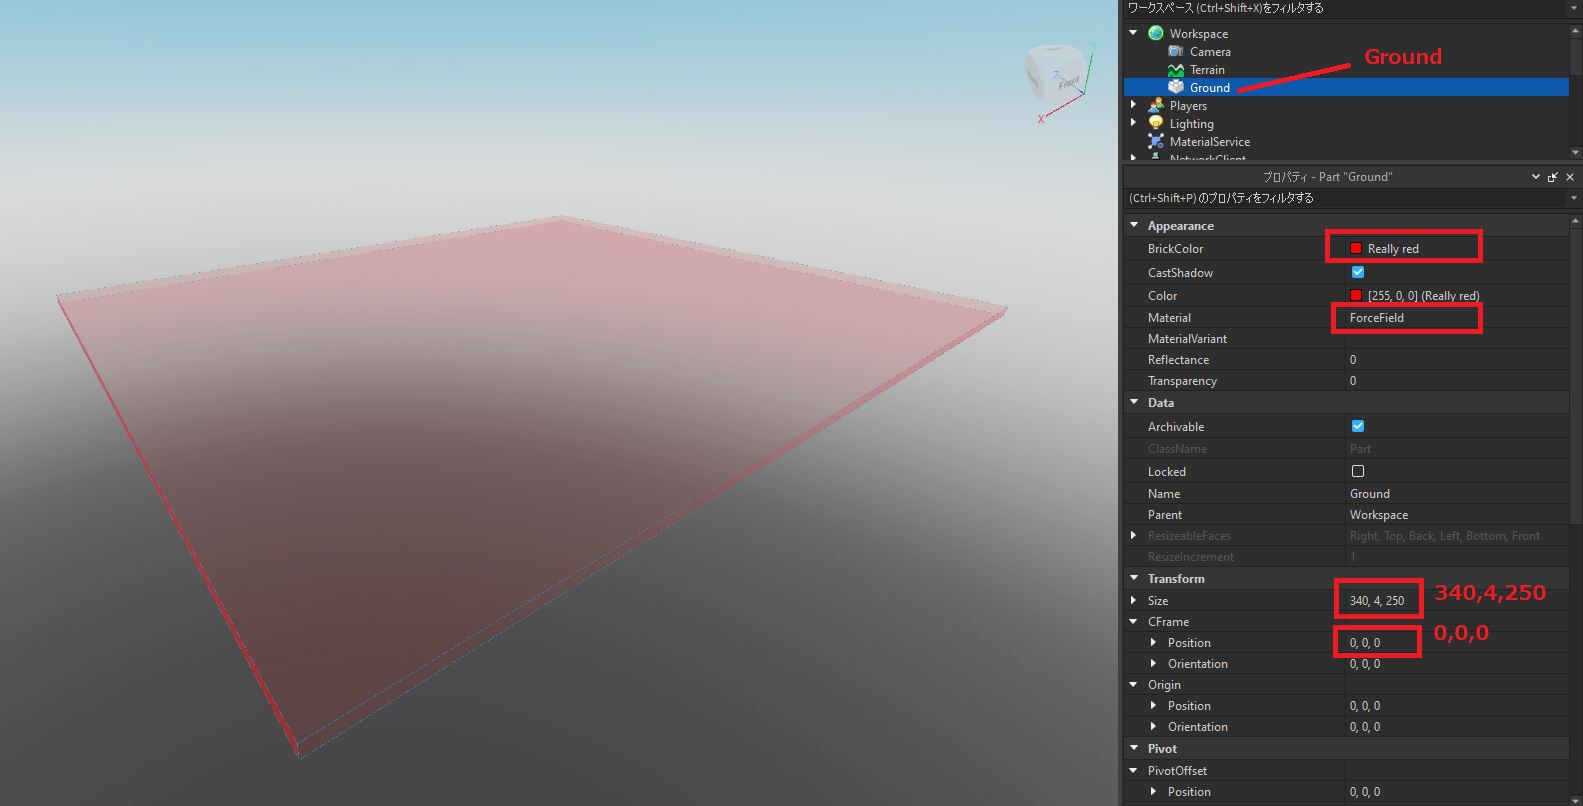
3. Create a part, name it “Ground”, and change its property:
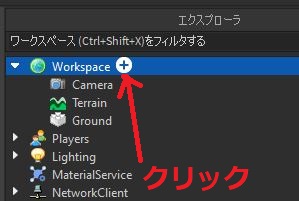
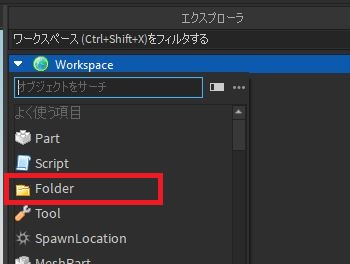
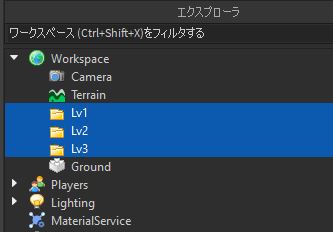
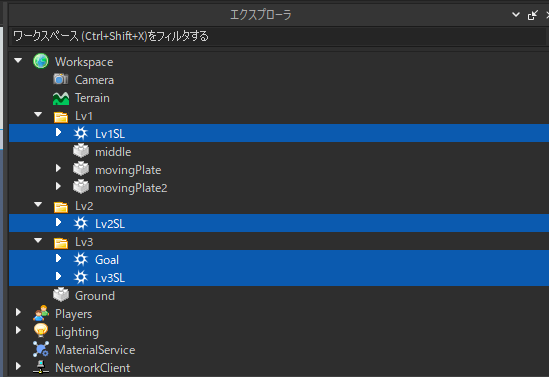
4. Create 3 folders under “Workspace”: Lv1, Lv2, Lv3
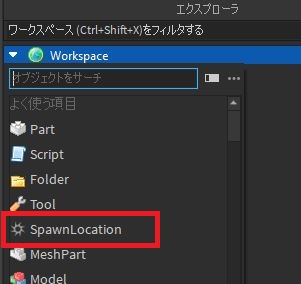
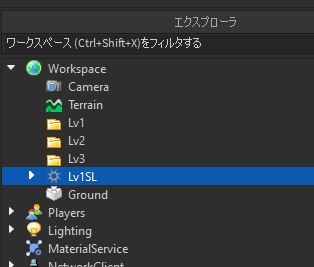
5. Create a SpawnLocation:
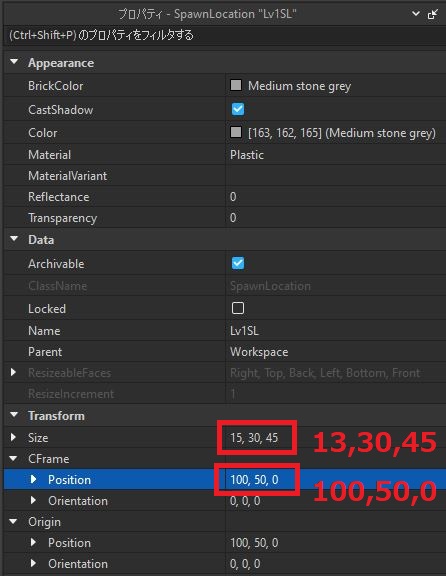
6. Name it “Lv1SL”, and give it the following properties:
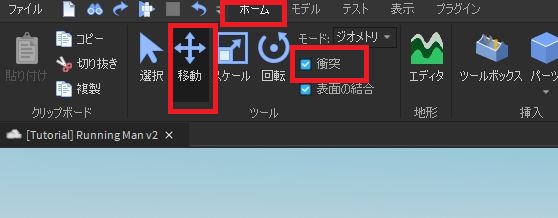
7. Move it down until it touches the ground:
8. Delete the decal mark of the spawn:
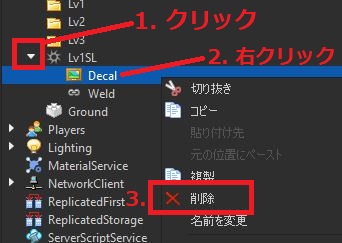
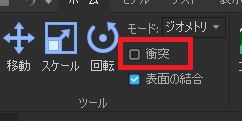
9. Uncheck “Collision”:
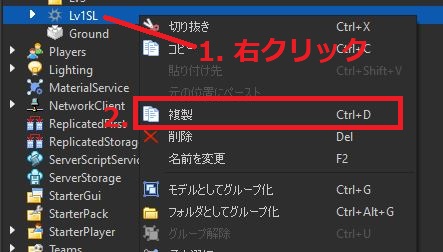
10. Duplicate the spawnlocation and move it as follow:
11. Move the new spawnlocation to the new position:
12. Repeat the step above to create one more copy of the spawnLocation, and move it to the new position:
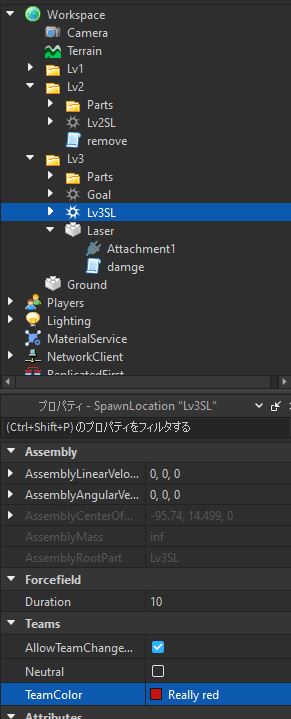
13. Rename the new spawn locations, and move them into the correct folders:
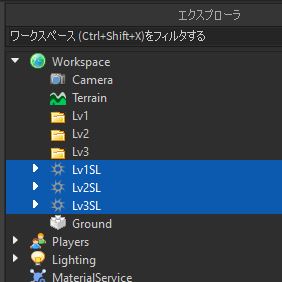
14. Create a copy of “Lv3SL” in “Lv3” folder, and name it “Goal”:

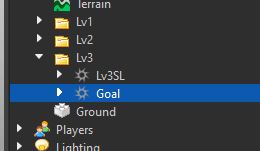
15. Move “Goal” to the new position as shown:
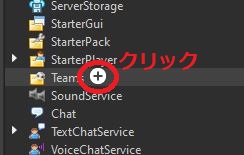
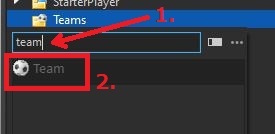
16. Create a new team and name it “Lv1”, with the following properties:

17. Go back to SpanwLocation “Lv1”, change its “TeamColor” to “Really blue”:

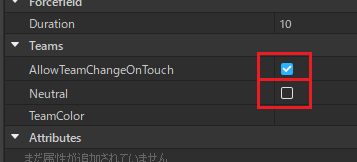
18. Make sure you have the following boxes checked and unchecked:
Step 2: Lv1
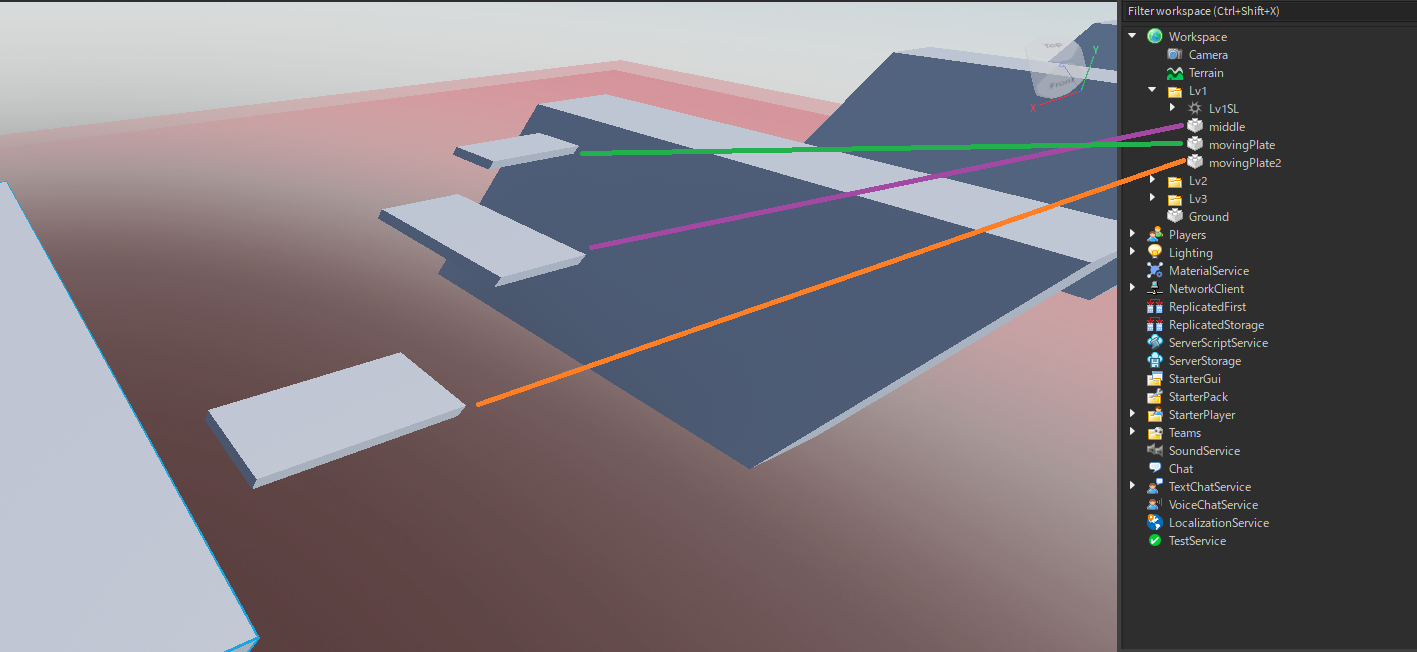
1. Add the following parts under folder “Lv1”. Rename them as shown:
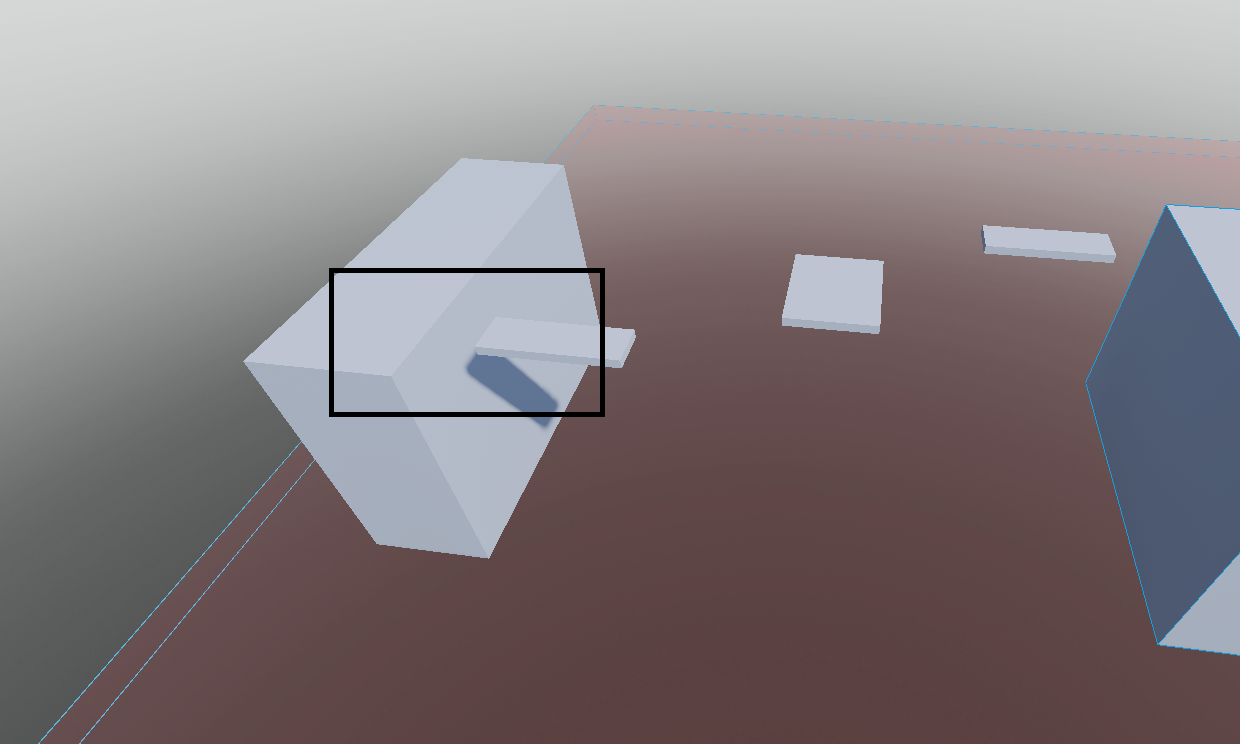
2. Anchor the middle part:

3. Create a “PrismaticConstraint” from “Lv1SL” to “movingPlate”:

4. Create another “PrismaticConstraint” from “Lv2SL” to “movingPlate2”:
5. “Lv1.Lv1SL.PrismaticConstraint” AND “Lv2.Lv2SL.PrismaticConstraint” property:

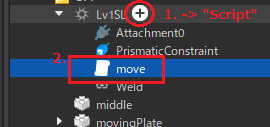
6. Inside “Lv1SL”, create a script and name it “move”:
7. Type the following code in “move”:
game.Workspace.Lv1.Lv1SL.move

8. Duplicate the “move” script, and move it to “Lv2SL”:
9. Test if you two “movingPlate” are working:
Step 3: Lv2
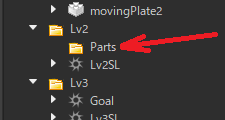
1. Create a folder under Lv2, name it “Parts”:
(Remember how to create objects in Roblox Studio? Use the ![]() mark!)
mark!)
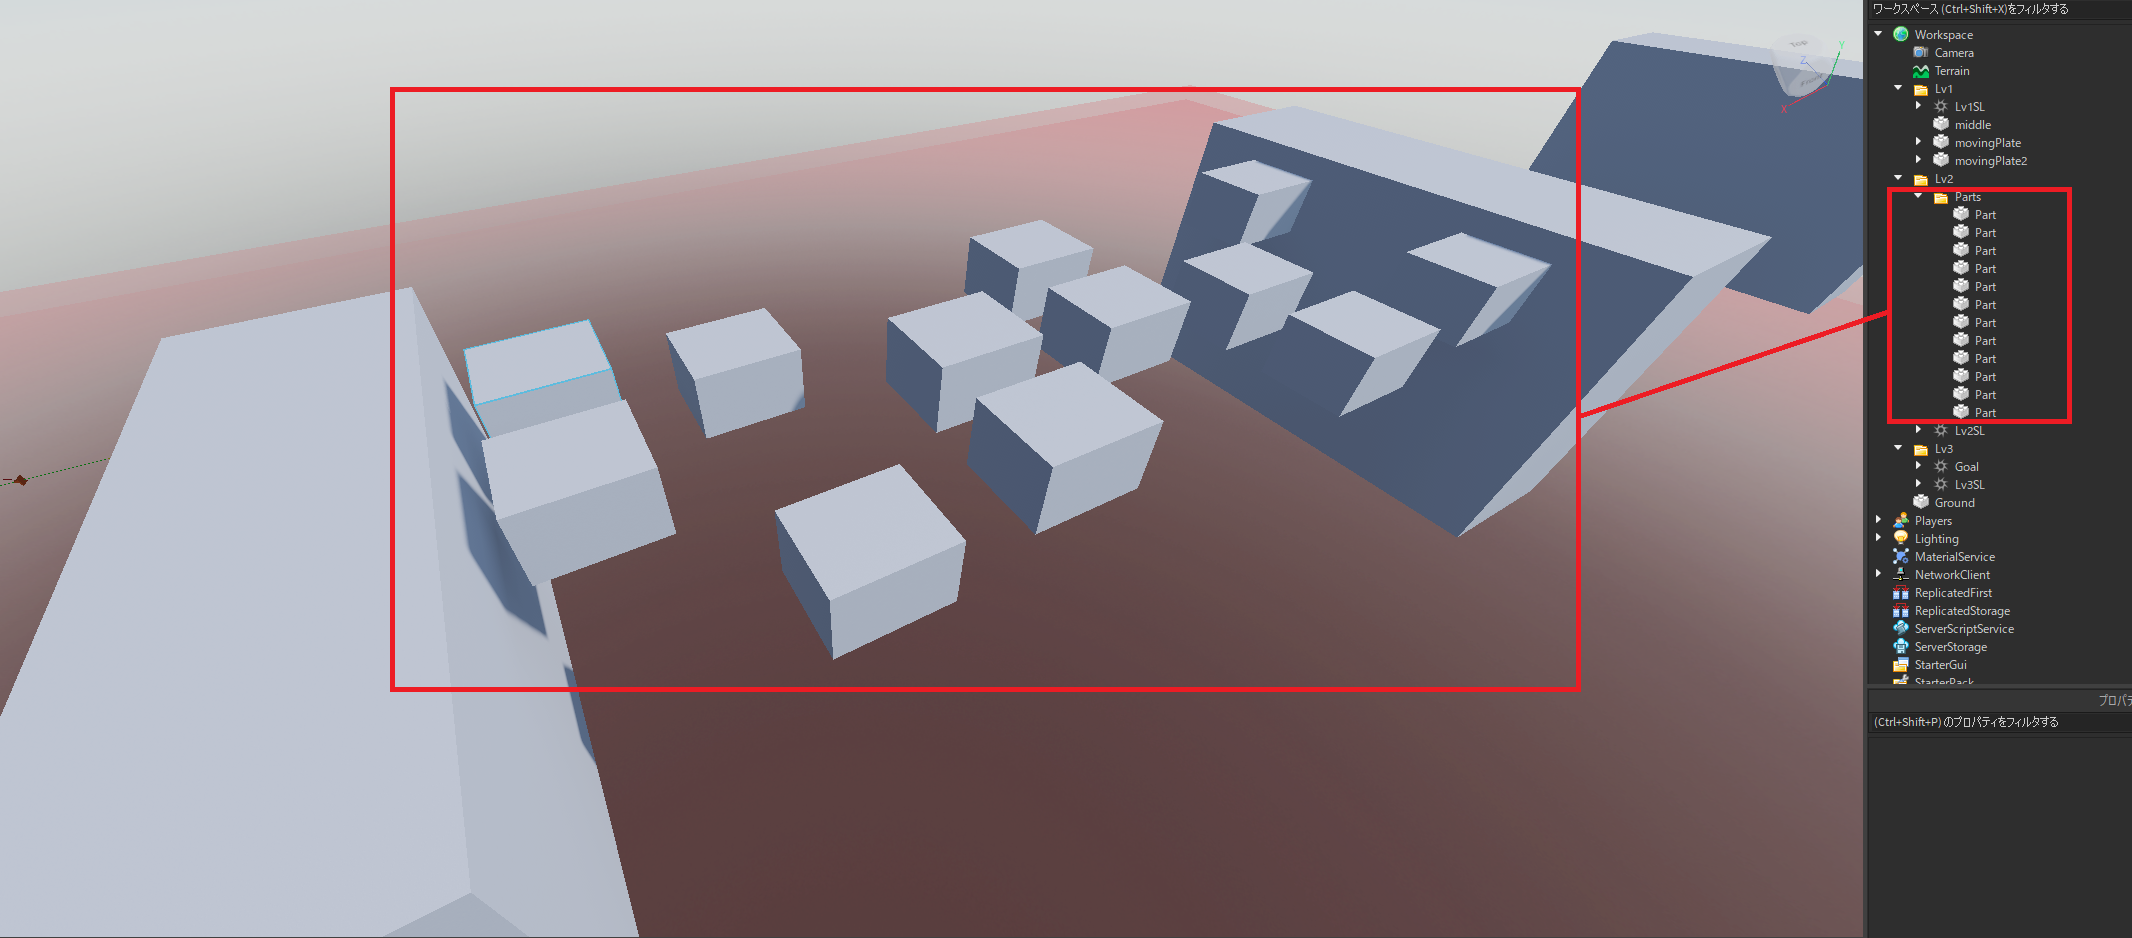
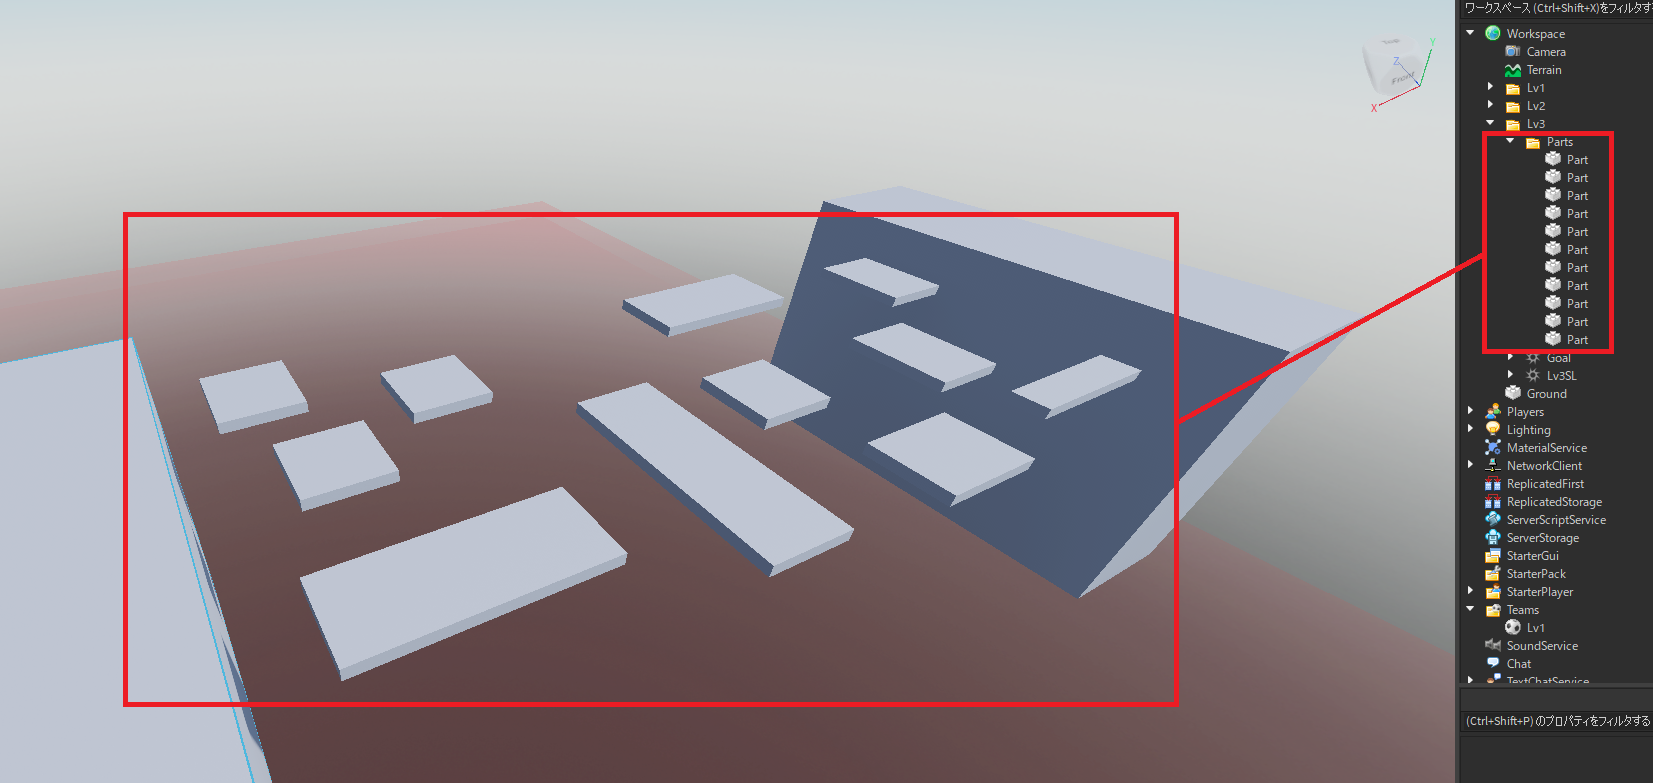
2. Add Parts into folder “Parts” as below:
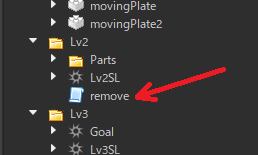
3. Create a script under folder “Lv2”, name it “remove”:
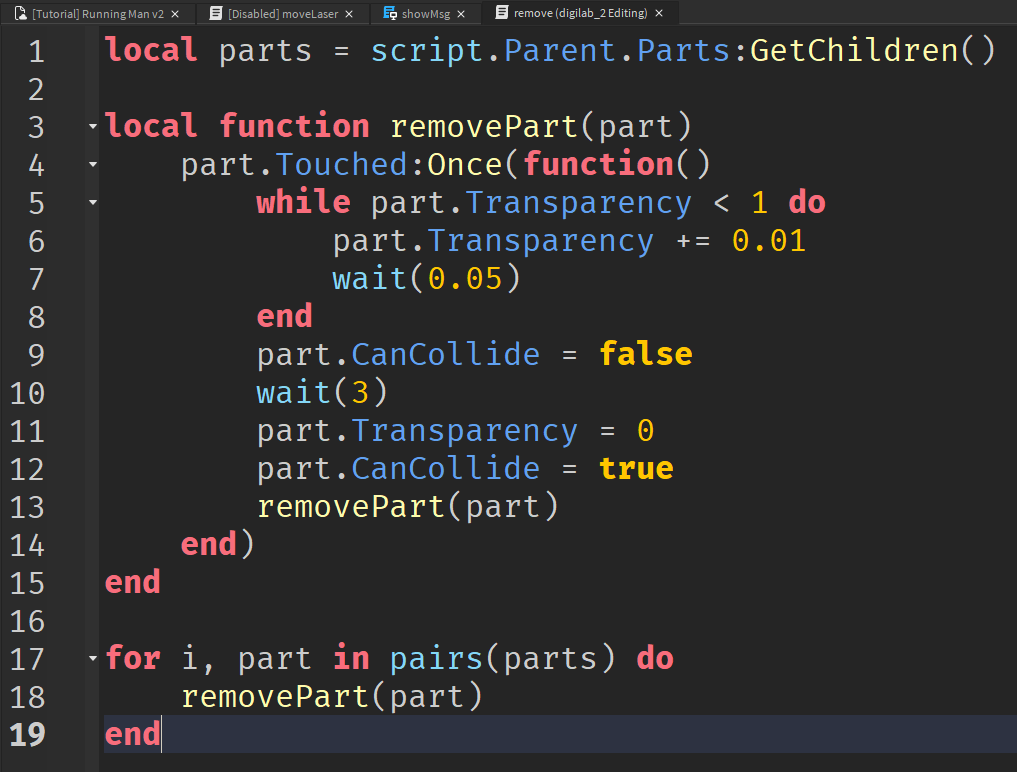
4. Type the following in “remove”:
game.Workspace.Lv2.remove
5. Test your Lv2:
Step 4: Lv3
1. Similar to Lv2, create a folder named “Parts” under “Lv3”:

2. Create the following parts as shown, under folder “Parts”:
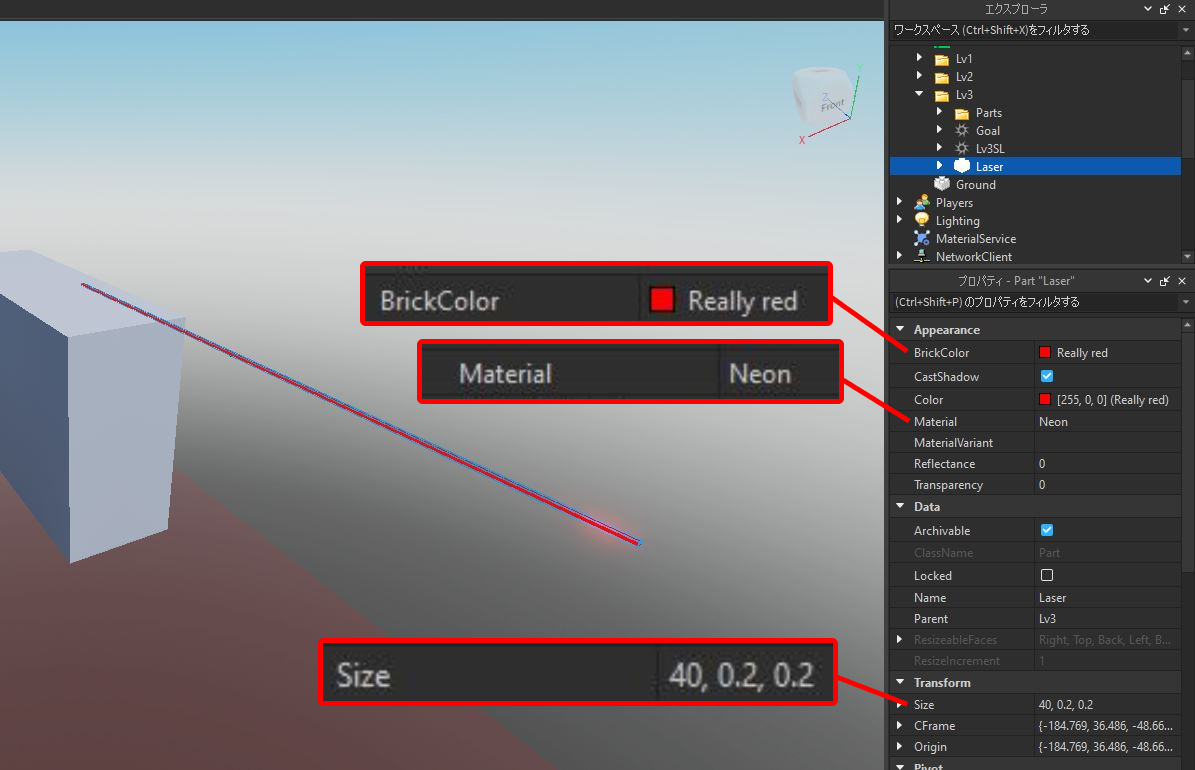
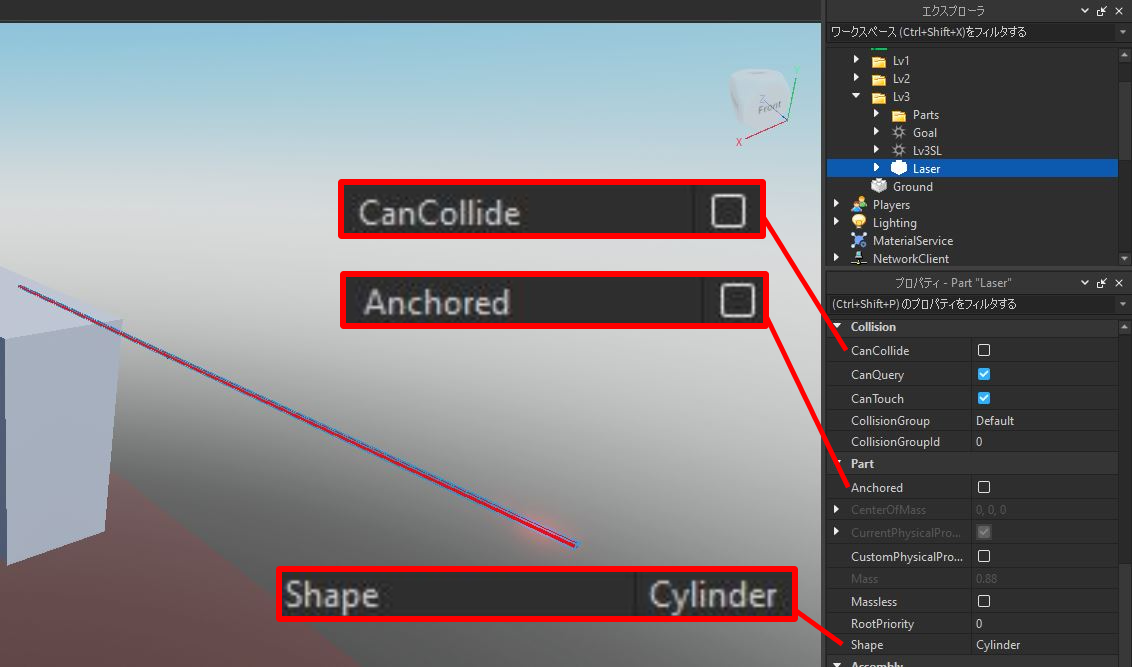
3. Create a part as shown (the laser that shoots out):
4. Using the “Align tool”, align the “Laser” part to the center of “Goal”:
a. Select both “Goal” and “Laser” together by holding “Ctrl” key (Windows) / “Command” key (IOS) and clicking on them:
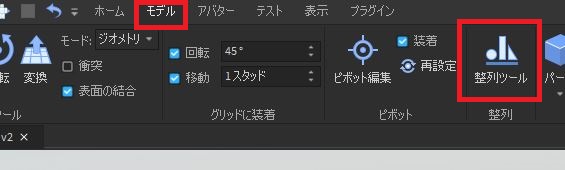
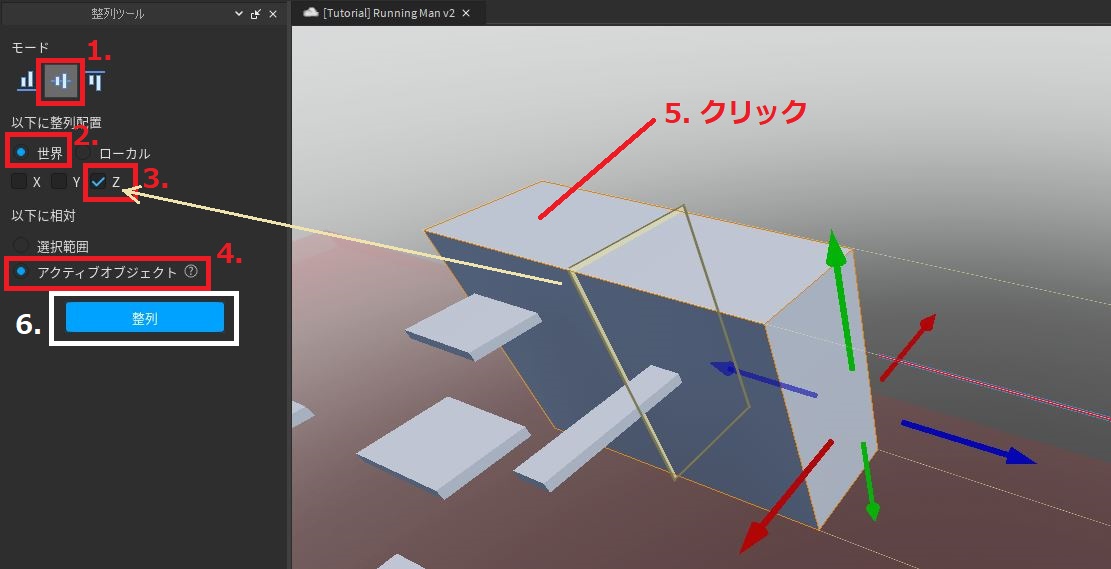
b. Click on “Align tool”:
c. Select the following in order:
d. Separate the laser from “Goal”:
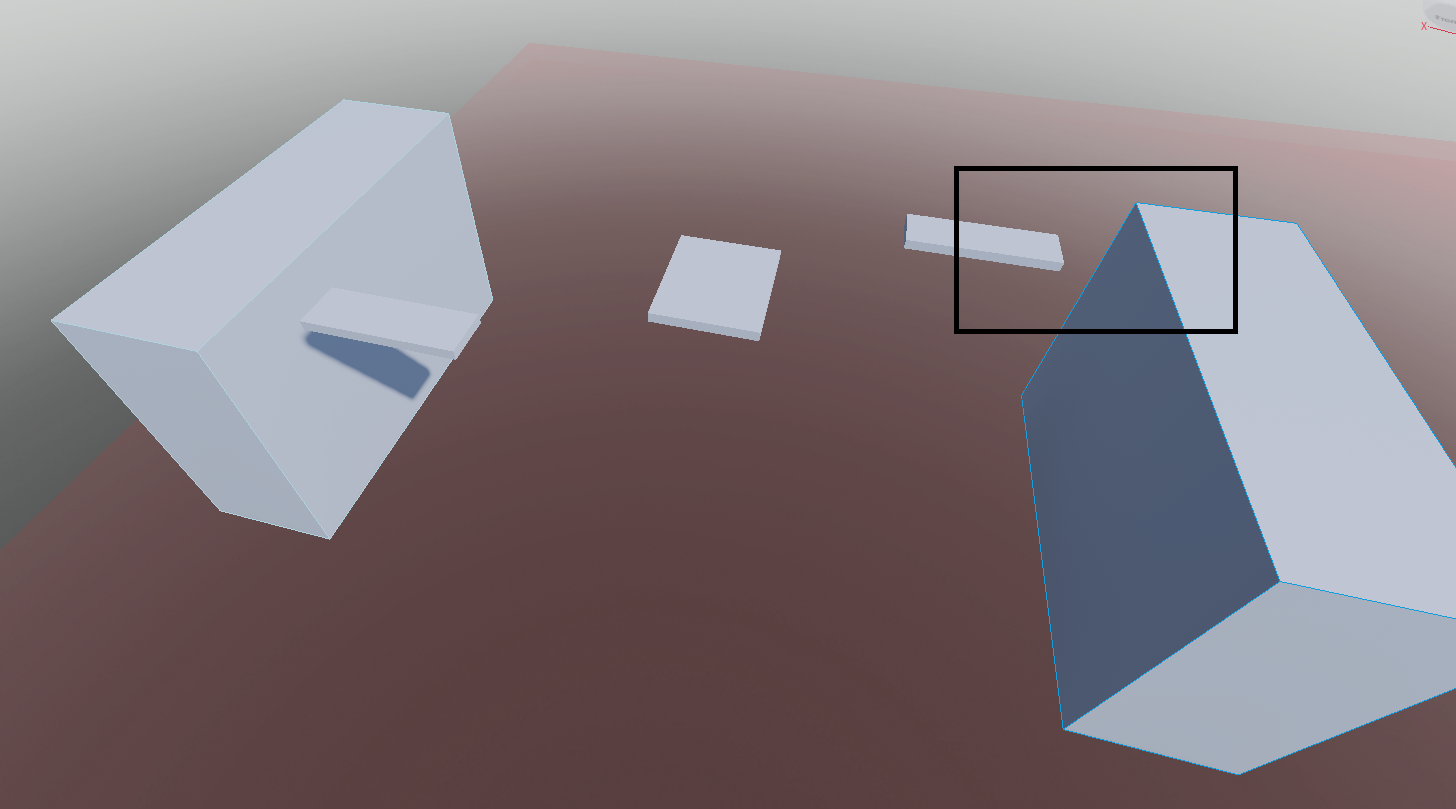
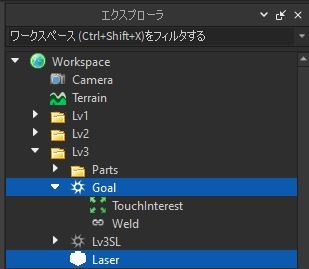
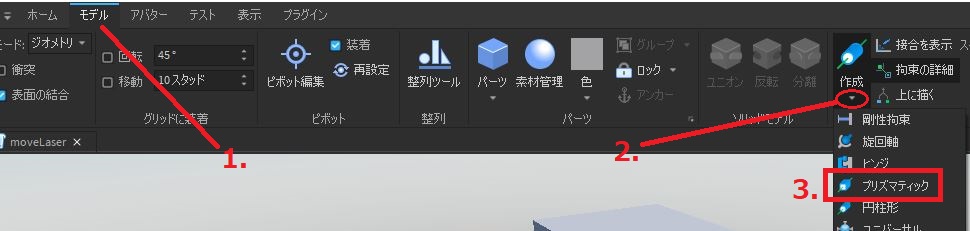
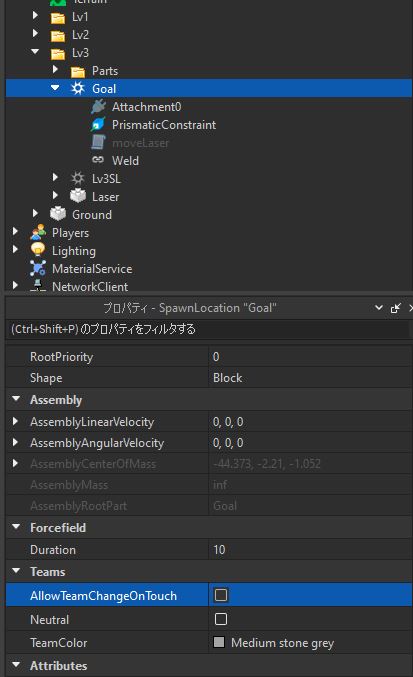
5. Create a “Constraint” between “Goal” and “Laser”:
(It is ok if the constraints are not centered yet. We will adjust those later.)
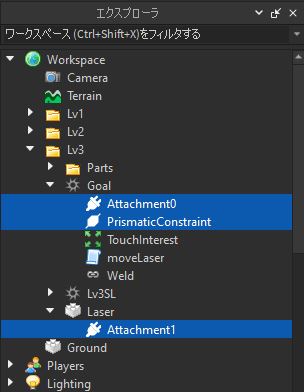
You should now have a new “PrismaticConstraint” and two new Attachments added like this:
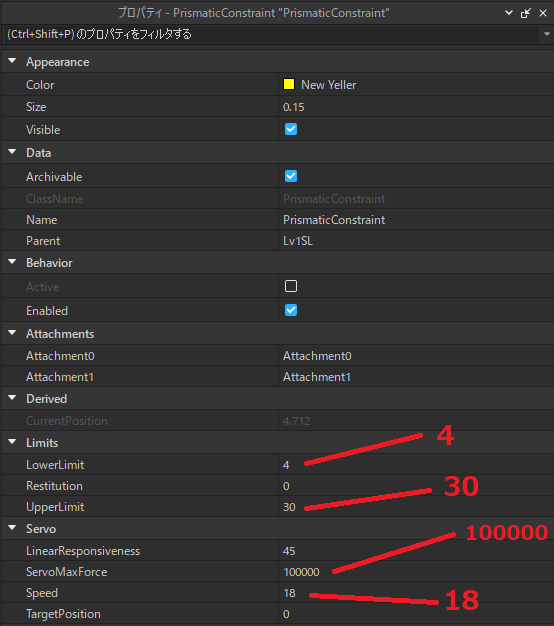
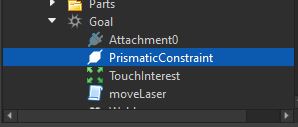
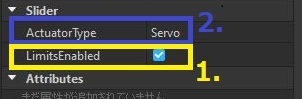
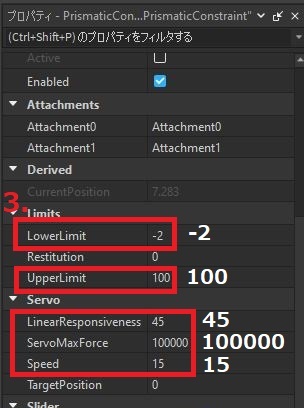
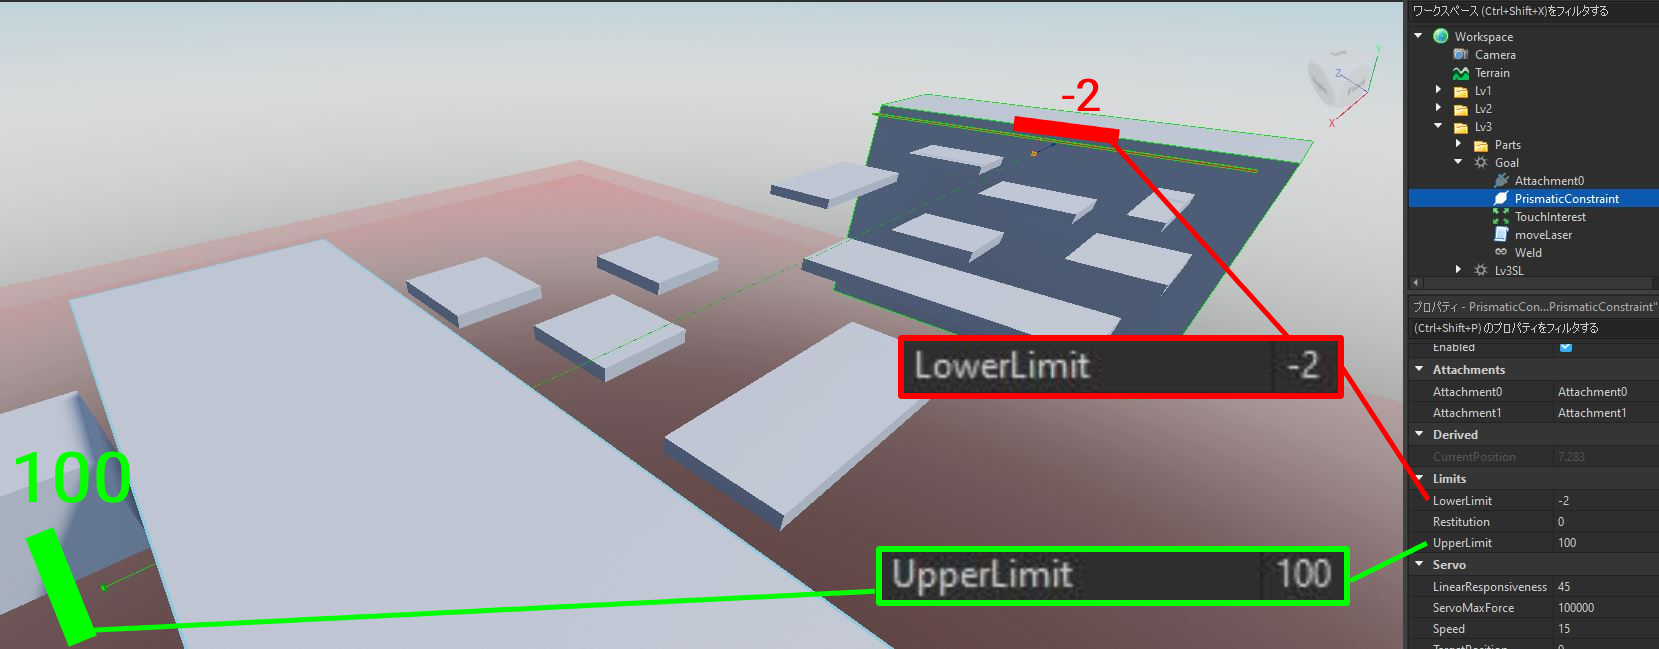
6. Under “PrismaticConstraint”,
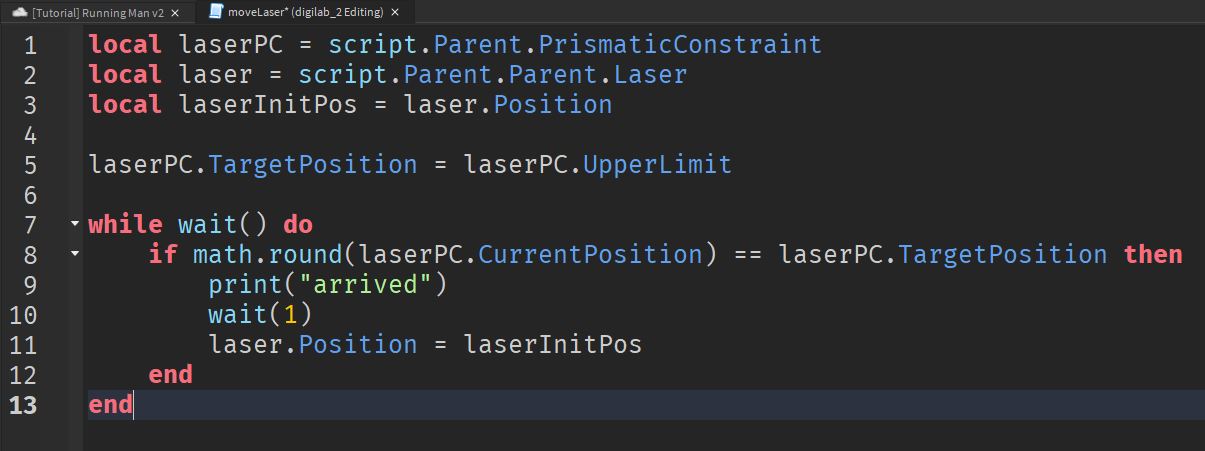
7. Create a script file under “Goal”, and name it “moveLaser”:
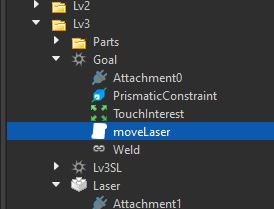
game.Workspace.Lv3.Goal.moveLaser
8. Test your game:
(If your laser goes over the “Lv3” spawn like the video does, adjust the “UpperLimit” under “PrismaticConstraint”)

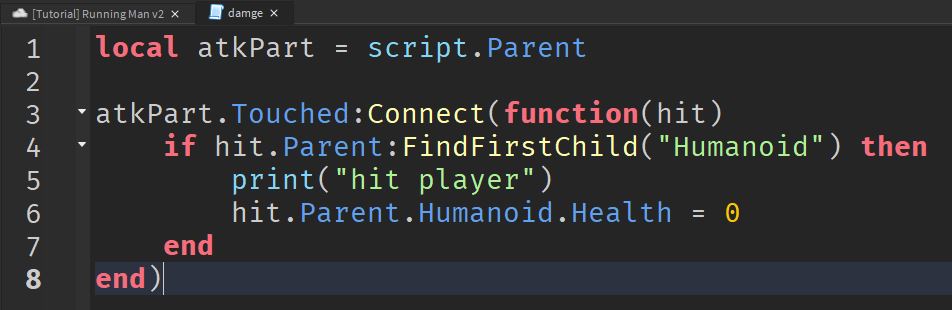
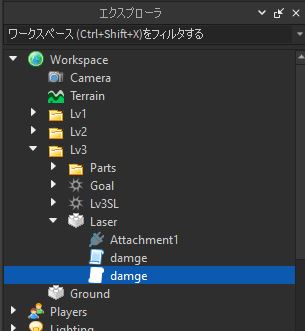
9. Create a script file under “Laser”, and name it “damage”:
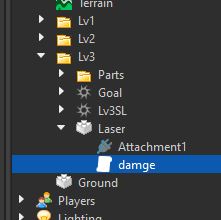
game.Workspace.Lv3.Laser.damage
10. Test your game:
Step 5: Killing ground
Now let’s add the script that when player falls to the red ground, they will be killed:
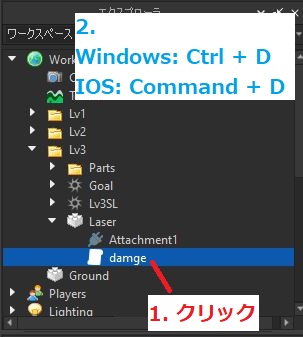
Simply duplicate the “damage” file under “Laser”, and put it under “Ground”:
Test your game:
Step 6: Respawn Location (Save point)
We will add save points in between levels, so that we don’t need to restart from Lv1 again when we got killed:
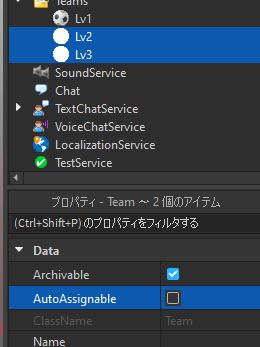
1. Create team for level 2 and level 3 (we already created a team for level 1 earlier):
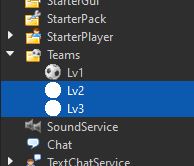
2. While selecting the two teams (Lv2 & Lv3), uncheck the box “AutoAssignable”:
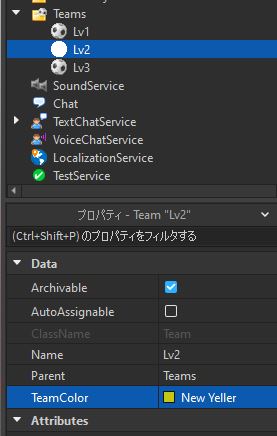
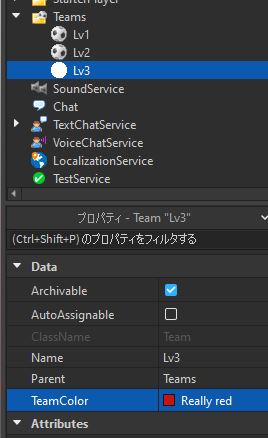
3. Give each team (Lv2 & Lv3) their own “TeamColor”:
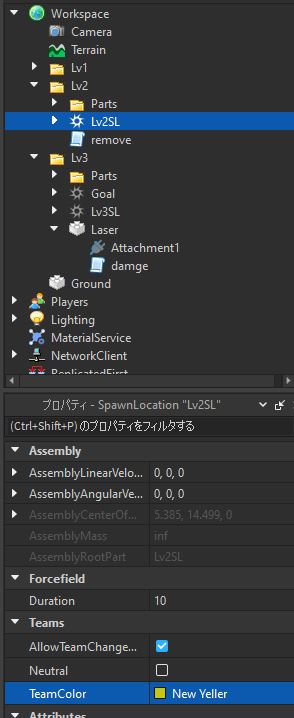
4. Assign the same “TeamColor” as you did in above, to the Level 2 and Level 3 Spawn Location:
Test if your save point is working:
Note: It is better to turn off “Goal” “AllowTeamChangeOnTouch” property:
Step 7: Goal Message (GUI)
We are close to finishing our project!
When the players reach the goal, we need to show them their score.
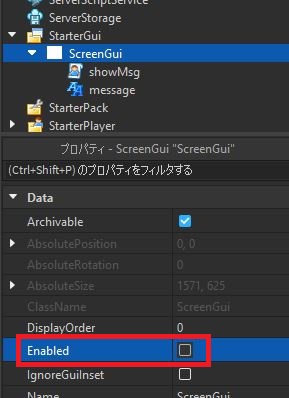
1. We will do it by adding “ScreenGui” under “StarterGui”:
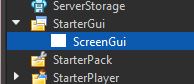
2. Under “ScreenGui”, add a “LocalScript” and a “TextLabel”:
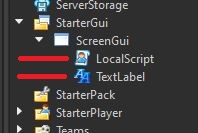
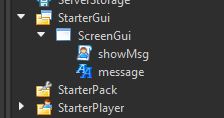
3. Rename the “LocalScript” to “showMsg”, and the “TextLable” to “message”:
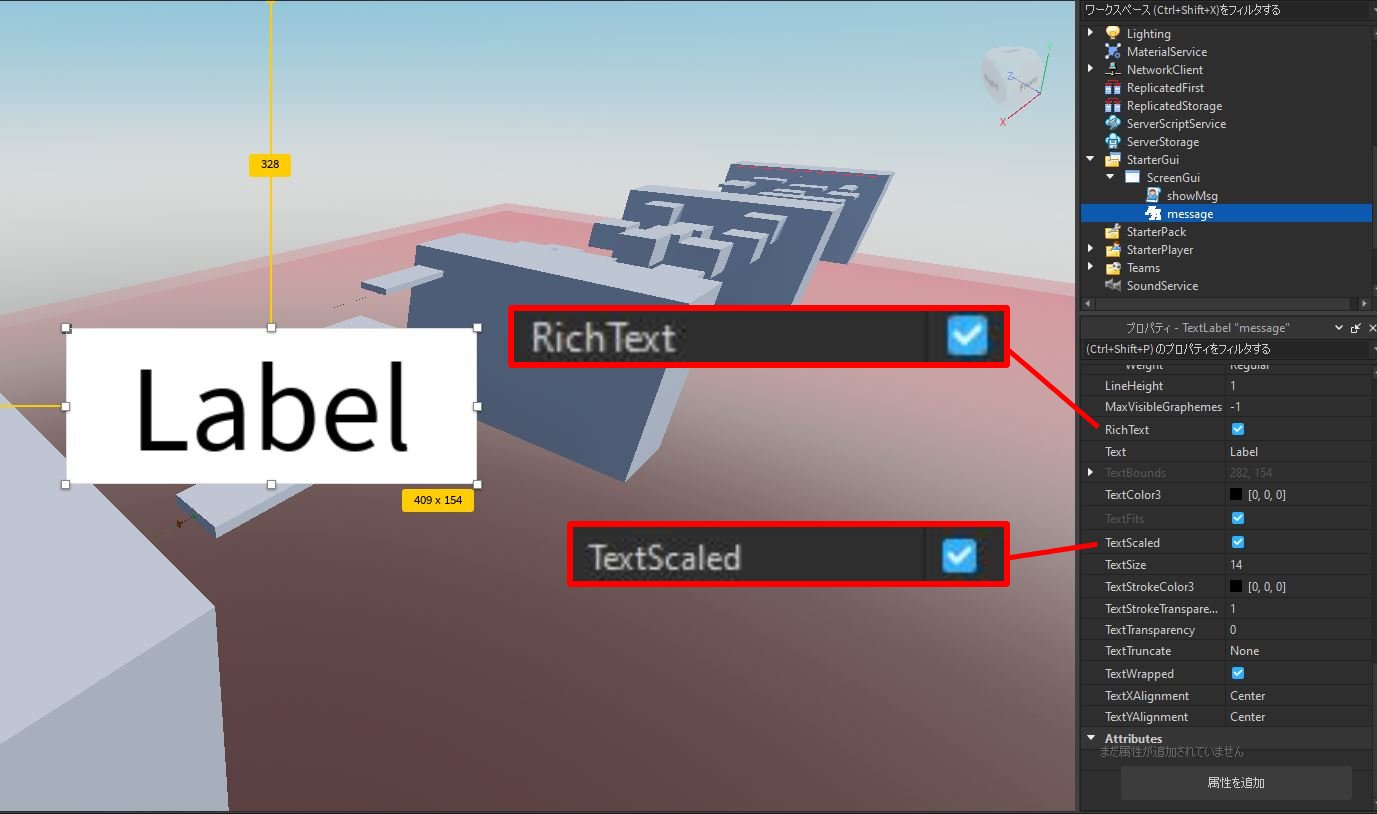
4. Make our “message” bigger, and move it to the center of our screen:
5. Also change the properties of “message” as shown:
6. Disable the “ScreenGui” (so that it doesn’t get in our way):
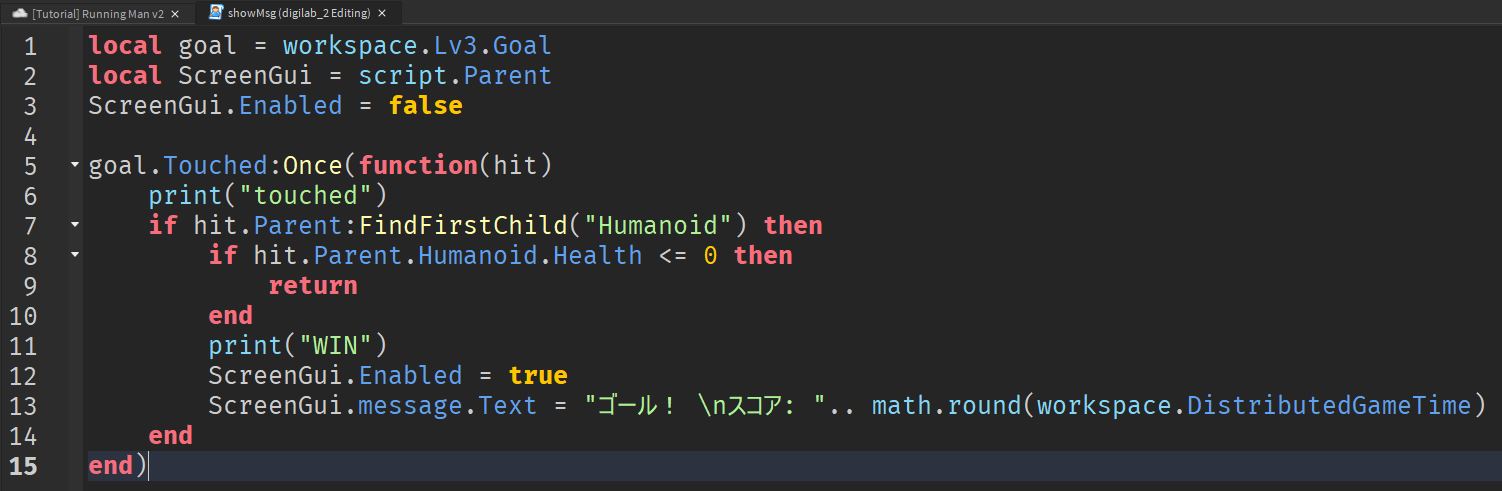
7. Open “showMsg” script and type the follow:
game.StarterGui.ScreenGui.showMsg —
8. Test your game:
Step 8: Final touch
Decorate your game with better part colors and materials!
This below is for your reference only, so please be creative!