Welcome to the world of Roblox Studio! We will learn how to use Roblox Studio to prepare us creating games in the future!
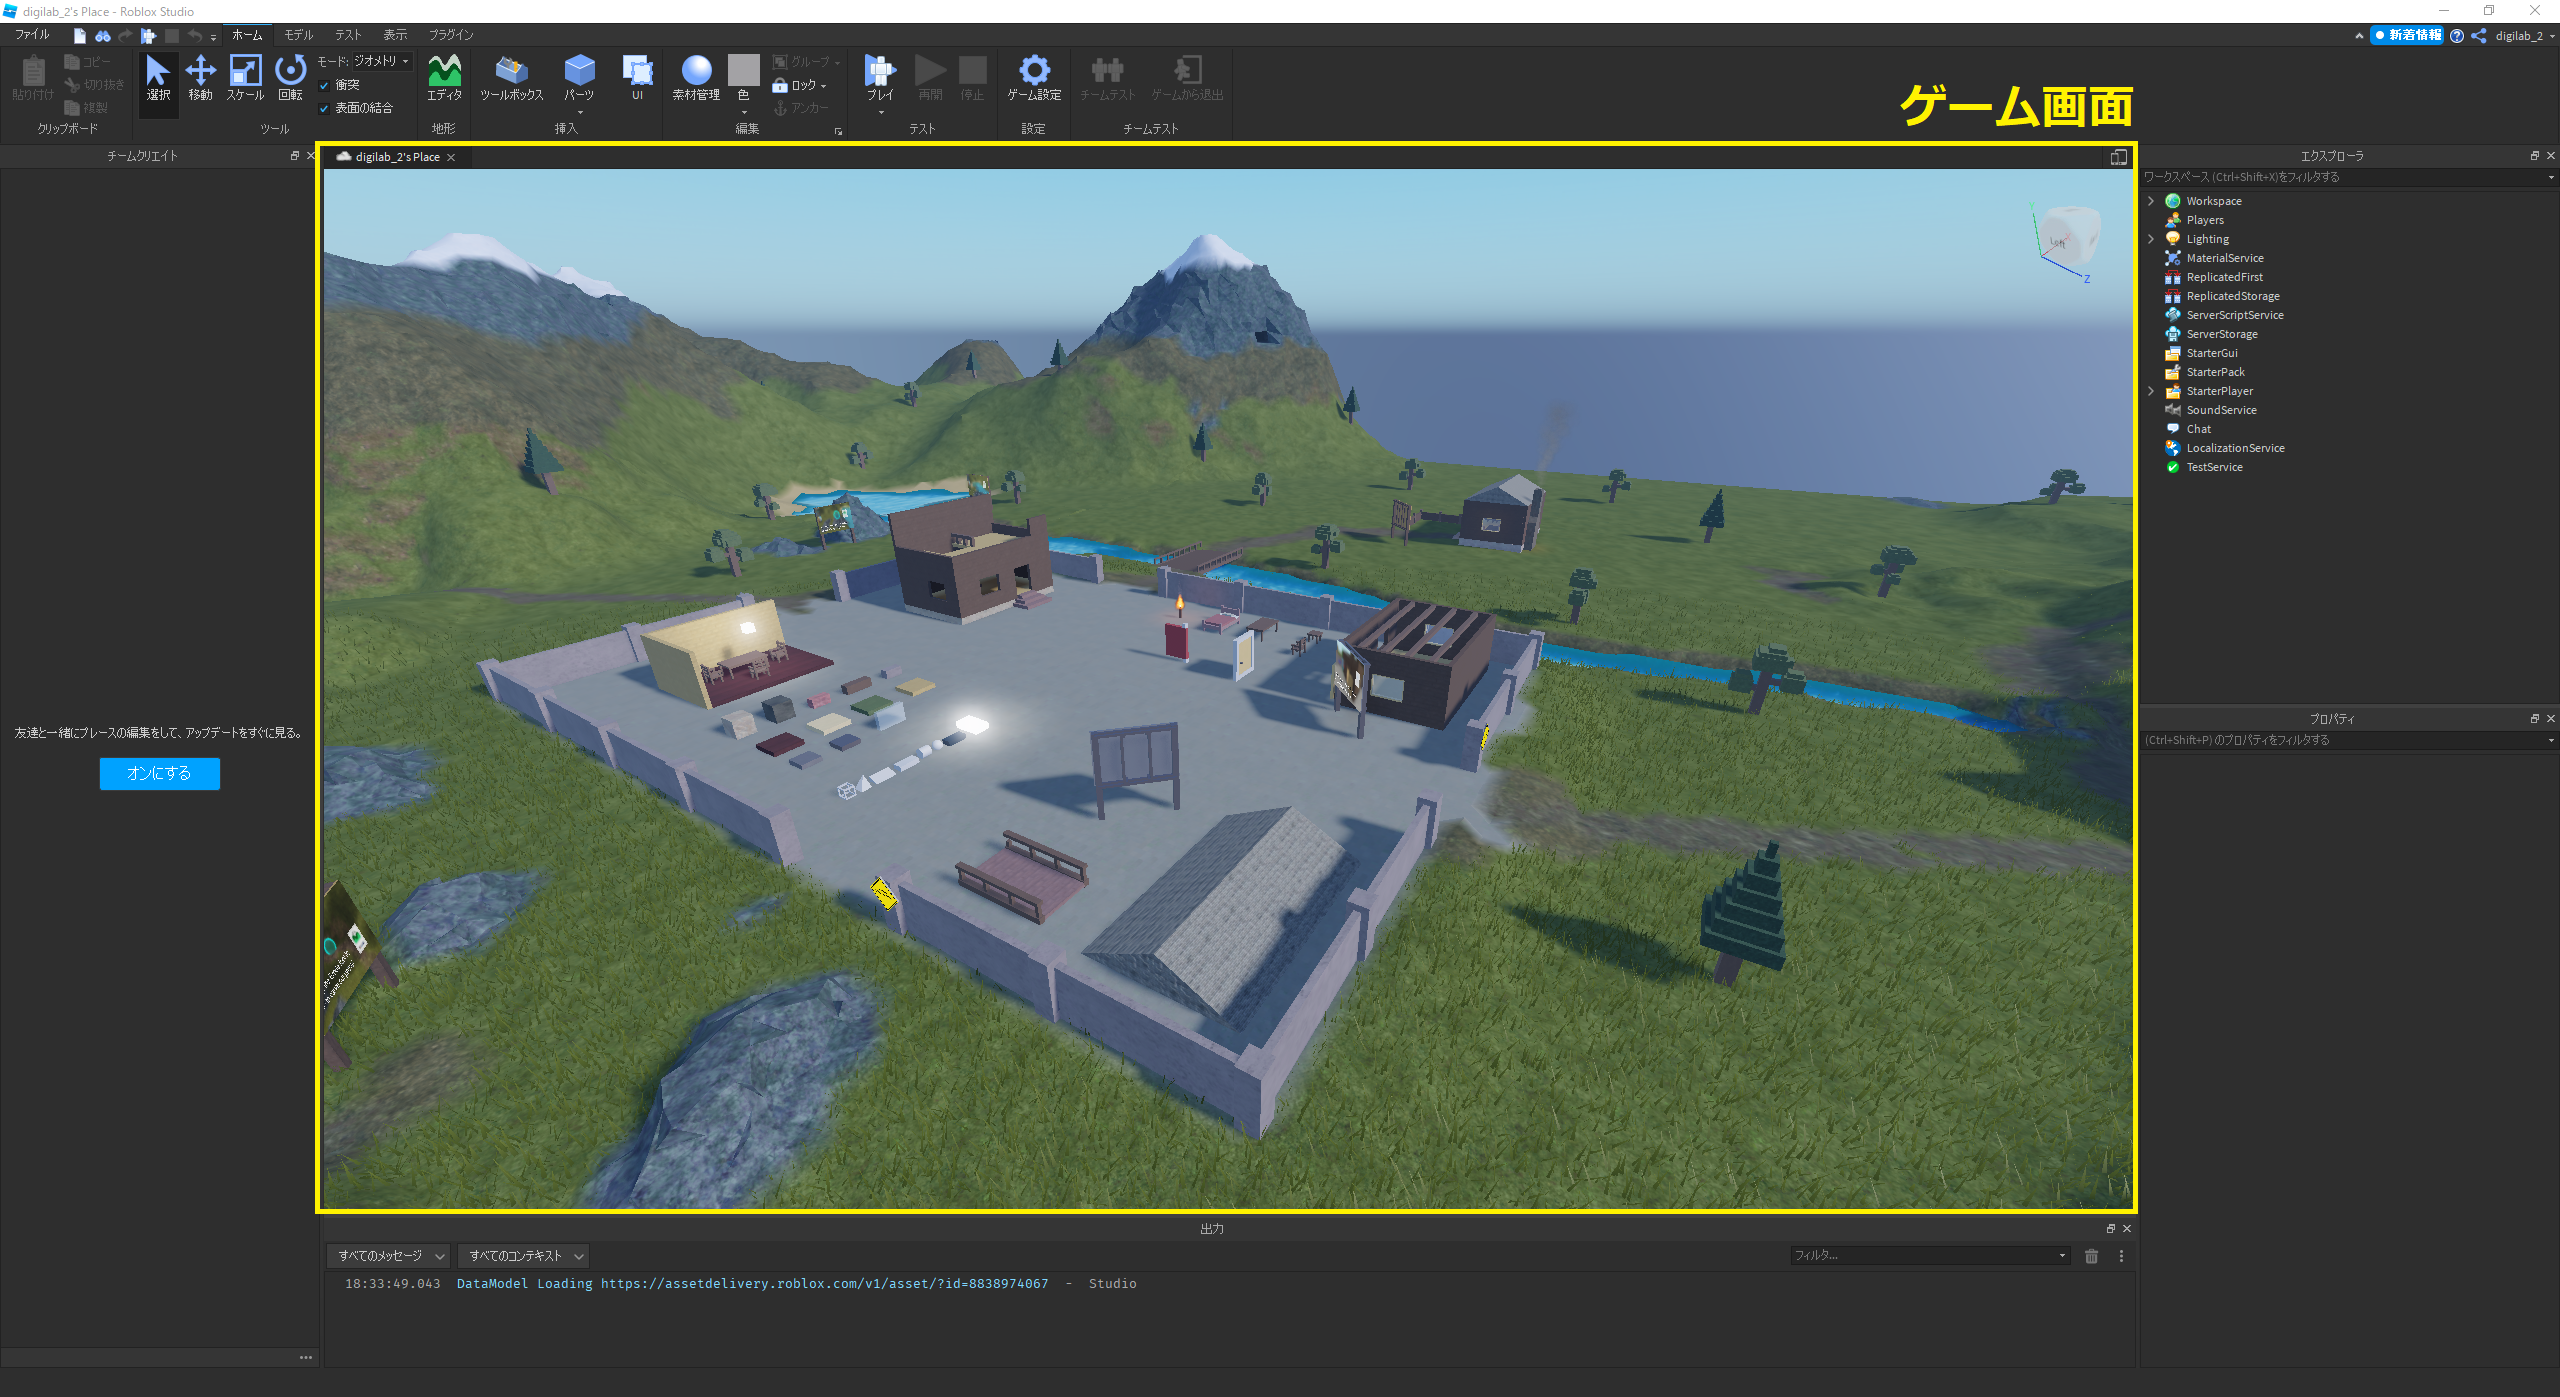
1. Game Screen Camera Movement
In the middle of everything is the game screen:
Let’s try to move around inside the game world!
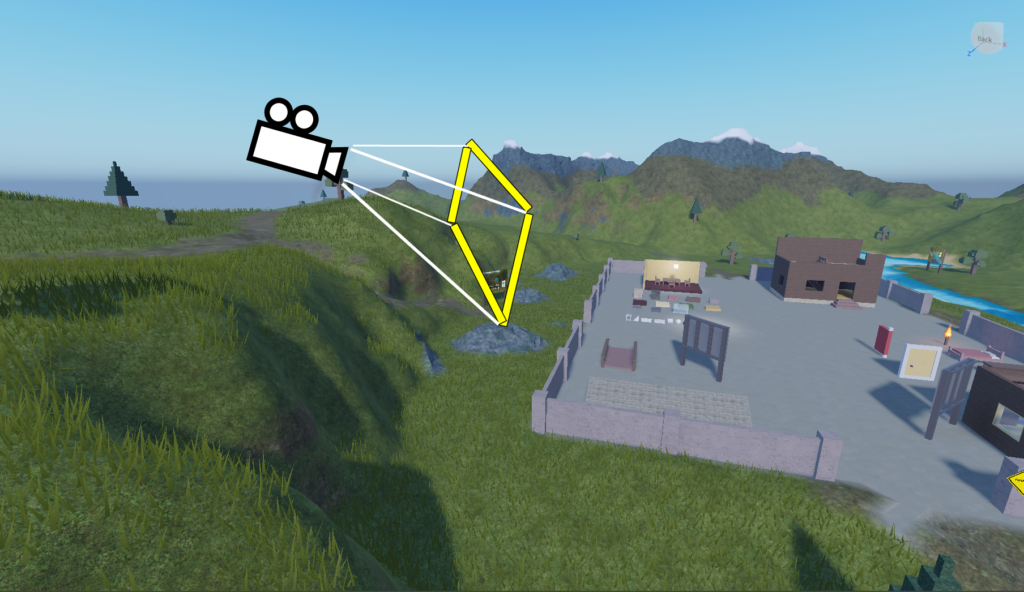
1. Look around
While editing in Roblox Studio, imagine yourself as a flying camera, like this:
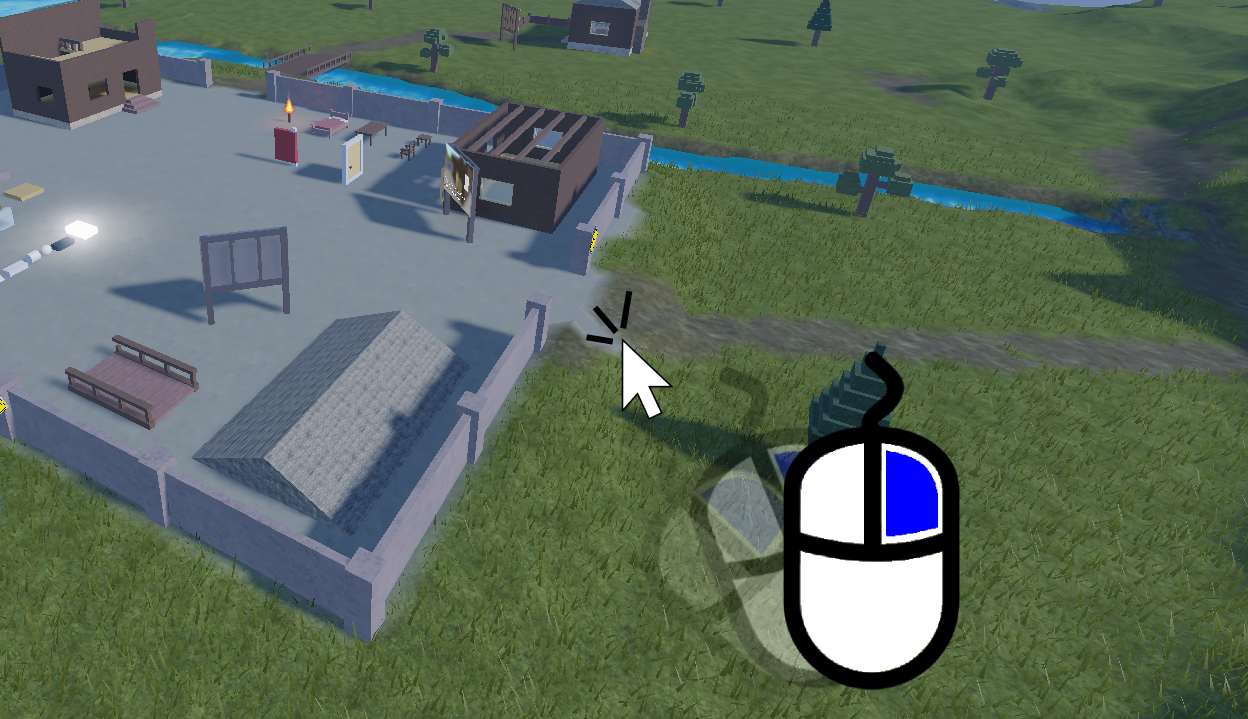
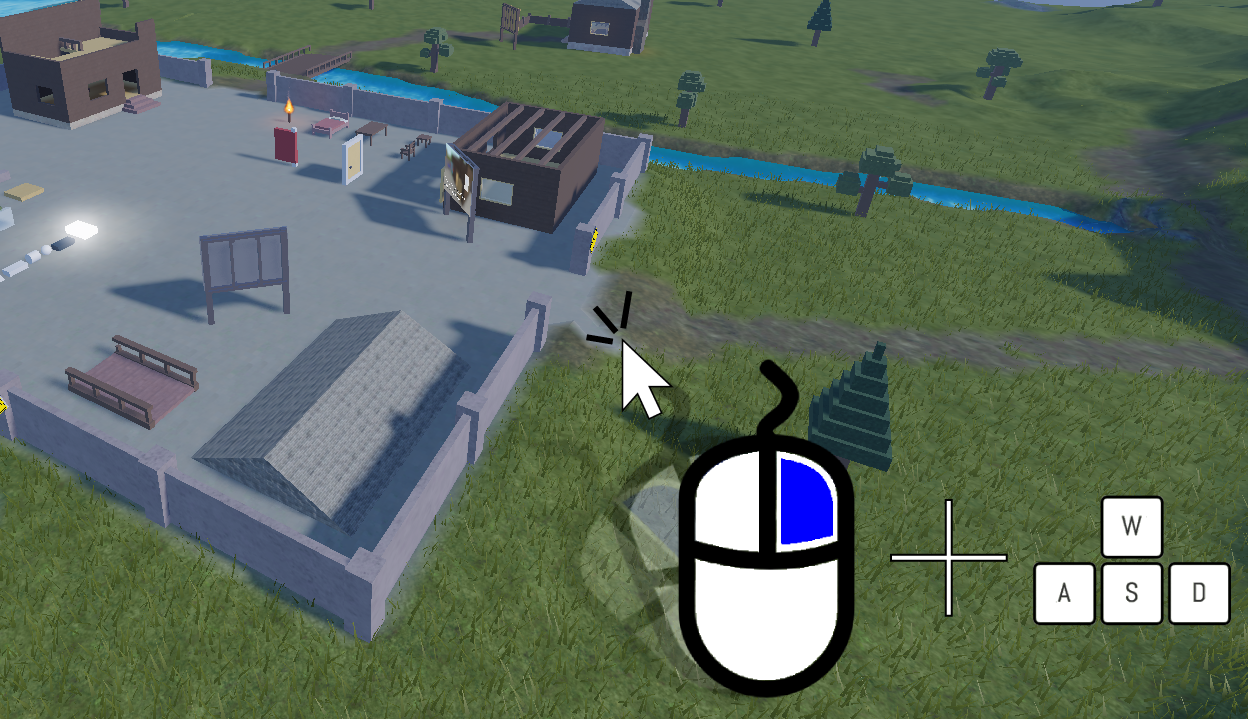
Right click on the game screen, hold it and move your mouse around to look around:
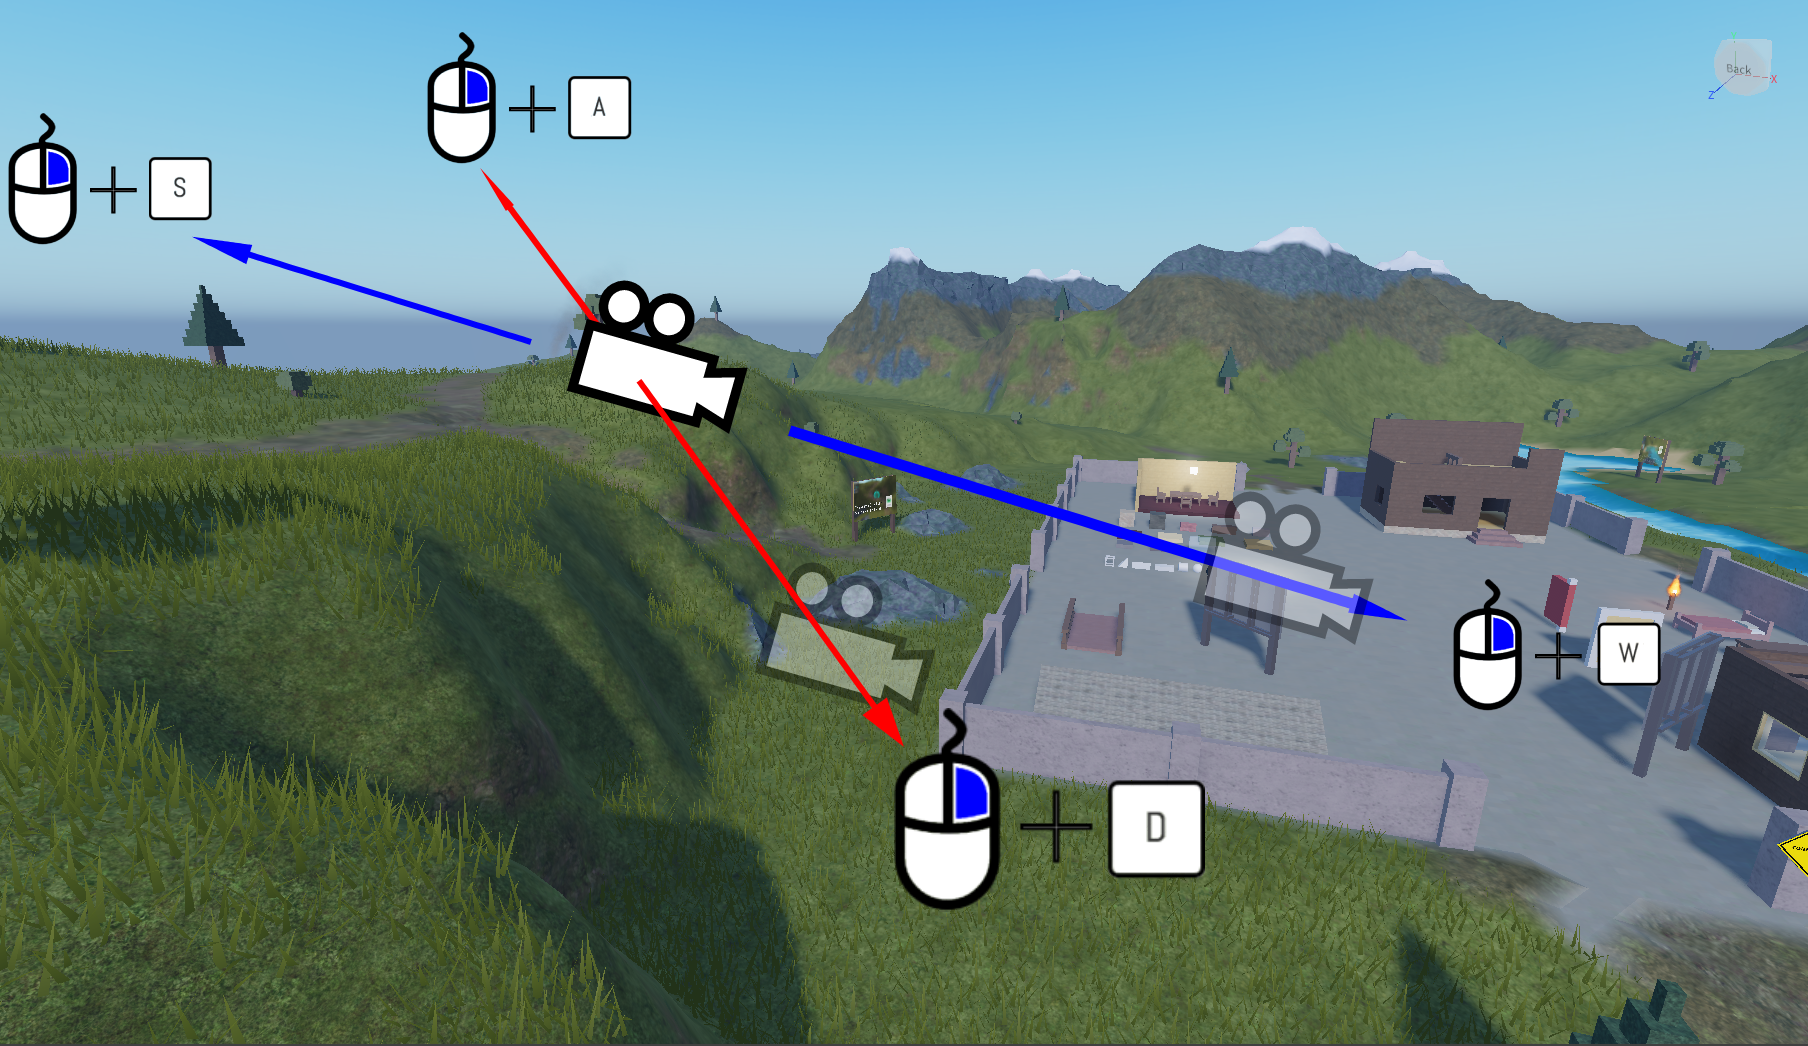
2. Move around
Right click on the game screen, hold it and press W/S/A/D to move around in the game:
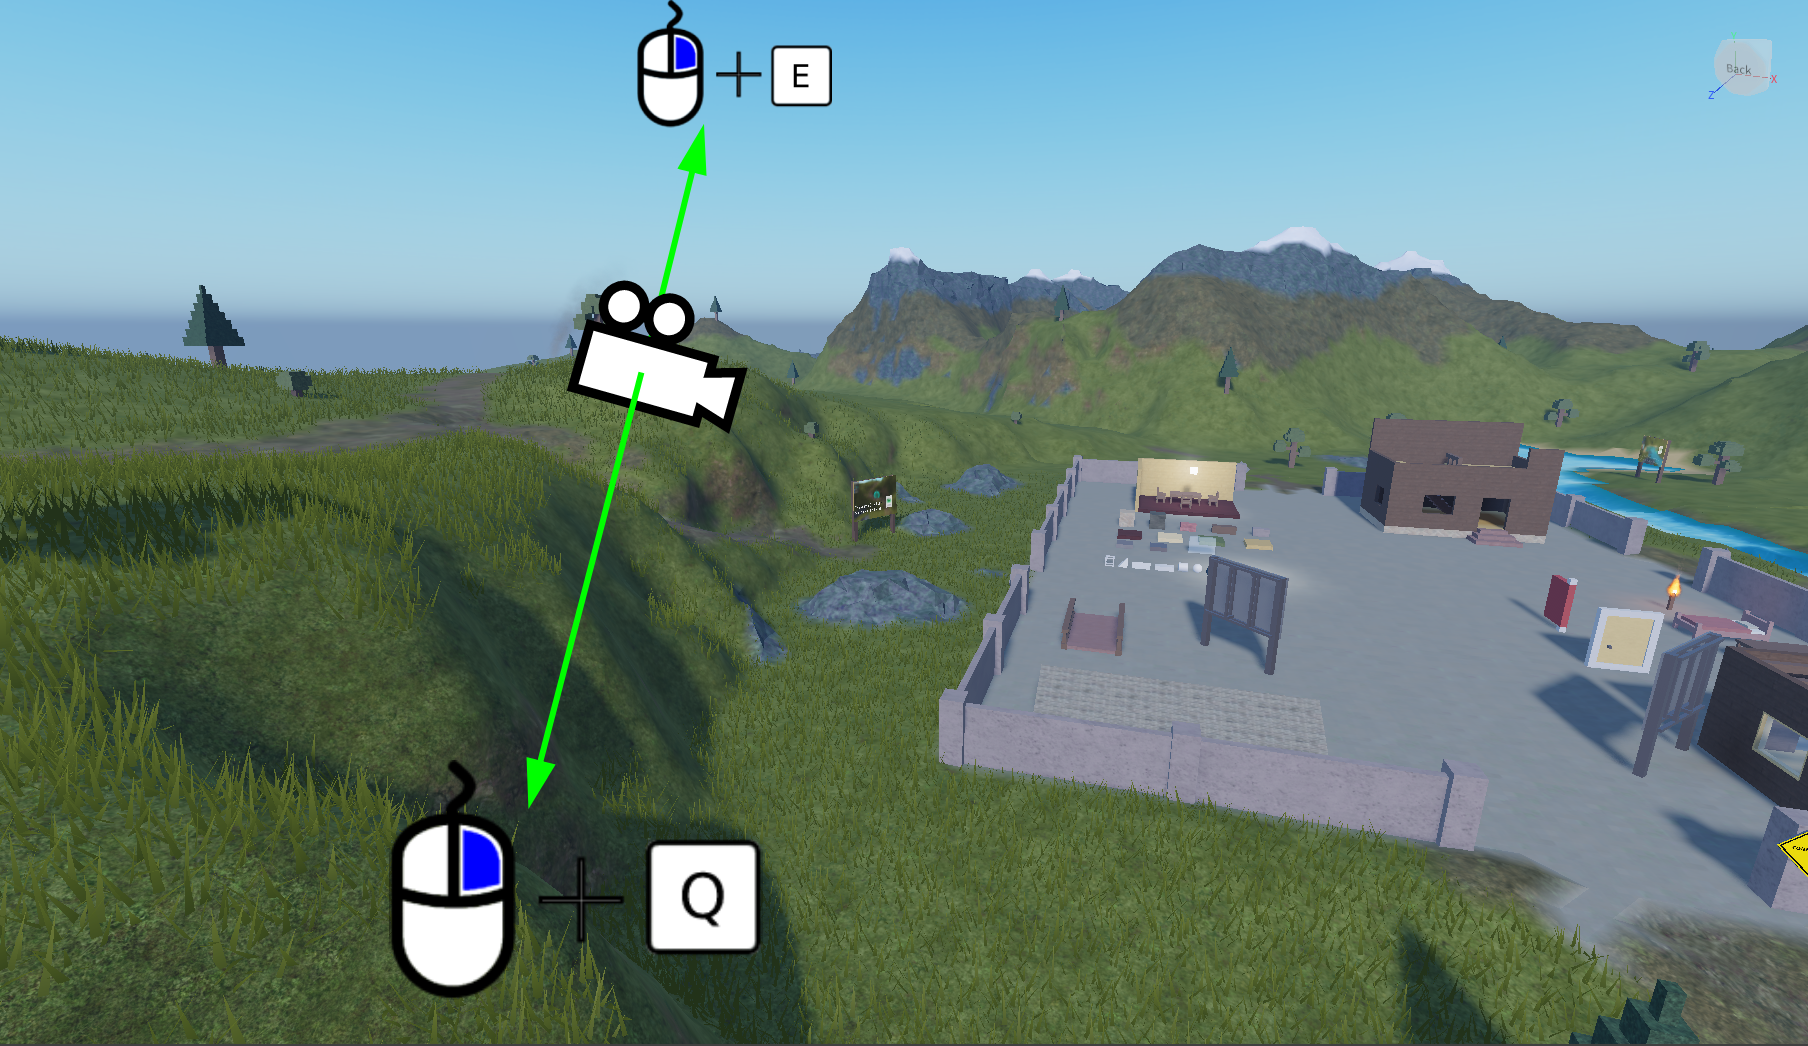
3. Ascend/Descend
Similar to moving around, to go up or down just hold the right click and press key E/Q
2. Resize/move parts
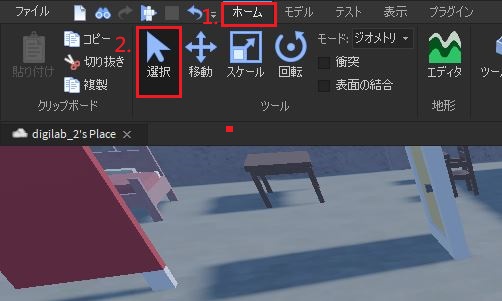
To resize/move game objects around, we will use the following tools on the top left corner:
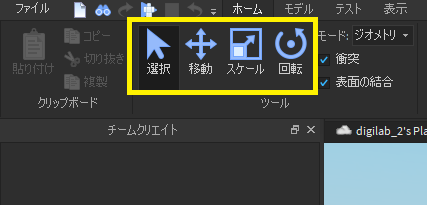
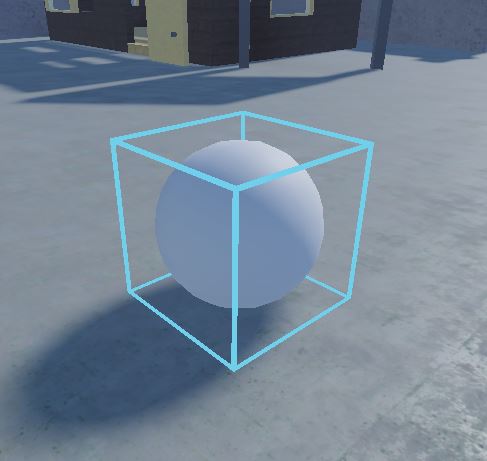
1. Select object
Before we move, resize, or rotate an object, we have to tell the computer which object we want to choose:
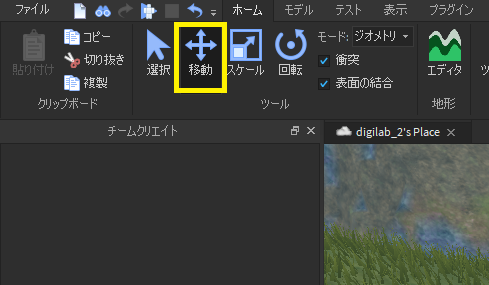
2. Move object
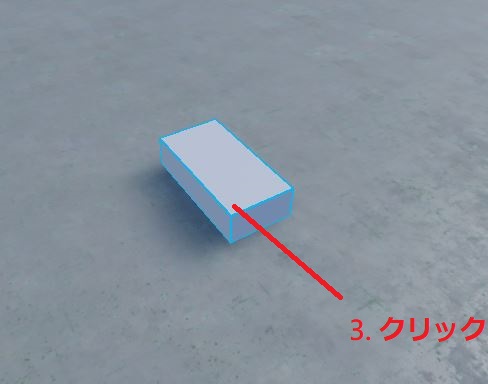
After we selected the part we want to move, there are two ways to move an object:
The first way is to click on the object and drag it directly to the place you want it. Note that the object will only stick on the surface of other objects when you use this way to move things around:

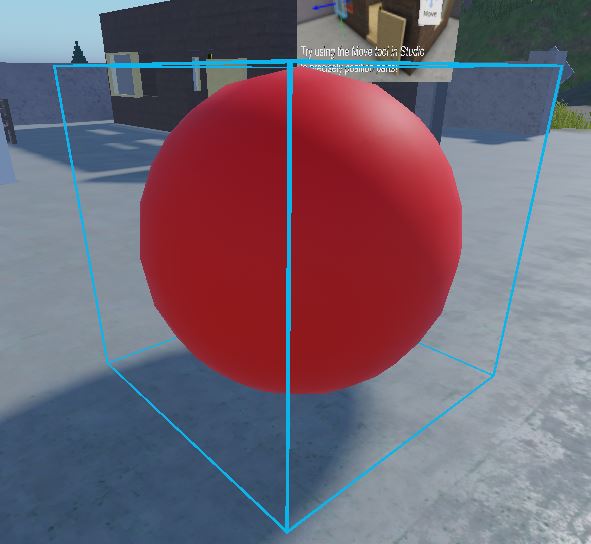
Another way to move object is by using “Move” tool. This is a more preferred way, as it can do detailed adjustment:
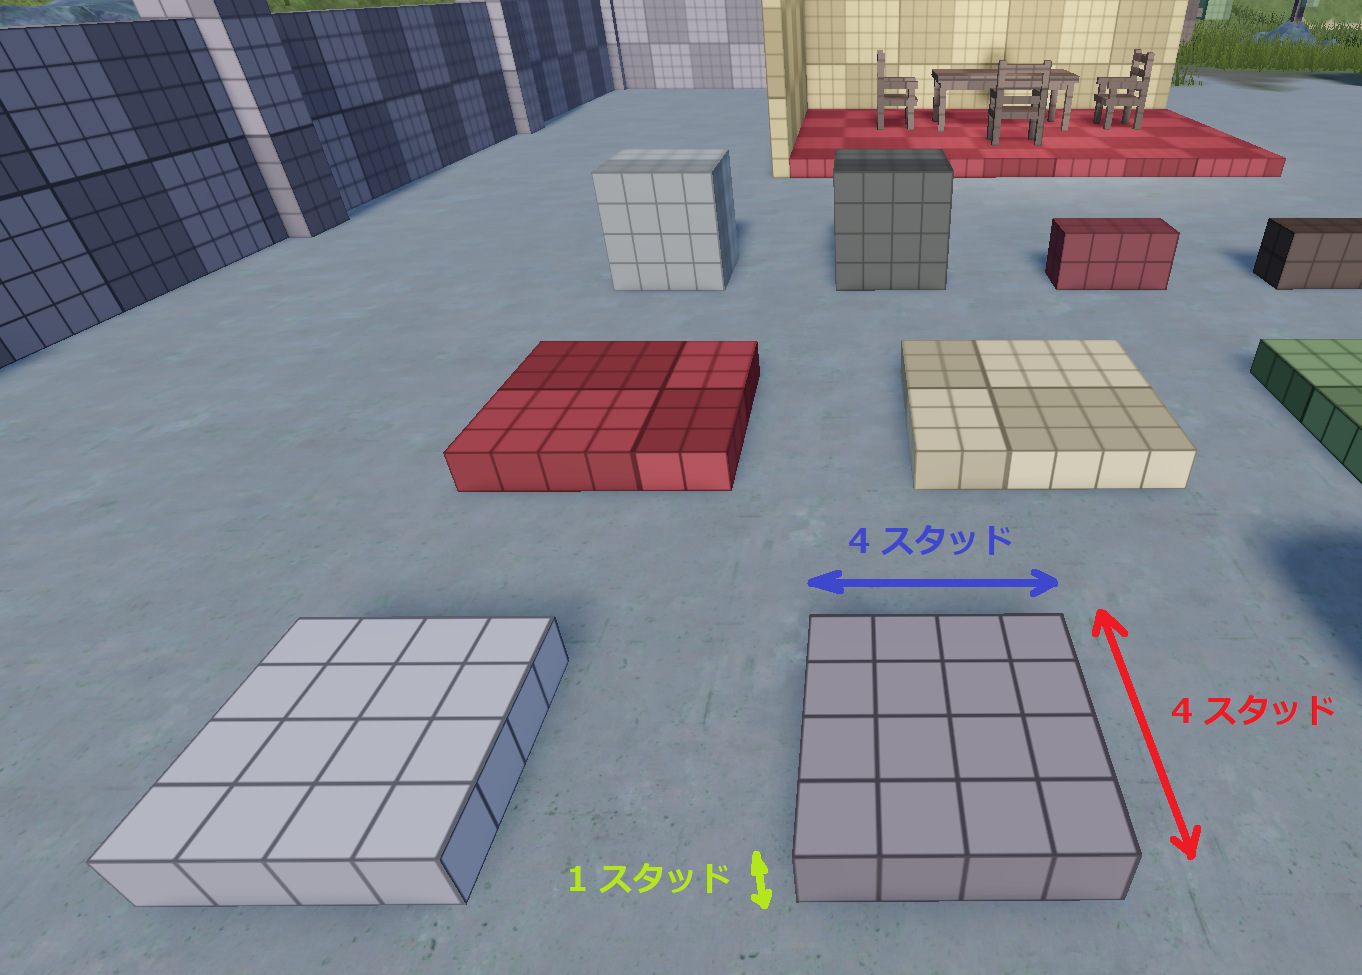
In Roblox Studio, object (or we call it “Part”) is measured in “Stud”.
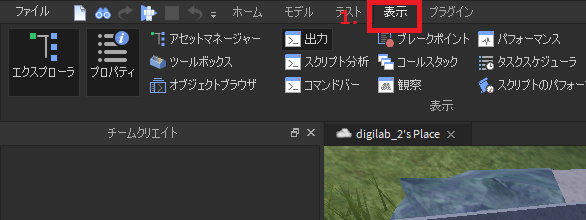
Click “View” -> “Grid Material” to see the size of each parts visually:

To move parts in studs, go to “Model” and check the “Move” box.
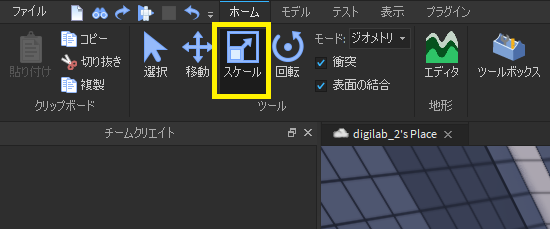
3. Resize object
To change size of a part, one direct way is to use the scale tool:
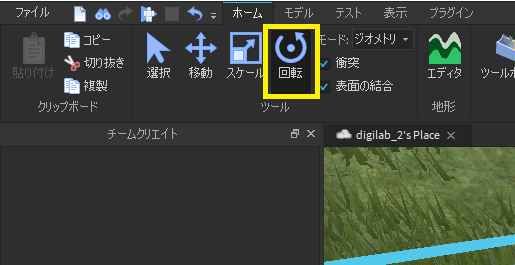
4. Rotate object
5. Turn collision on/off
When collision is on, parts cannot go through other parts, or share the same location with other parts.
Collision off example:
Collision on example:

6. Weld two objects together
To weld two objects together means to make two parts stick together.
Weld off example:
Weld on example:
One important thing: When a part is welded into another part, it is impossible to resizie it using resize tool. The size will be locked as follow:
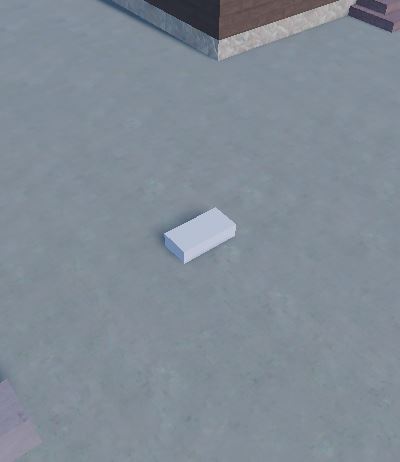
7. Create part
Let’s learn how to create our own part:
3. Hierarchy
To explain what hierarchy is, let’s look at the following example. Let’s say you have a backpack and here are the things inside:
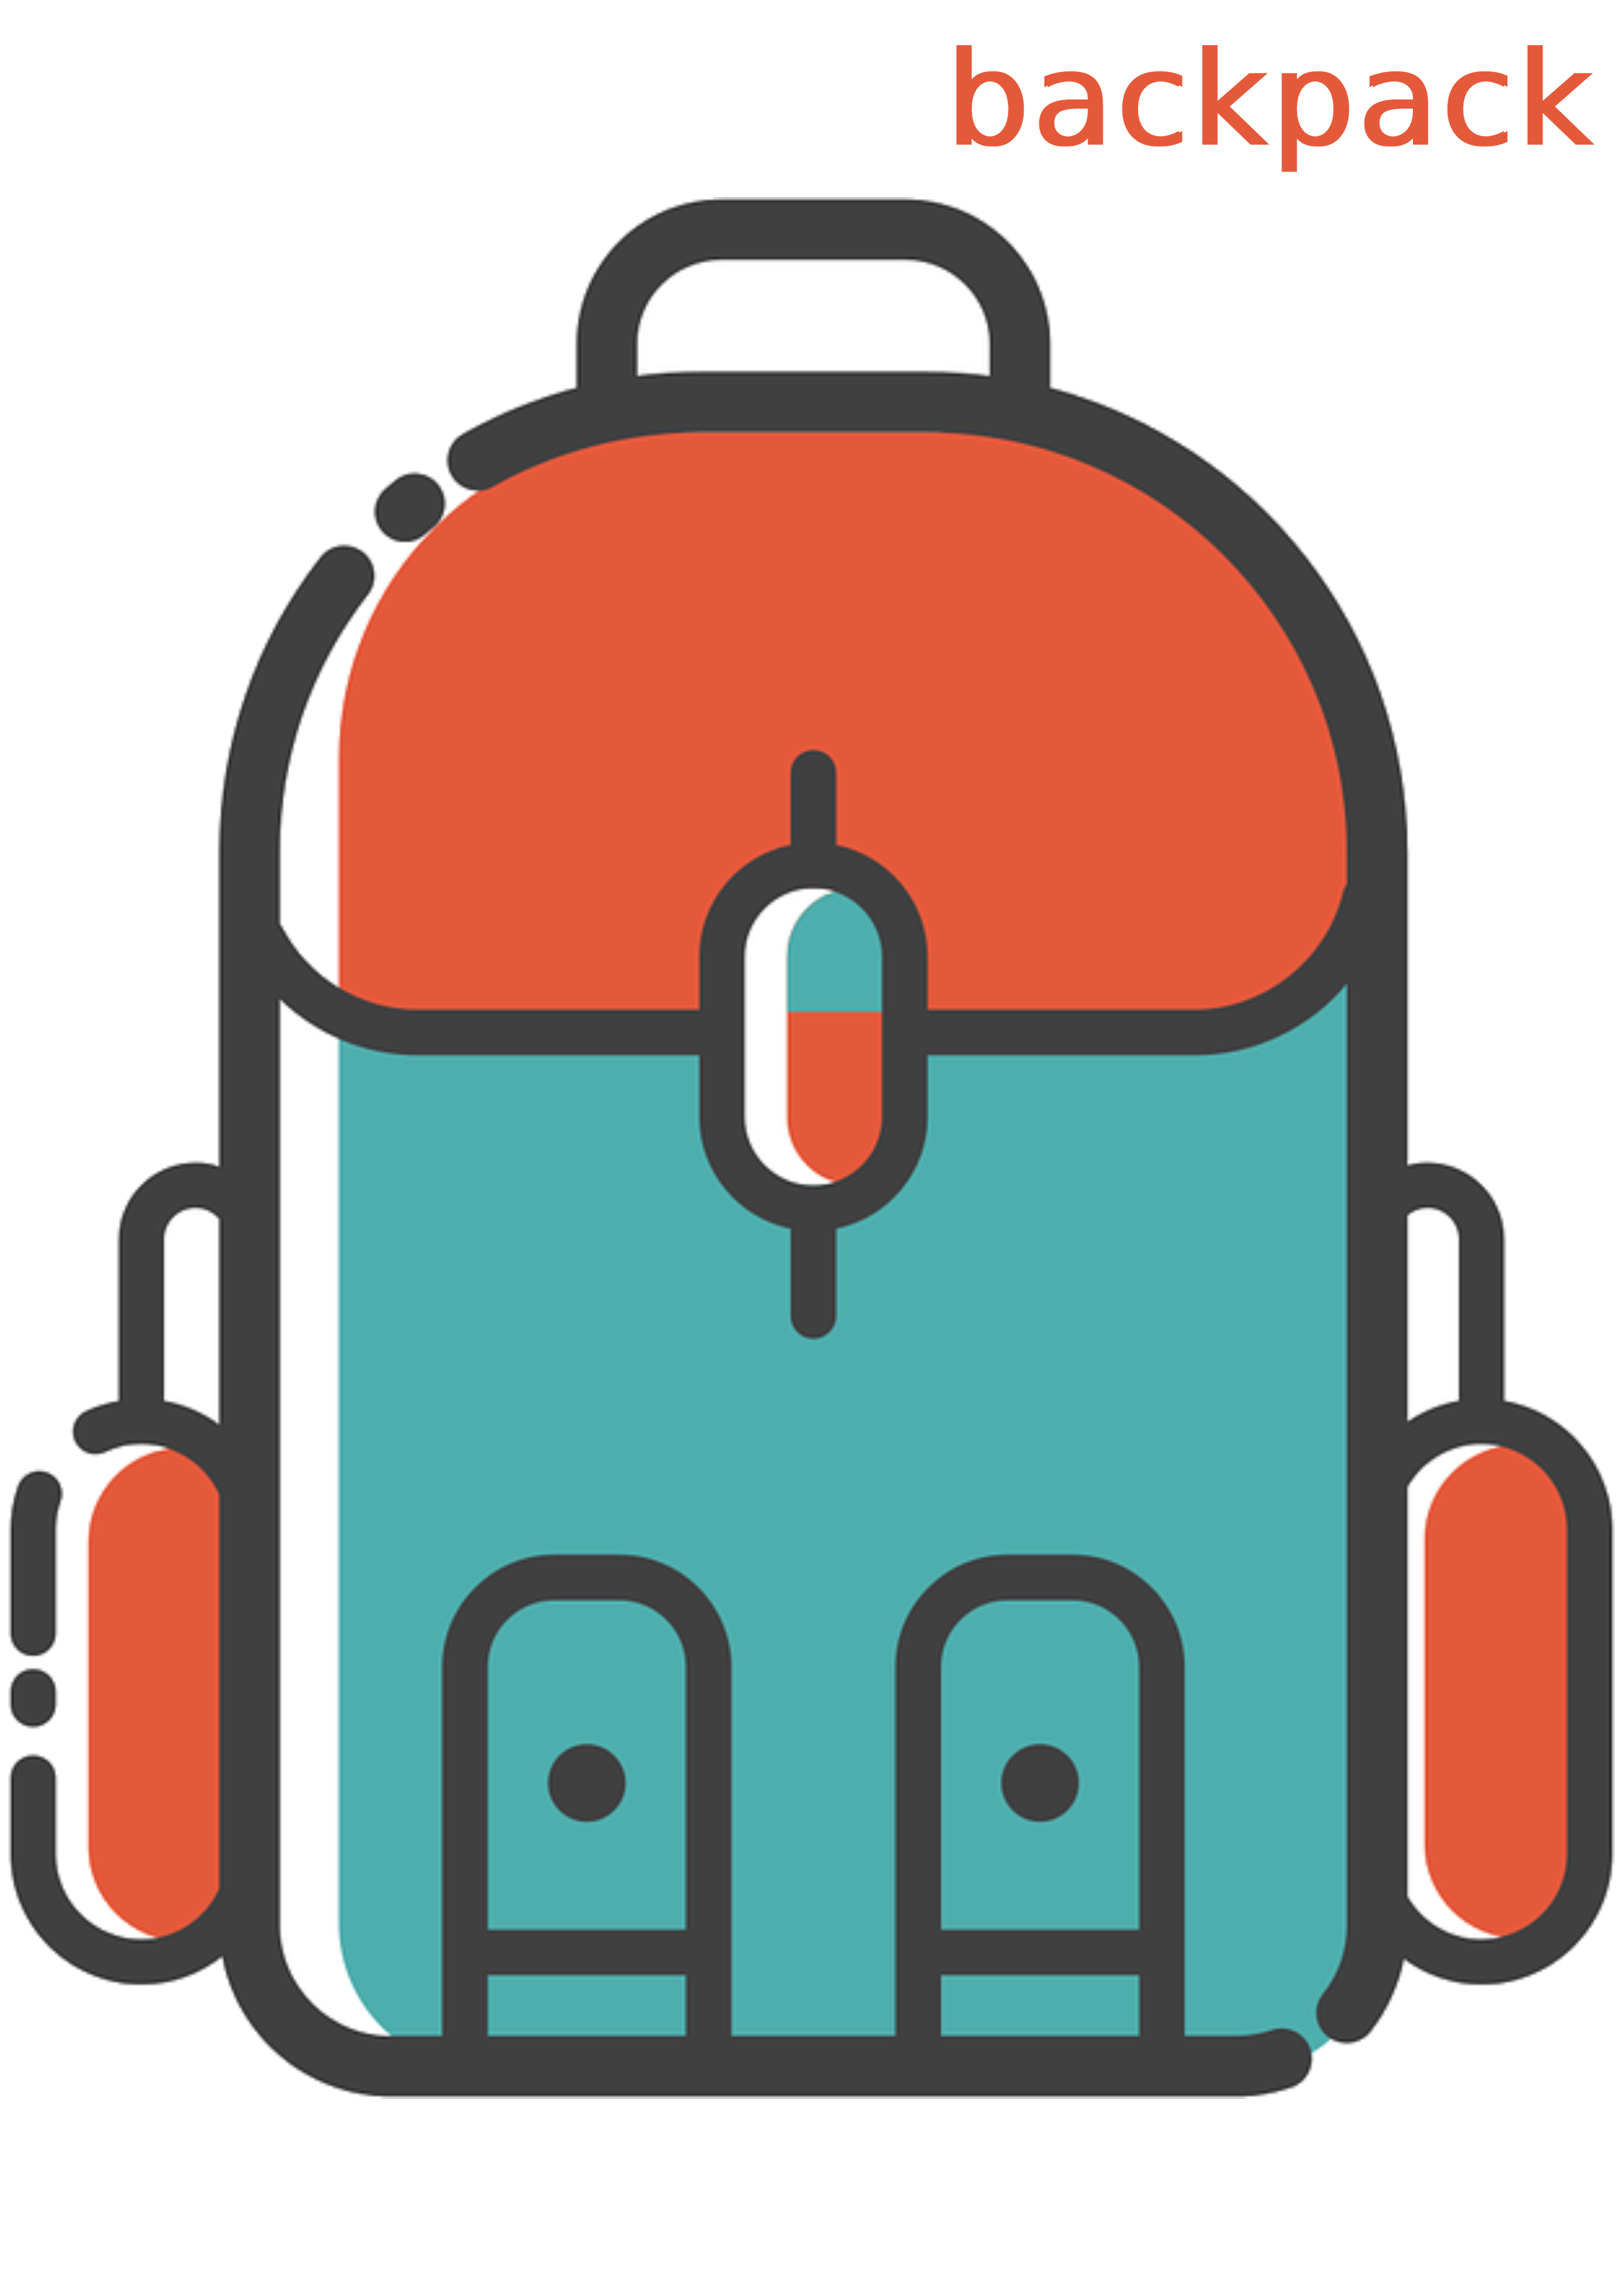
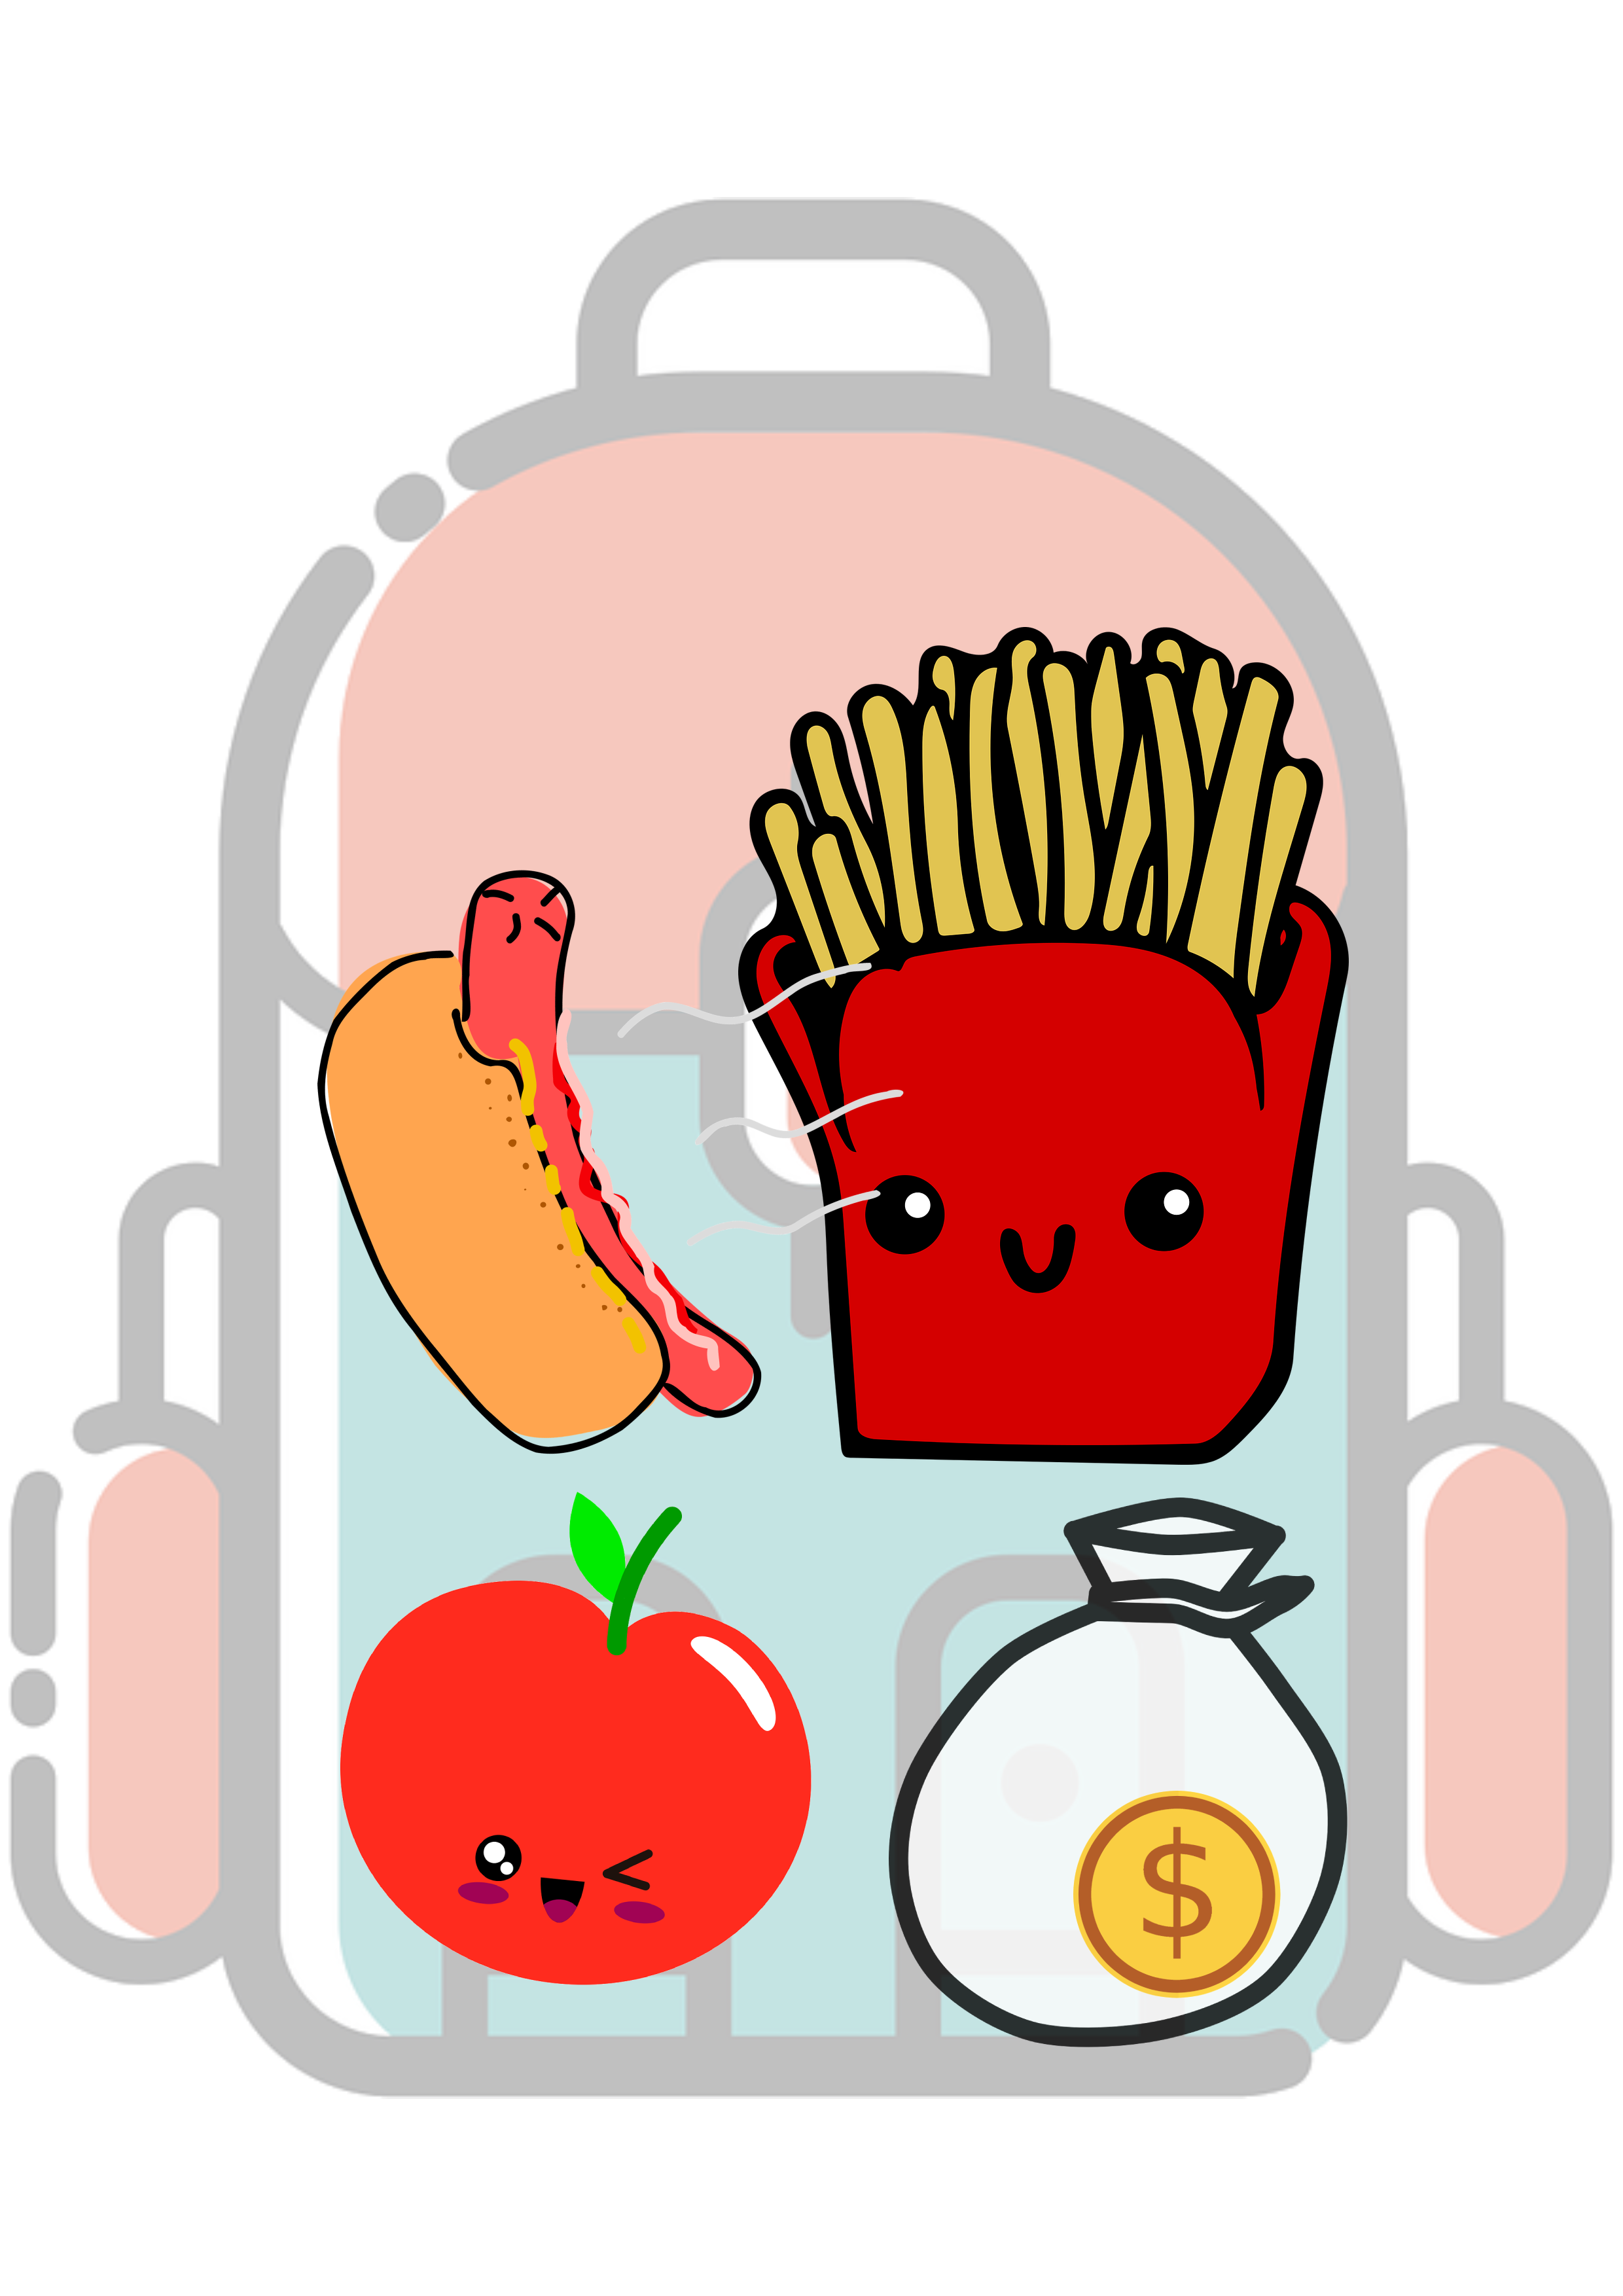
We have:
- An apple,
- a hot dog,
- fries,
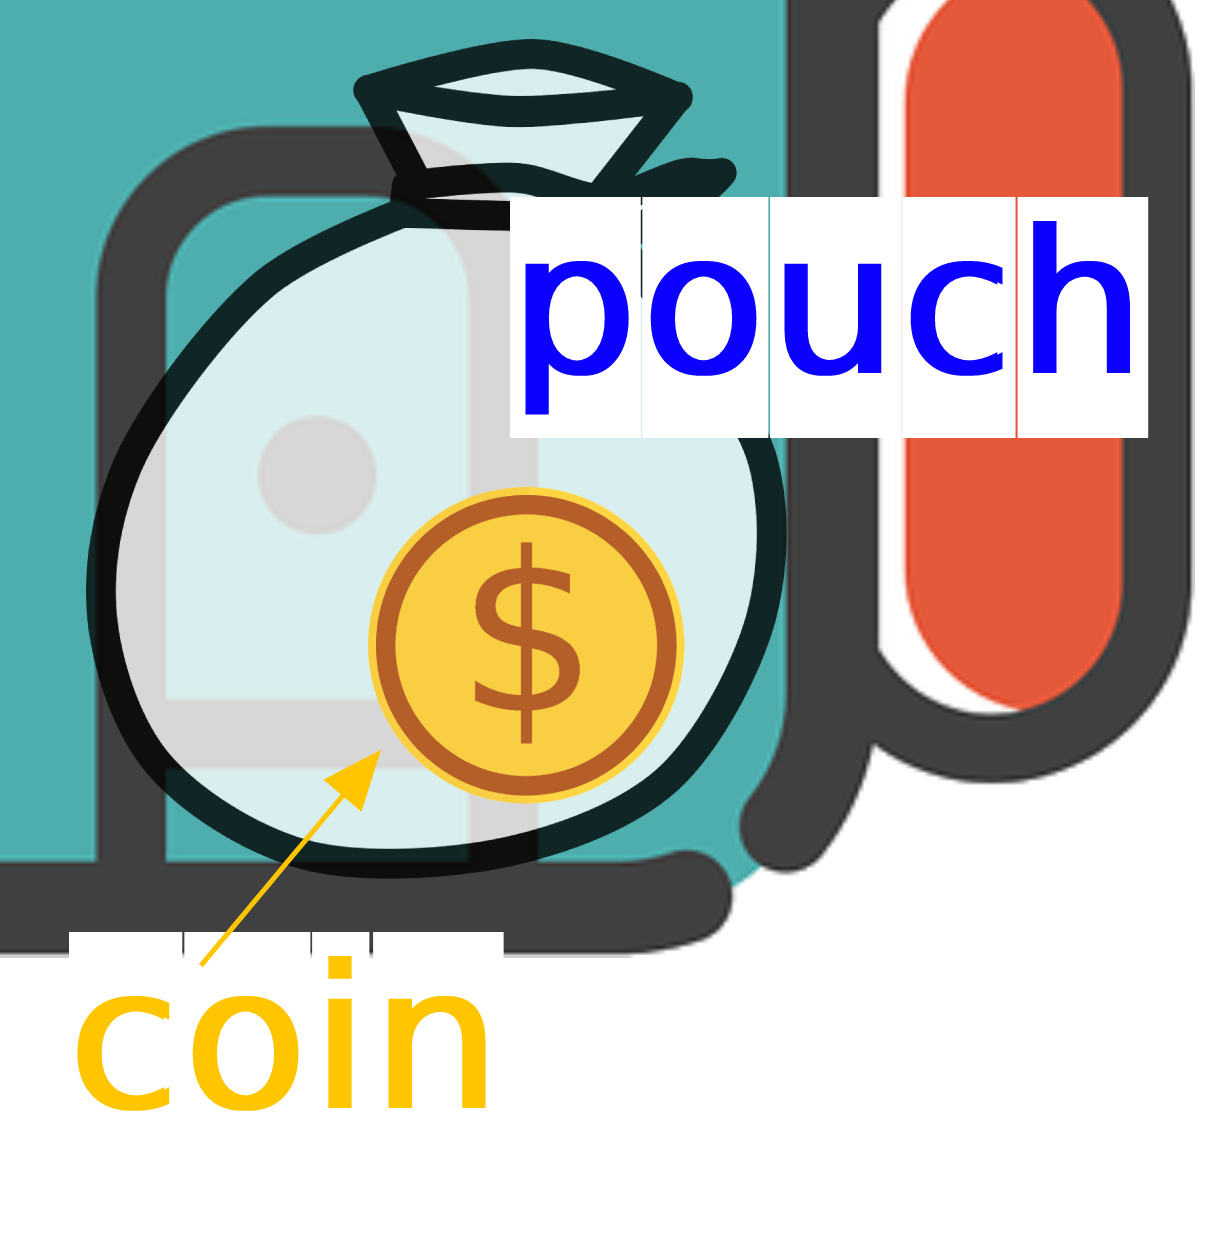
- a pouch,
- and a coin inside the pouch
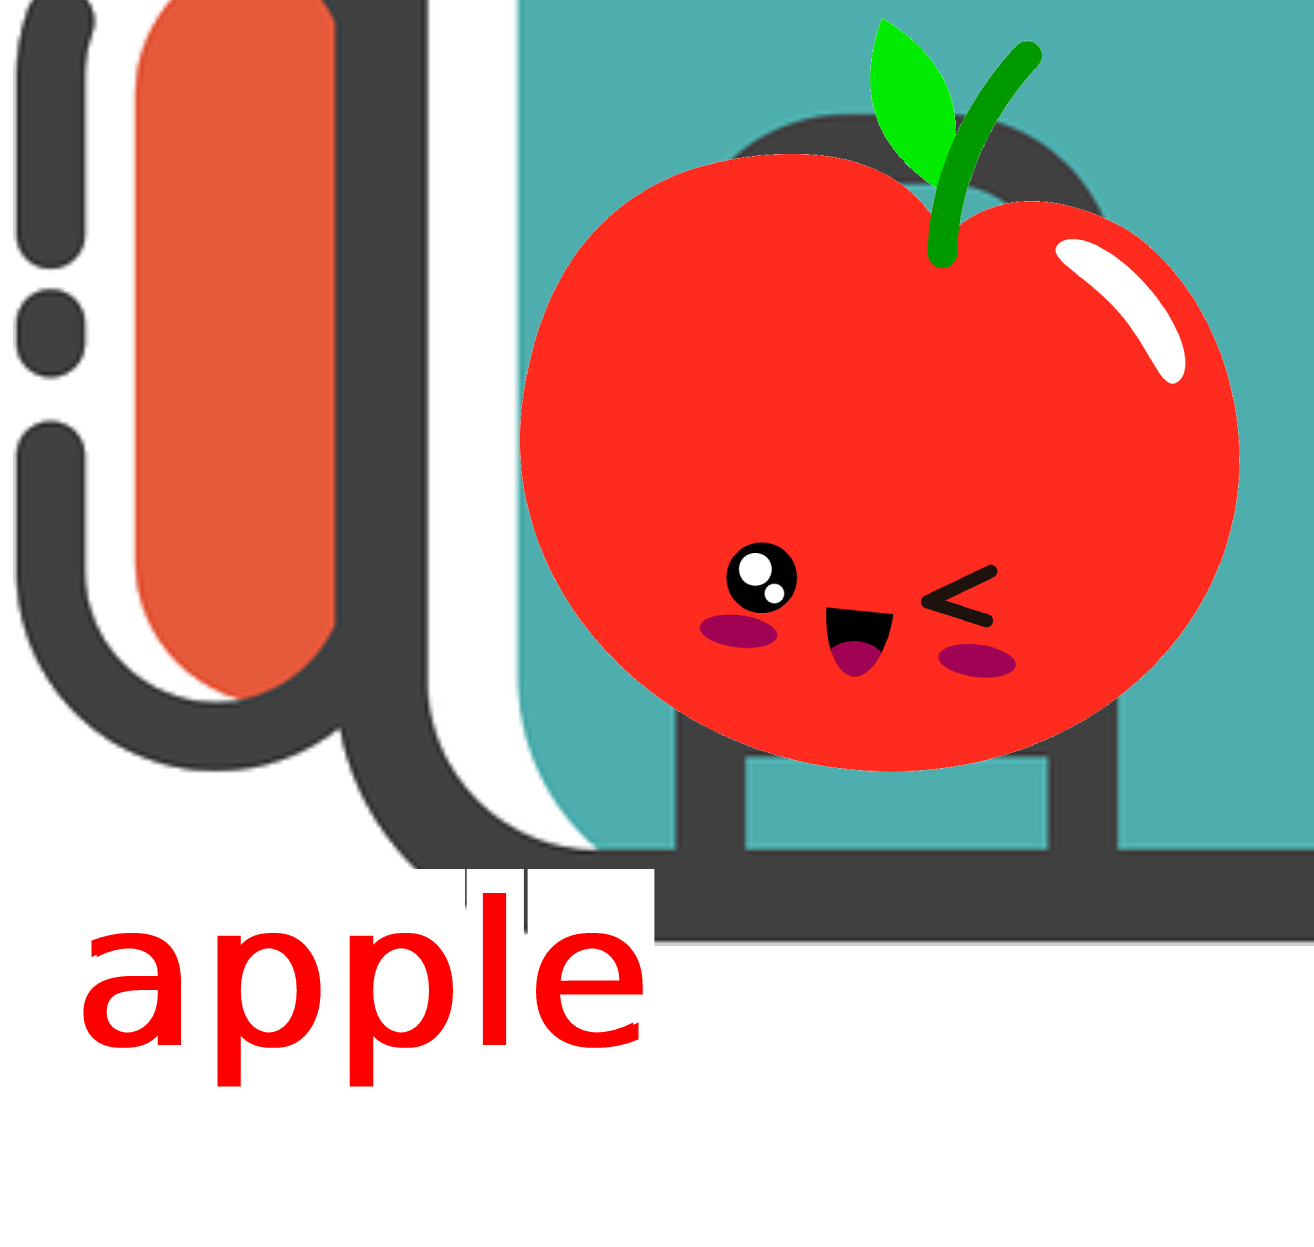
Now, if we want to call them in Roblox Studio, we cannot call them directly, since they are inside the backpack!
We have to call apple like this:
backpack.apple
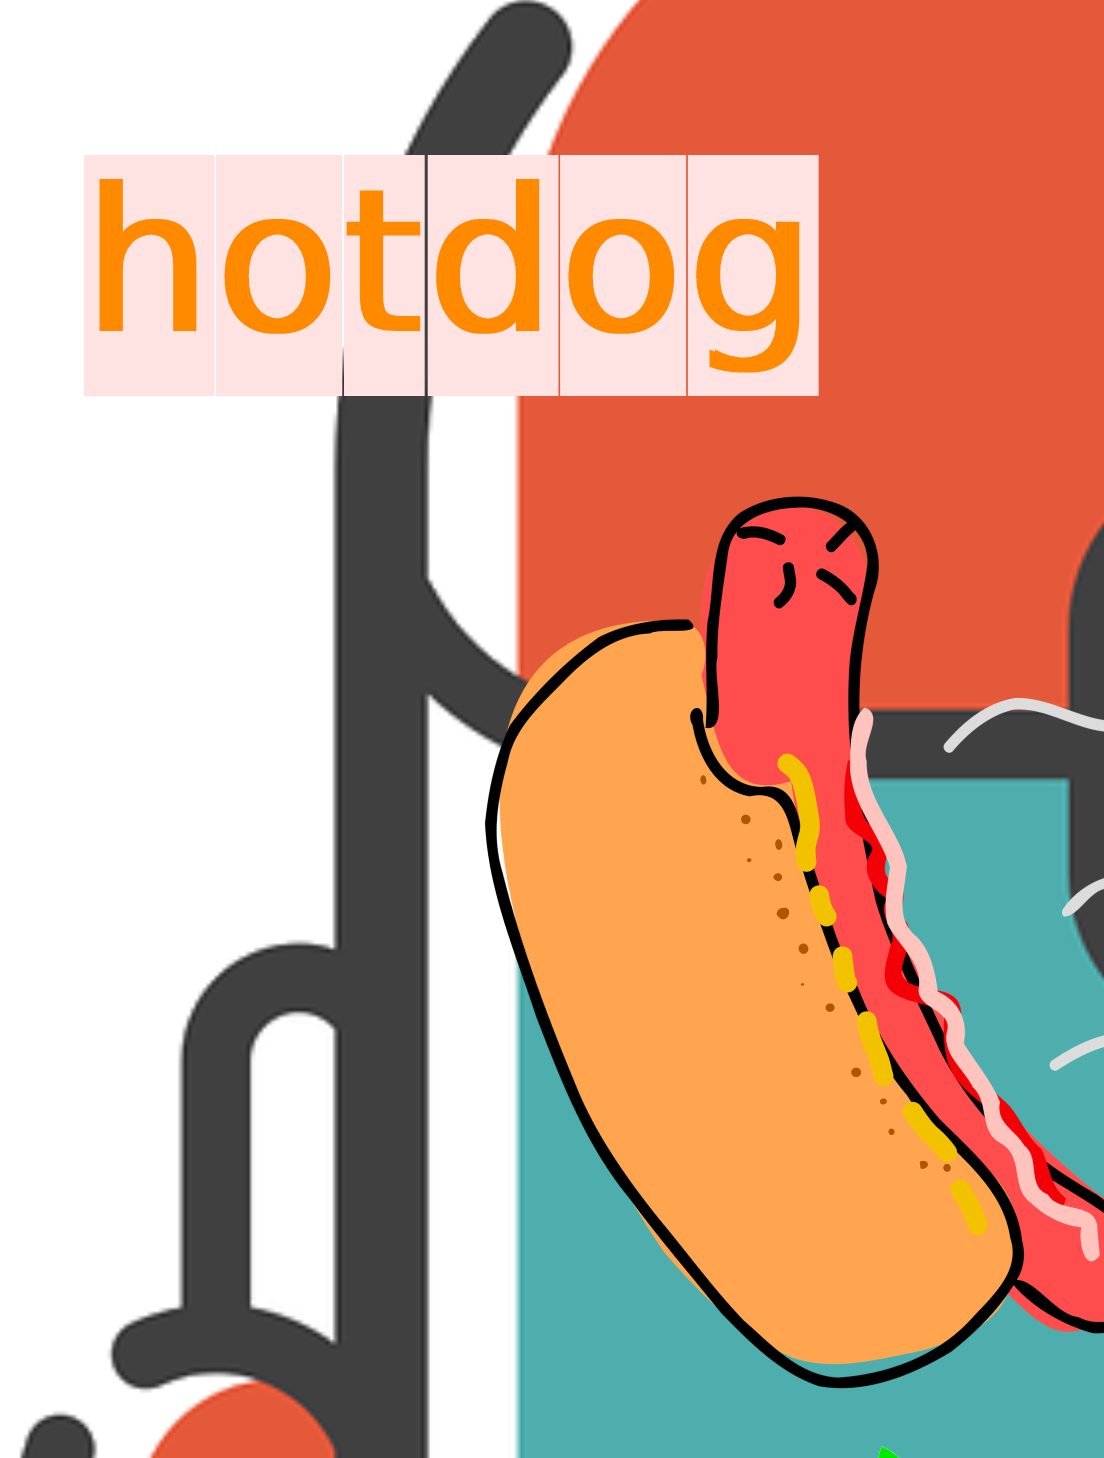
or call hotdog, fries, or pouch like these:
backpack.hotdog
backpack.fries
backpack.pouch
But what about the coin? Since it is inside the pouch, we cannot call coin like this:
backpack.coin
but this:
backpack.pouch.coin
1. Explorer
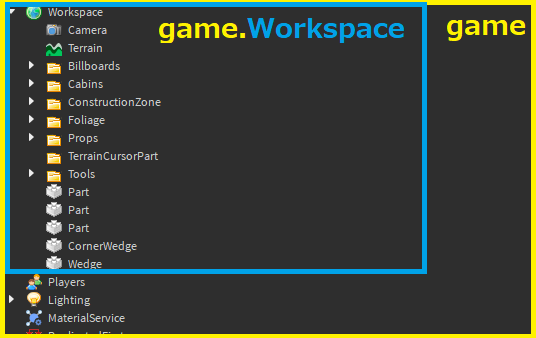
Similar to the example above, our game in Roblox is like a huge backpack that has a lot of things inside. We call our huge backpack in Roblox “game”, and we can view this “game” backpack in our explorer section:
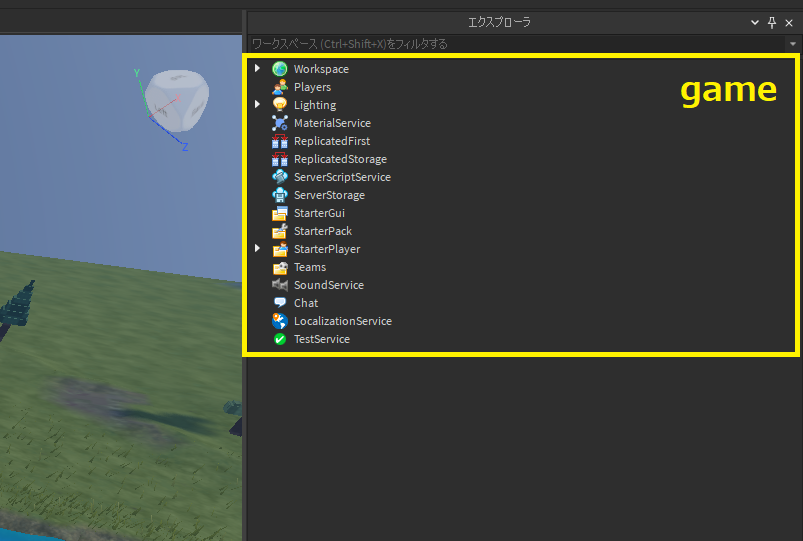
There are many things inside “game”, but for now let’s look at “Workspace”.
The “Workspace” is the place where we put all our 3D parts in!
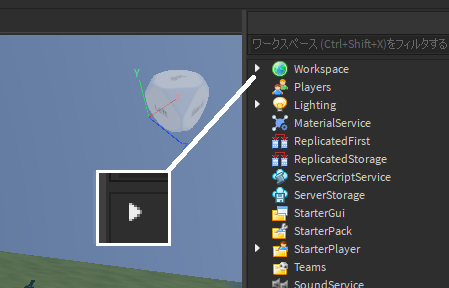
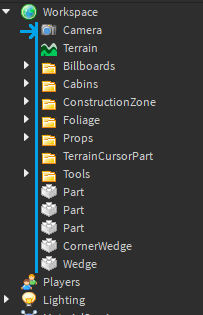
Let’s click on the small triangle mark next to it, to see what is inside the “Workspace”:
You should see the following:
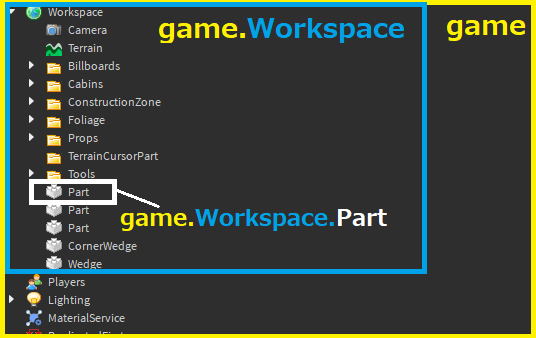
You see all the items inside are indented, meaning they are under the “Workspace”:
So, if we want to call our Part under Workspace, we will have to call it game.Workspace.Part :
2. Create Folder/Part in Explorer
There are two common type of items you will see all the time in Roblox Studio:
 A folder, meaning we can put things inside, like a pouch. Click on the small triangle next to it to see what is inside.
To create a folder, first select the place where you want to create the folder (e.g. Workspace), then click the ![]() next to the name of it, and choose “Folder”:
next to the name of it, and choose “Folder”:
 A part, meaning an object that interacts physically in game.
To create a part under explorer, select the place where you want to put your part, and click the ![]() next to the name of it, and choose “Part”:
next to the name of it, and choose “Part”:

3. Child/Parent relationship
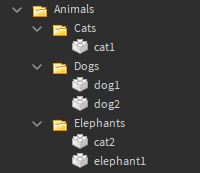
Let say we have a folder named “Animals”. Inside this folder we have 3 folders named “Cats”, “Dogs”, and “Elephants”:
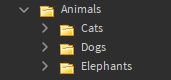
We can say the three folders are the children of the “Animals” folder, because they are indented below the “Animals” folder:
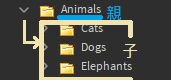
Under each of these 3 folders, we have some animal parts in it:
Each has their parent/child relationship between them:
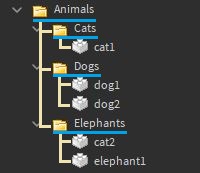
Now let’s reassign “cat2” ‘s parent to the “Cats” folder by dragging it into the “Cats” folder:
4. Part Editing (Properties)
Each parts in Roblox Studio has their own appearance.
They have different position, size, shape, color, materials, etc.
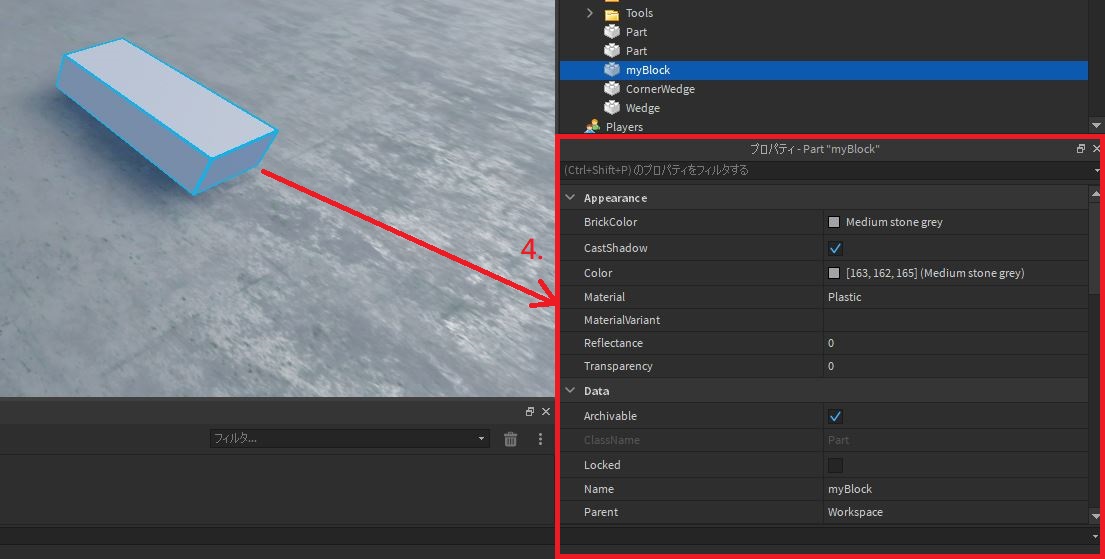
These settings are called “Properties” in Roblox Studio.
By using the “Select tool” and clicking on the part we want to edit, a “Properties” tab will pop up, allowing us to edit its properties:
1. Size & Position
(Again, select the part you want to edit first!)
Besides using the “Scaling tool”, we can edit the property of a part and assign a specific size to it:
And the location:
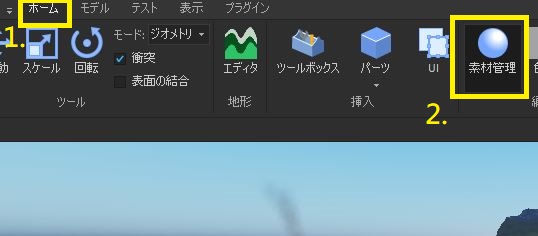
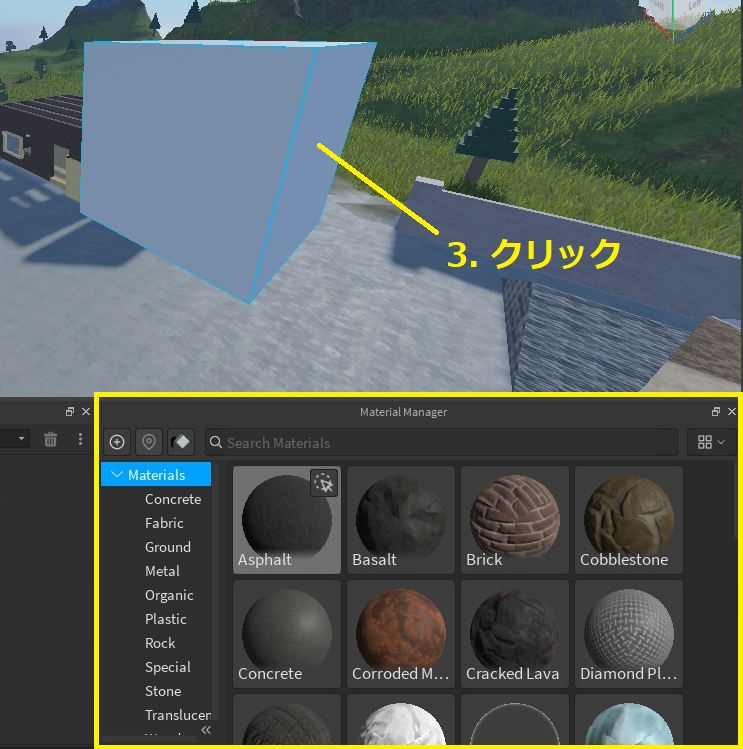
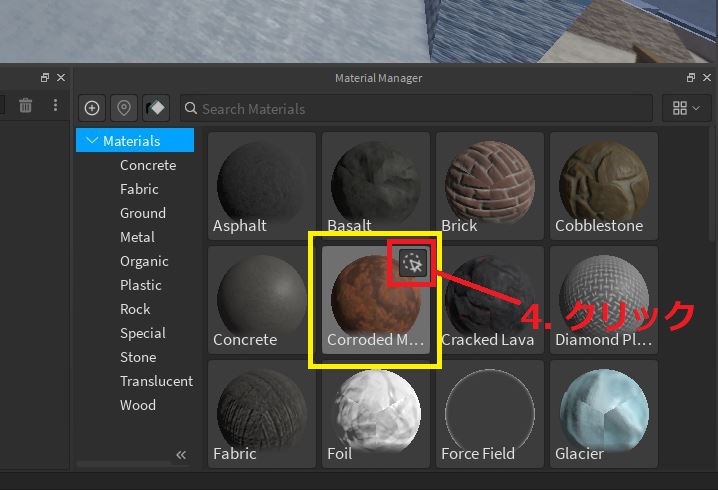
2. Material
We can use the Material Manager to change the material of our parts:
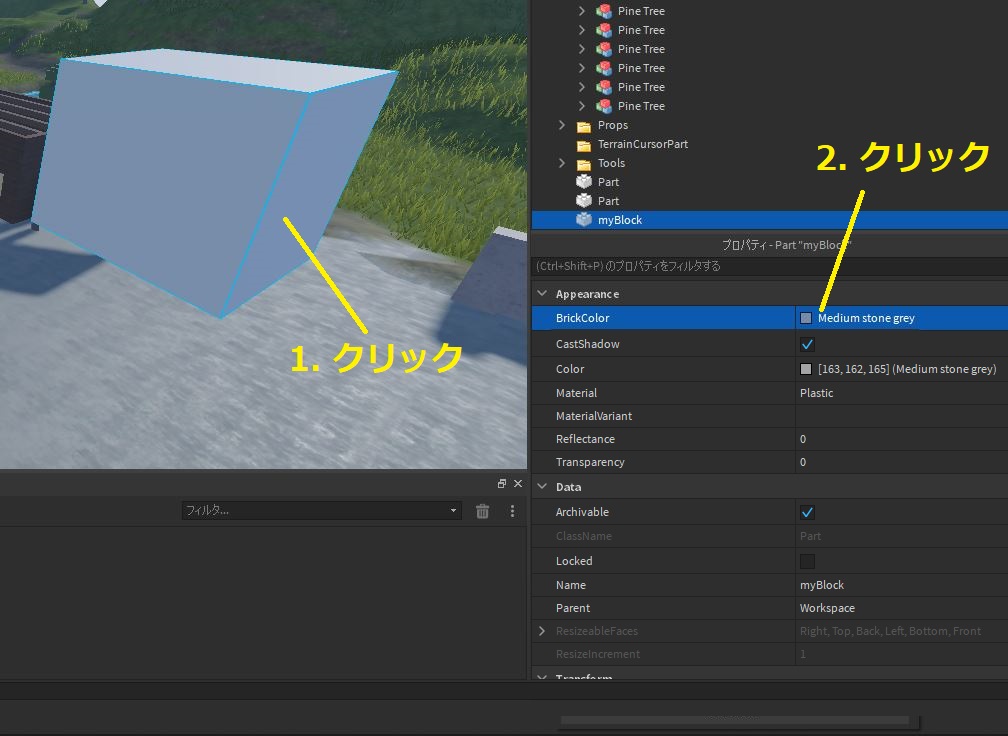
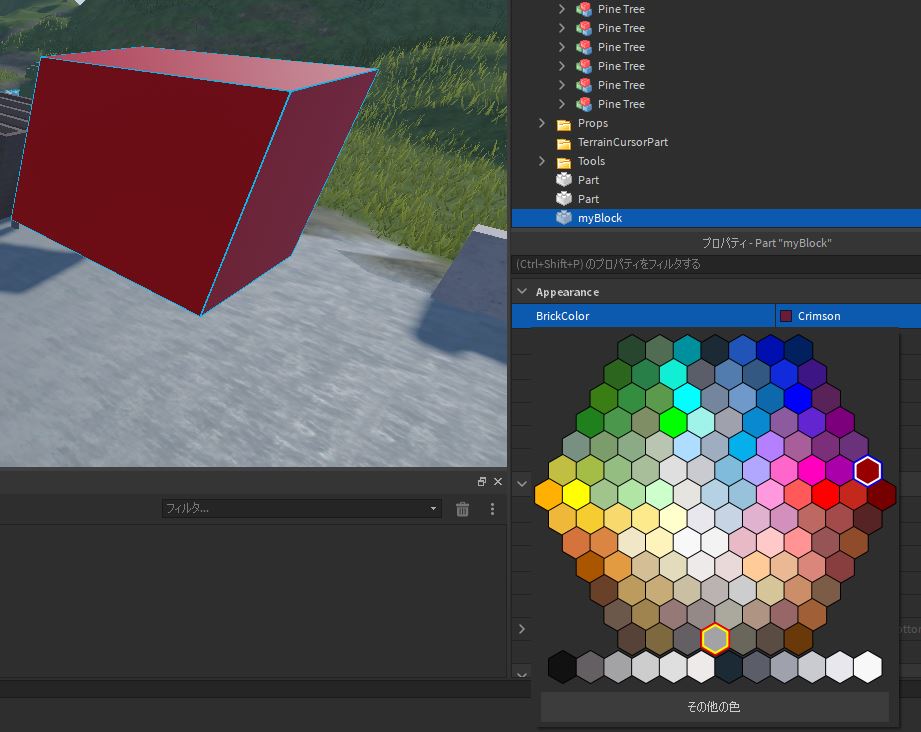
3. Color
To change color of a part, first select the part you want to edit, then go to its properties and change its color under “BrickColor” or “Color”: