Introduction

1. Basic objects/parts (how does the game look like?)
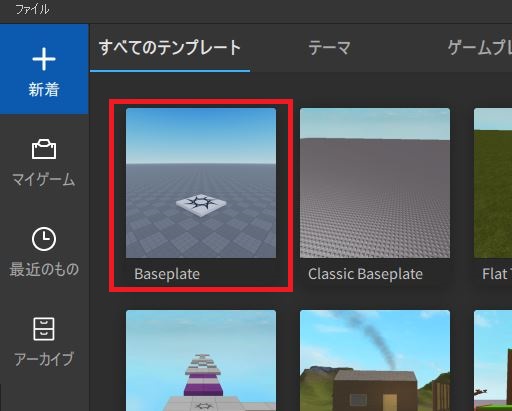
Start off with the Baseplate template:
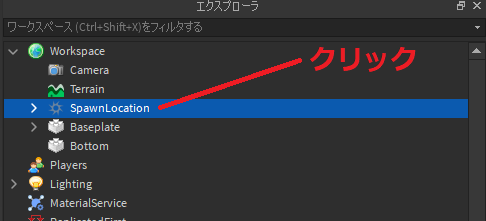
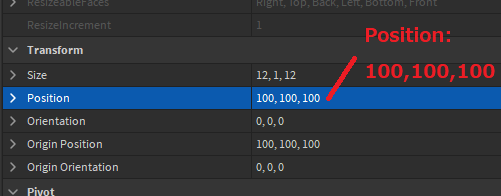
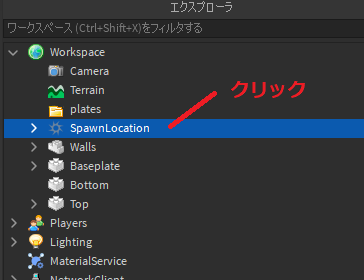
We will move the SpawnLocation so it doesn’t get into our way:
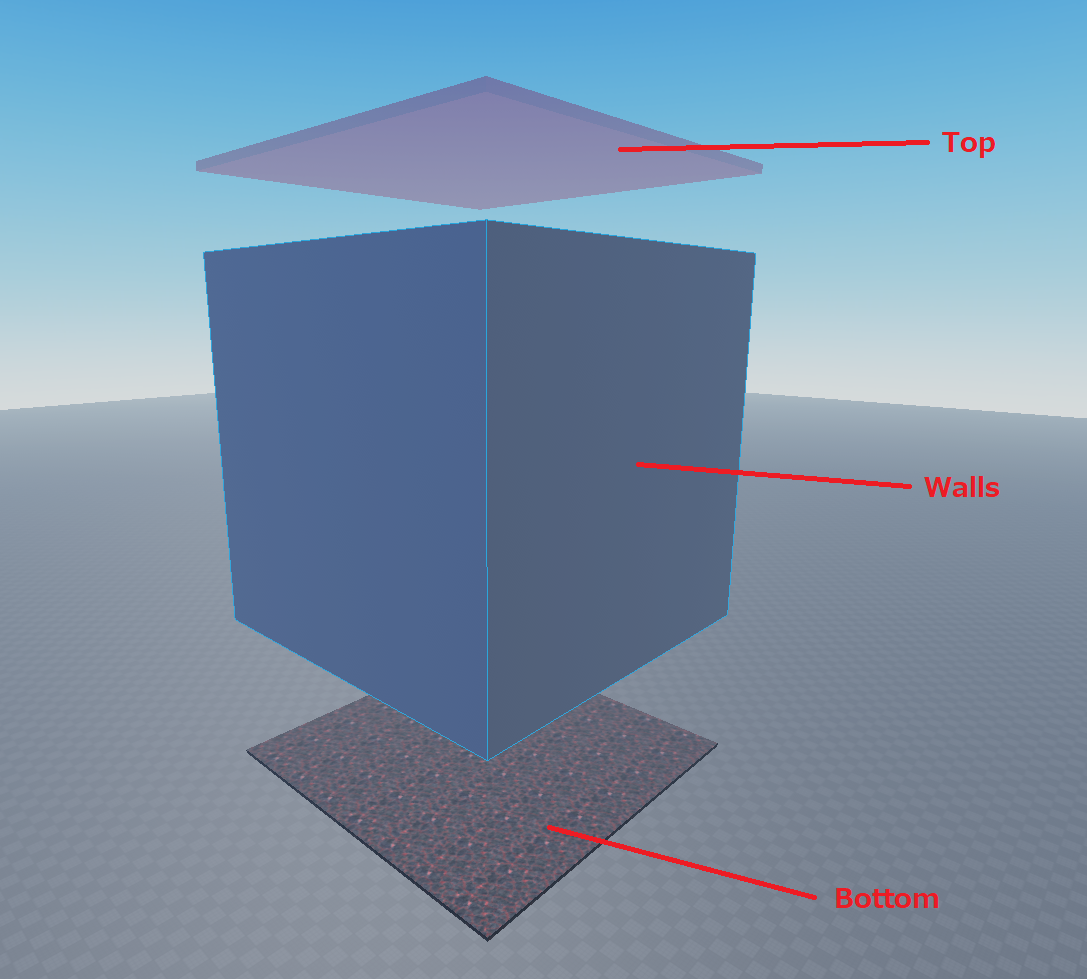
We have 3 parts that do not move, and 1 part that moves:
These are the parts that do not move:
And the plate is the only moving part in the game:
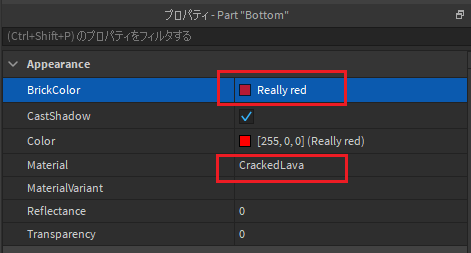
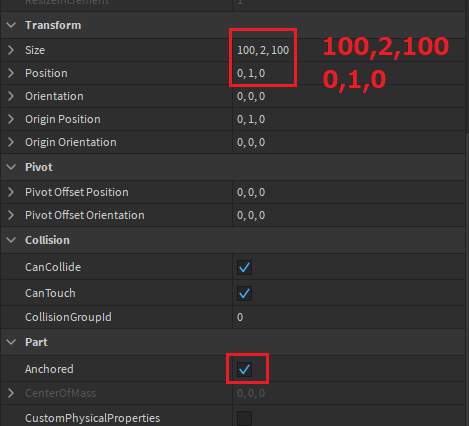
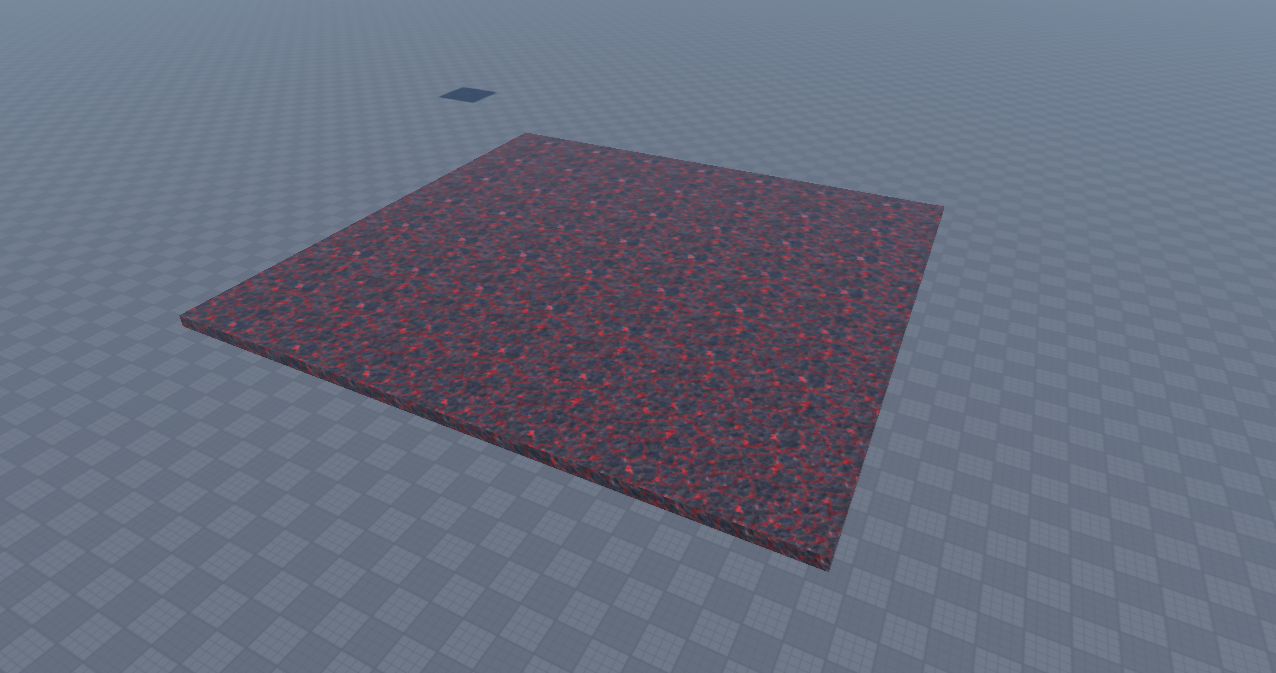
1. Bottom part
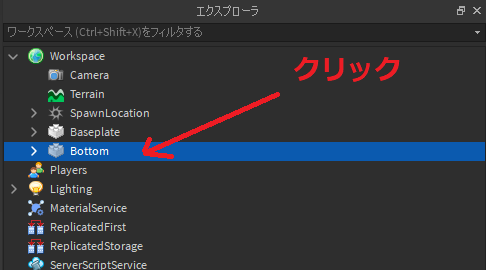
Let’s make the Bottom:
2. Walls part
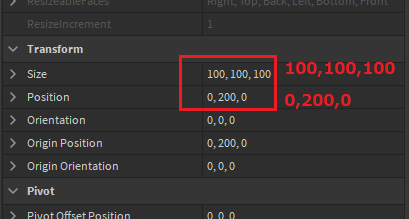
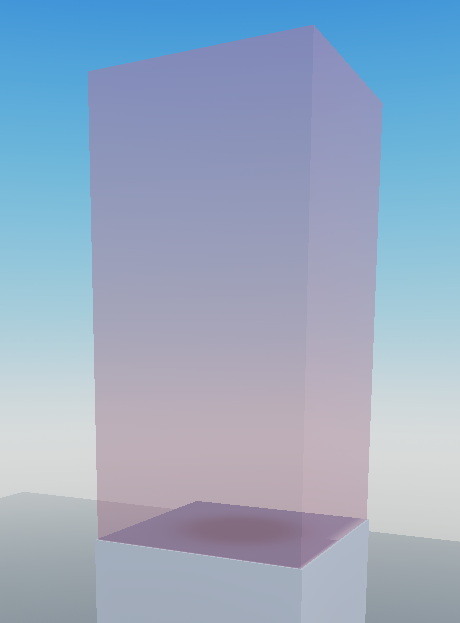
Next, we will make the walls. We will first create a square box:
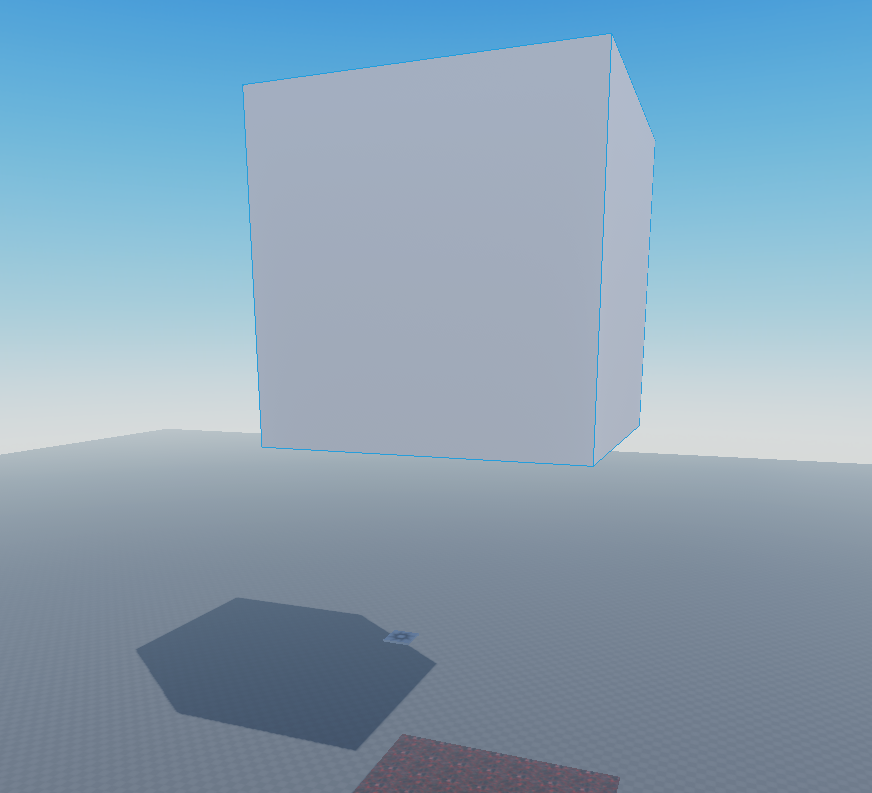
You will then see a big square box floating in the air:
We will now make a hole inside.
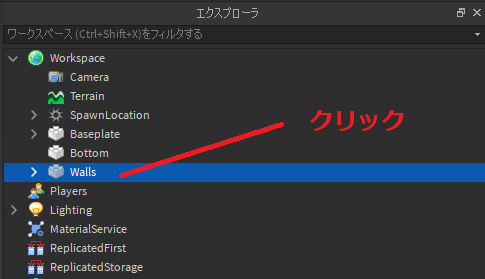
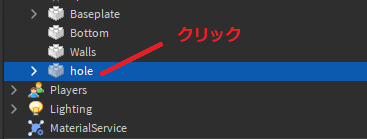
Duplicate the “Walls” part we have just created
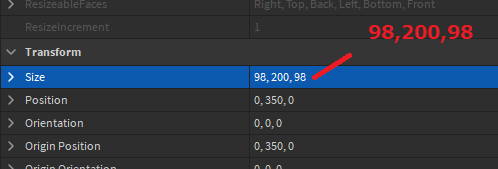
Change “hole” size to (98,200,98)
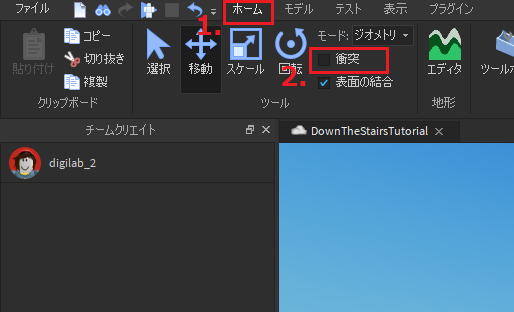
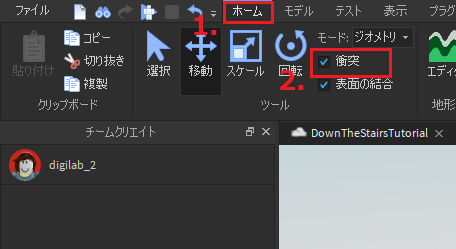
Uncheck the “Collision” box under “Home”
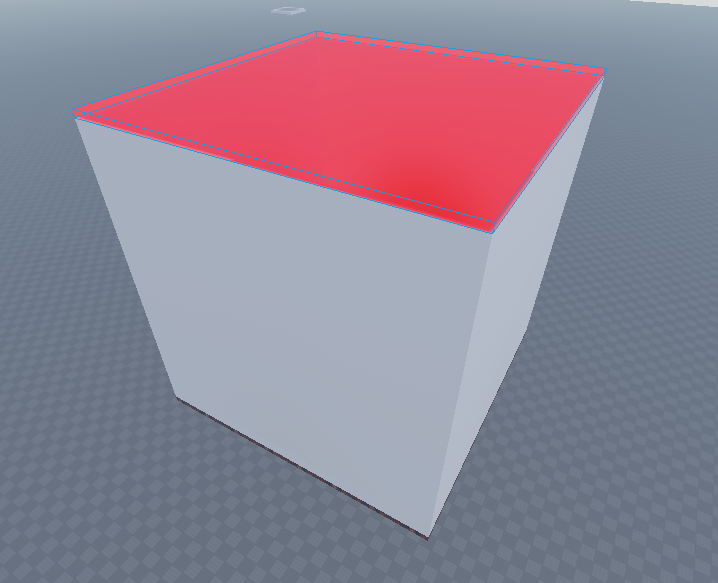
Now we will set our “hole” part to deny
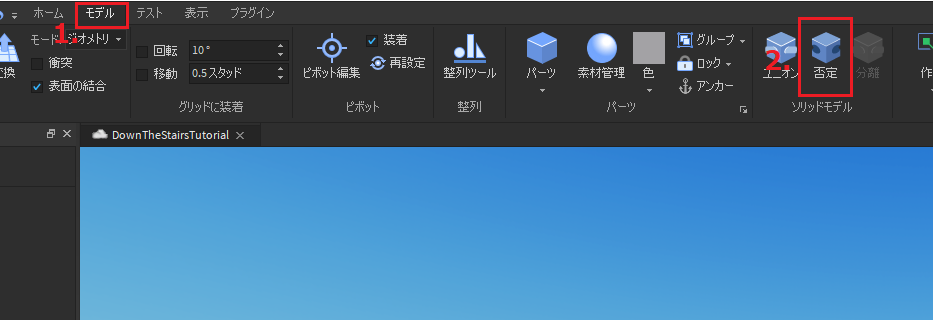
You should see our “hole” turns red:
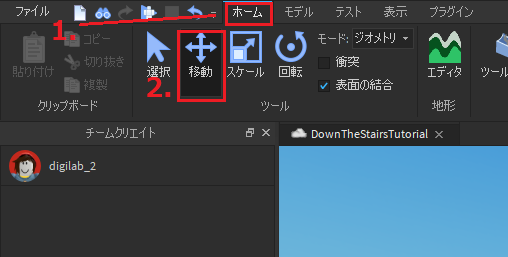
Now select “hole” part again
Select the “Move” tool
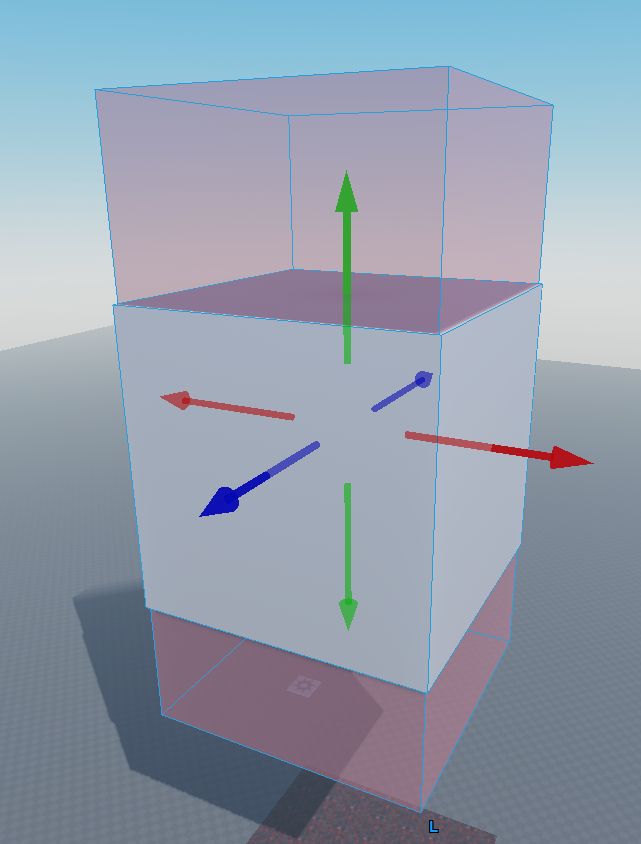
Move down the “hole” part so that it goes through our “Walls” part:

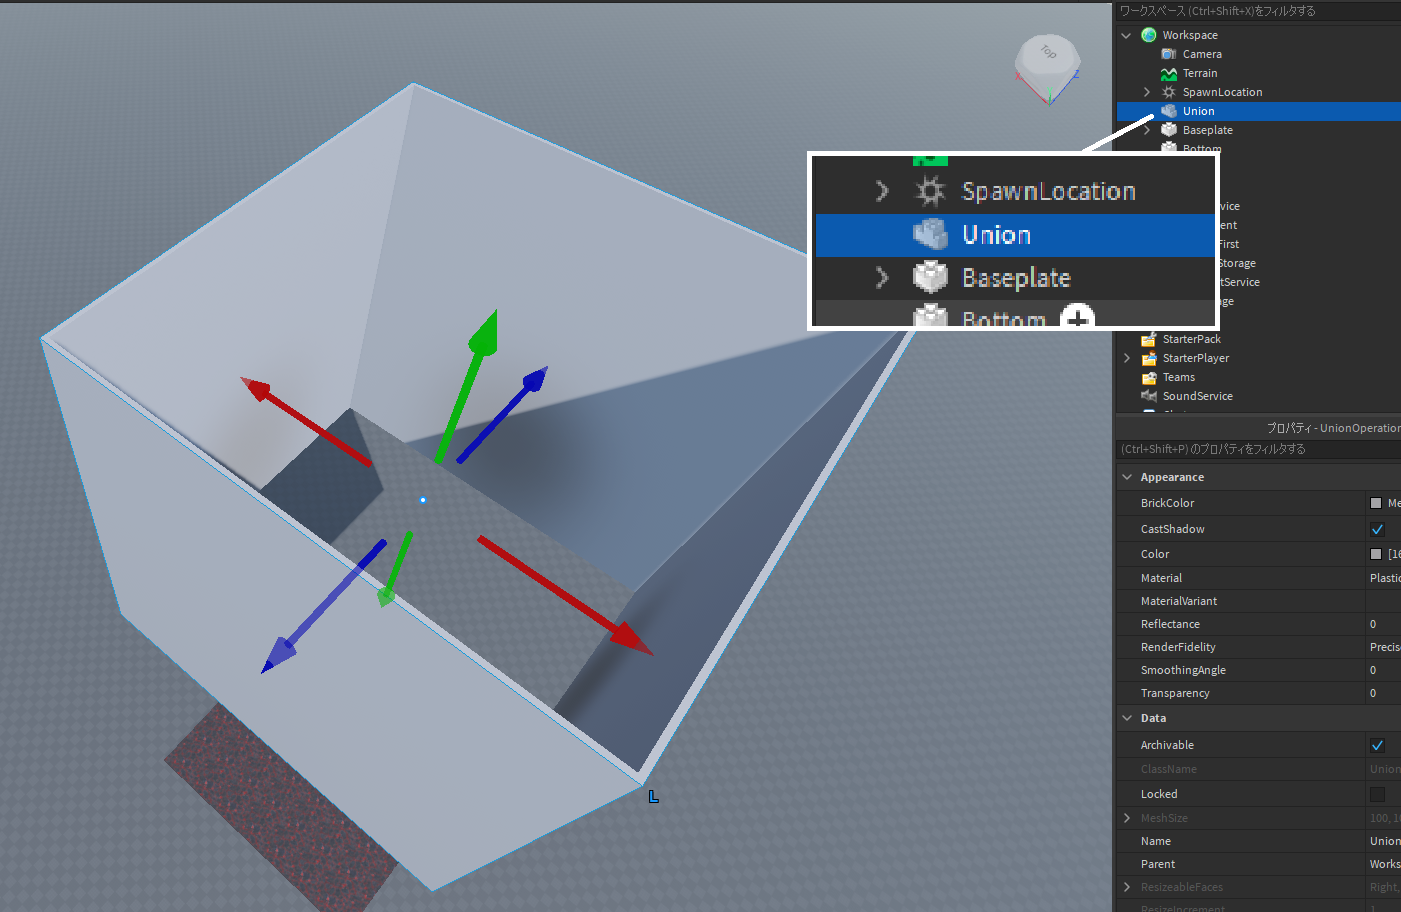
Now select both “NegativePart” and “Walls” (Use “Ctrl” in Windows or “Comamnd” in Mac to select both items at the same time)
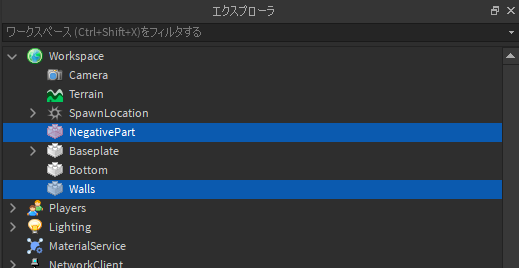
You should see our parts in the game screen being selected as well (highlighted by blue lines):
Then click “Union”
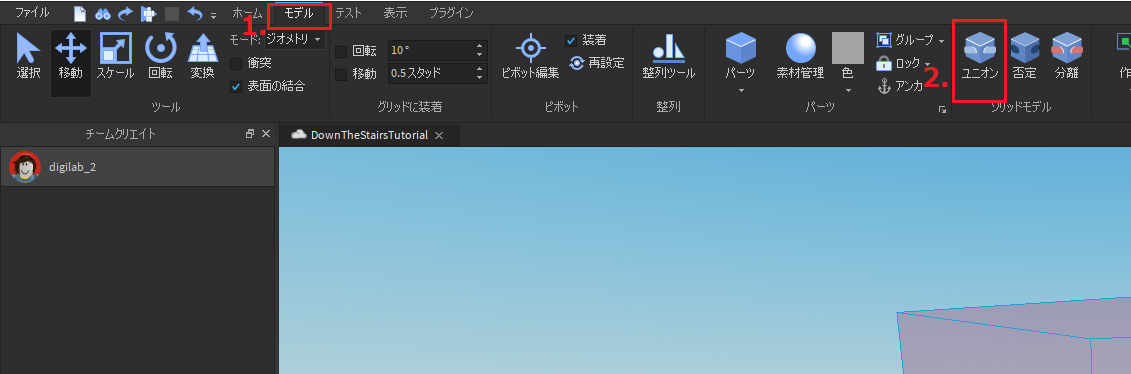
You should see our two parts combines into one model named “Union”:
Name it “Walls” again:

Now check the “Collision” box and bring our “Walls” down with the green arrow:
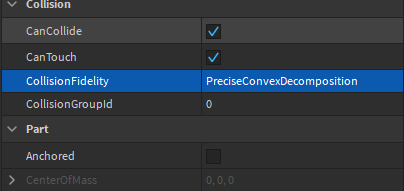
Make sure to change the wall’s “CollisionFidelity” to “PreciseConvexDecomposition” under property:
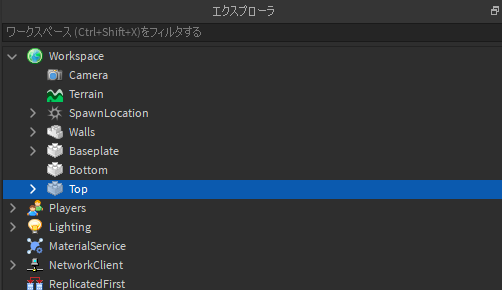
3. Top part
Finally, we will make the “Top” parts, by duplicate the “Bottom” part and rename it
Change the “Top” part setting under “Property”:
- Material: Neon
- Transparency: 0.5
- CanCollide: false
- Anchored: false
2. Game Mechanics (how does the game work?)
Now we have the 3 parts ready, let’s make the moving parts: the moving plates
Create script files
To make things moving in game we have to program them.
To program, we have to create script files and let our game engine to run.
“ServerScriptService” is the place that we put our scripts to run:
![]()
Let’s create two scripts in our game: “destroyPart” and “makePlates”

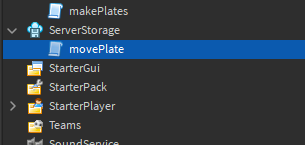
“ServerStorage” is the place that we put our scripts that does not need to run when game start, acting as a storage:
![]()
Let’s also create one script under ServerStorage, name it “movePlate”:
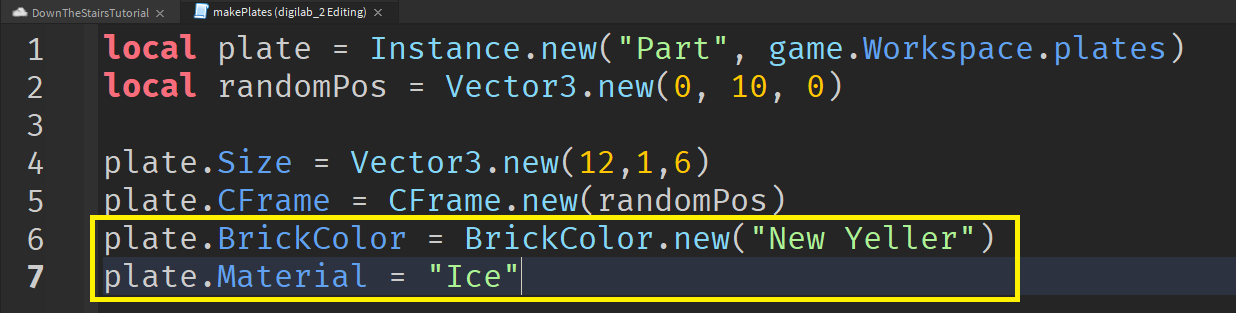
Now let’s make a folder to hold our plates before we create our “makePlates” program:
1. Script for create a plate
Open our “makePlates” script, and type the following:
(game.ServerScriptService.makePlates)

Congratulations! You have just type your very first code that creates a new part into the game.
Click “Run” and look at the explorer to find where your part is:

(Click “F” key after selecting the part inside explorer , and then hold “Right click” and move around to check it)
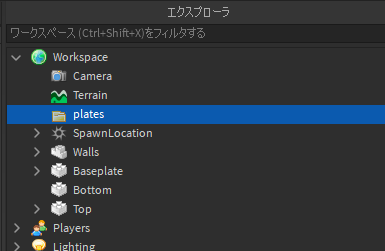
Next, type the following to move its position and give it a new size:
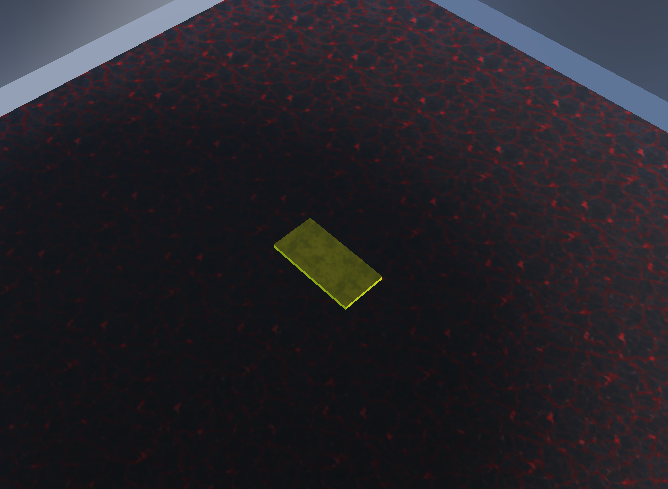
Again, click “Run” and see if you can see your part in the middle of the floor:

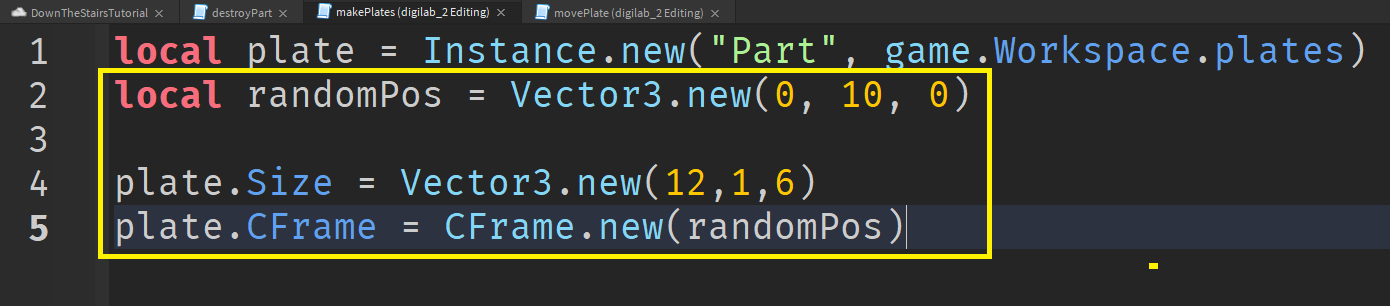
Let’s add a few more lines to change the plate’s color and material:
2. Script for the plate movement
We will now make the plate to move.
Go to the “movePlate” script under “ServerStorage” and type the following:
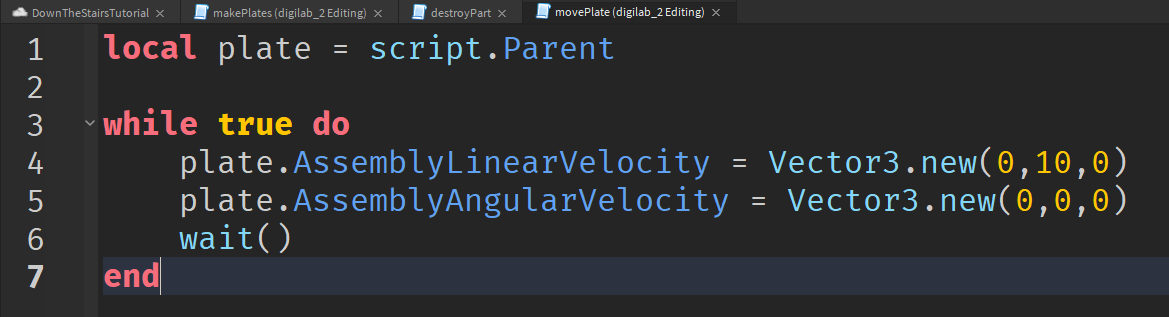
If you run test now, the plate won’t move at all. It is because we have not tell the computer who does this script belongs to.
Go back to the “makePlates” script under “ServerScriptService”, and add the following lines:
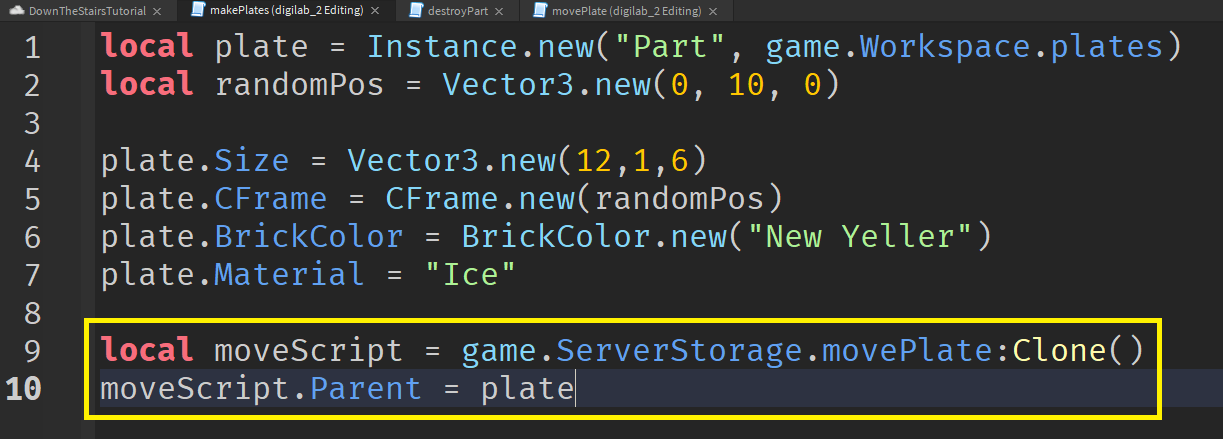
Click run to see if your plate is moving:
3. Script for generating many plates
So far only one plate is generated when game starts.
Let’s generate more plates!
Under the same script “makePlates”, add a loop with a 0.2 seconds gap in between each loop:
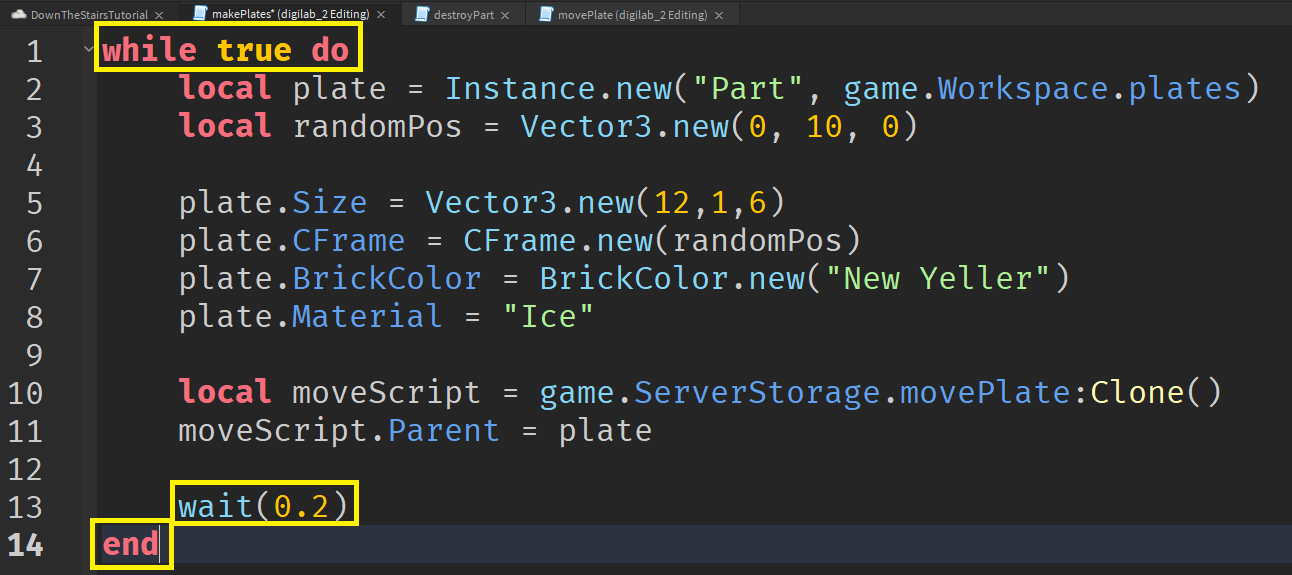
And click test to see if many plates start to be generated from the same position and going up:
4. Script for randomizing plates position
And let’s make the plates generated from different location!
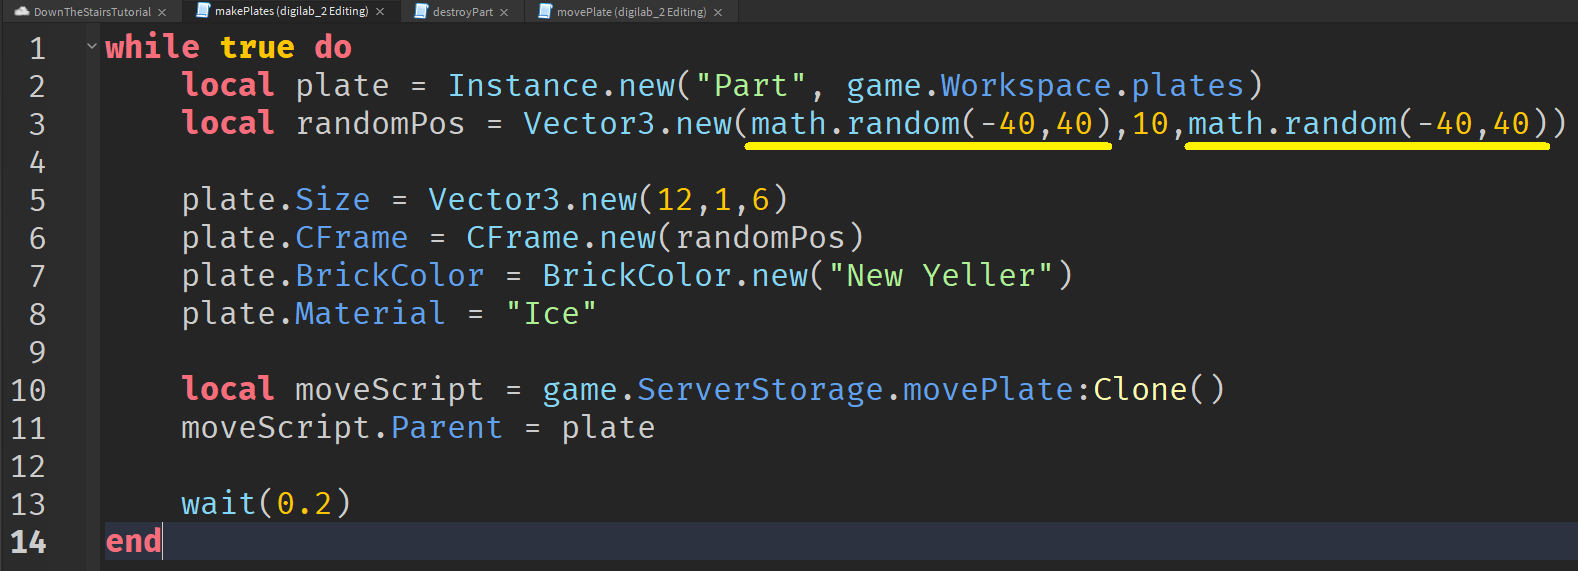
Check if the plates spread out randomly:
Fix SpawnLocation position
Let’s bring in our SpawnLocation to play test our game!
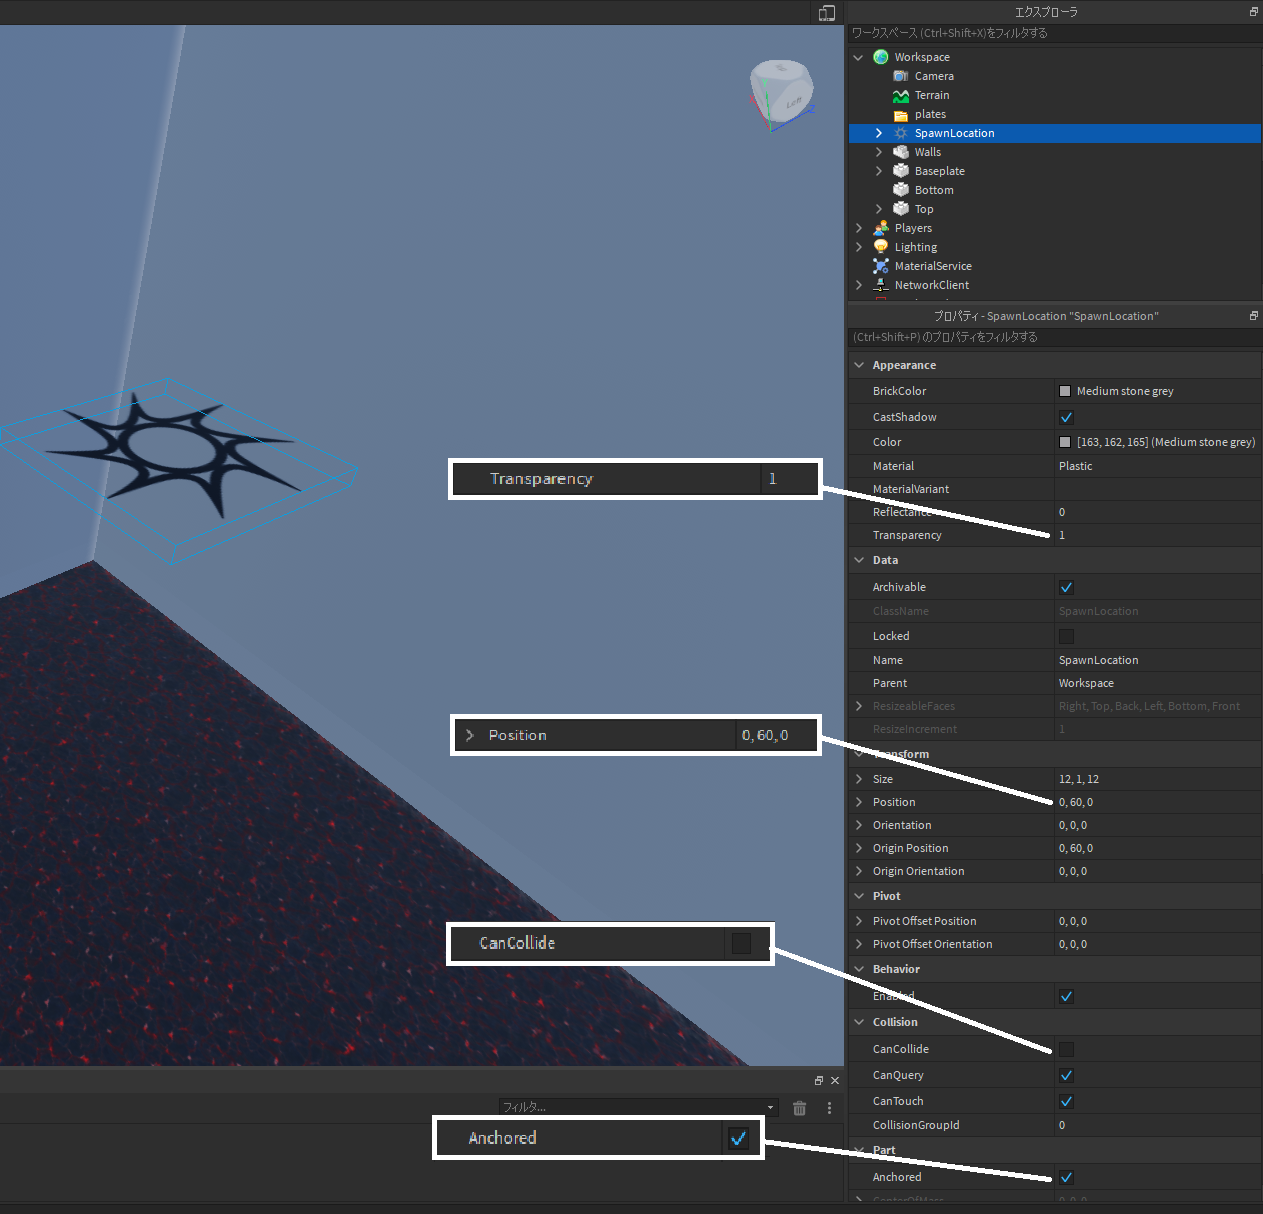
And we will remove the default decal of the SpawnLocation to make it completely transparent:
If you click “Play” to test now, you will realize that you drop too fast down to the bottom:
To control how fast things drop in game, we have to change the game Gravity value under Workspace:

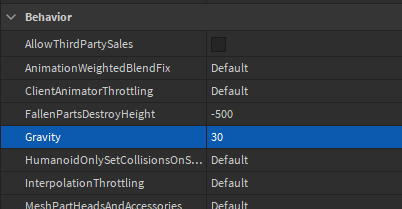
Gravity: 30 (If 30 is still dropping too fast, change it to a lower value)
Give it another try:
We also need to make sure whatever touches the Bottom and the Top will be destroyed:
5. Script for deleting things that touches the Bottom
As you can see that the player remains alive even when falls to the ground. We will add the following script under “destroyPart” under “ServerScriptService”:
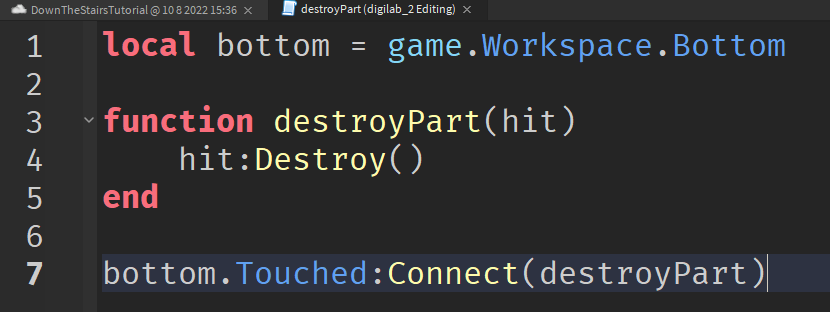
Here is an visualized explanation:
1. Player is falling towards the bottom
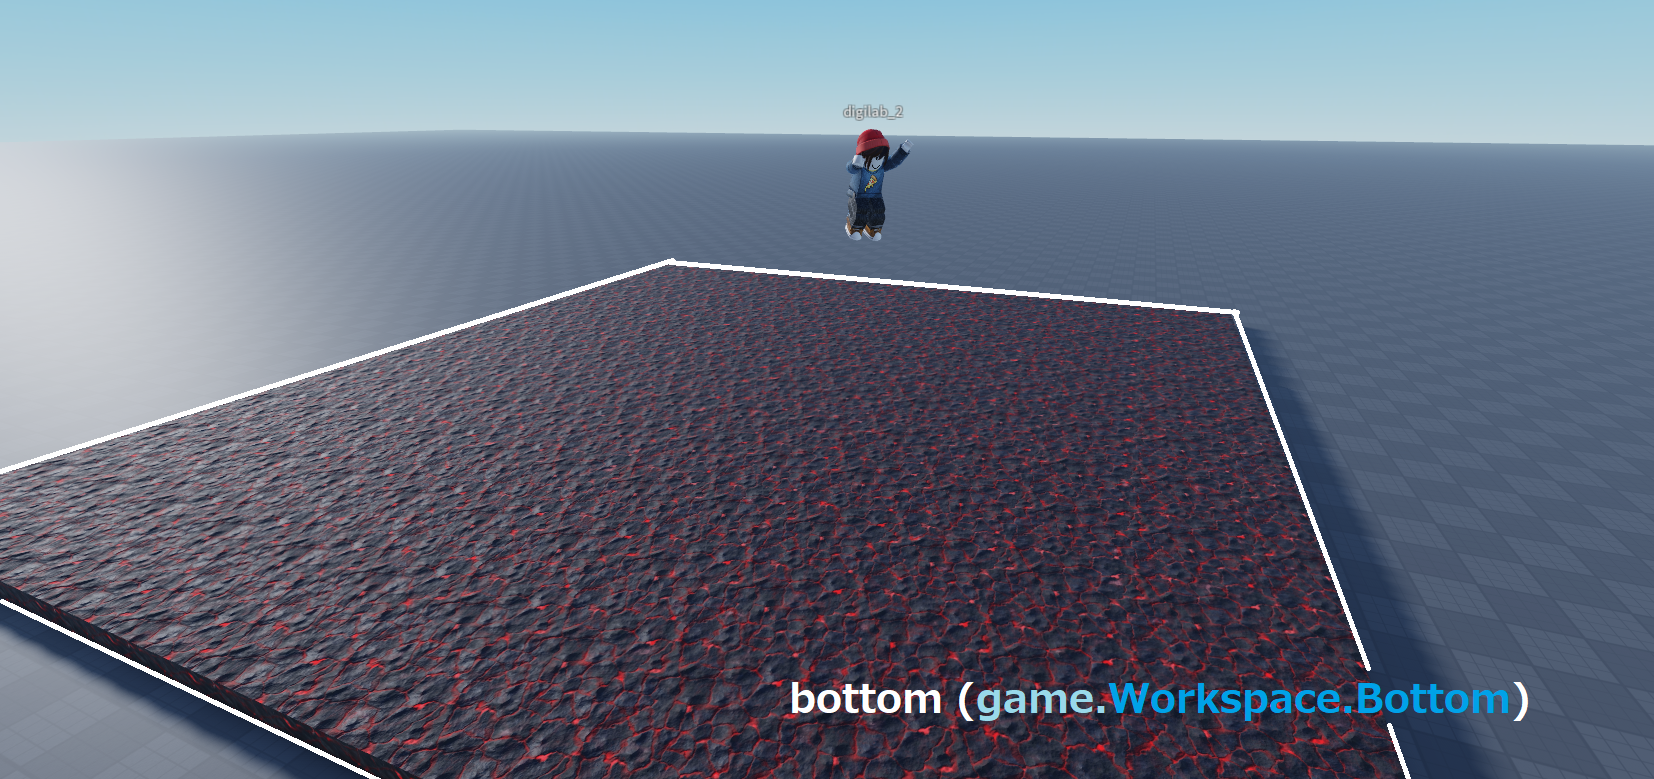
2. “bottom” sense that something is touching itself, so it triggers the destroyPart function. 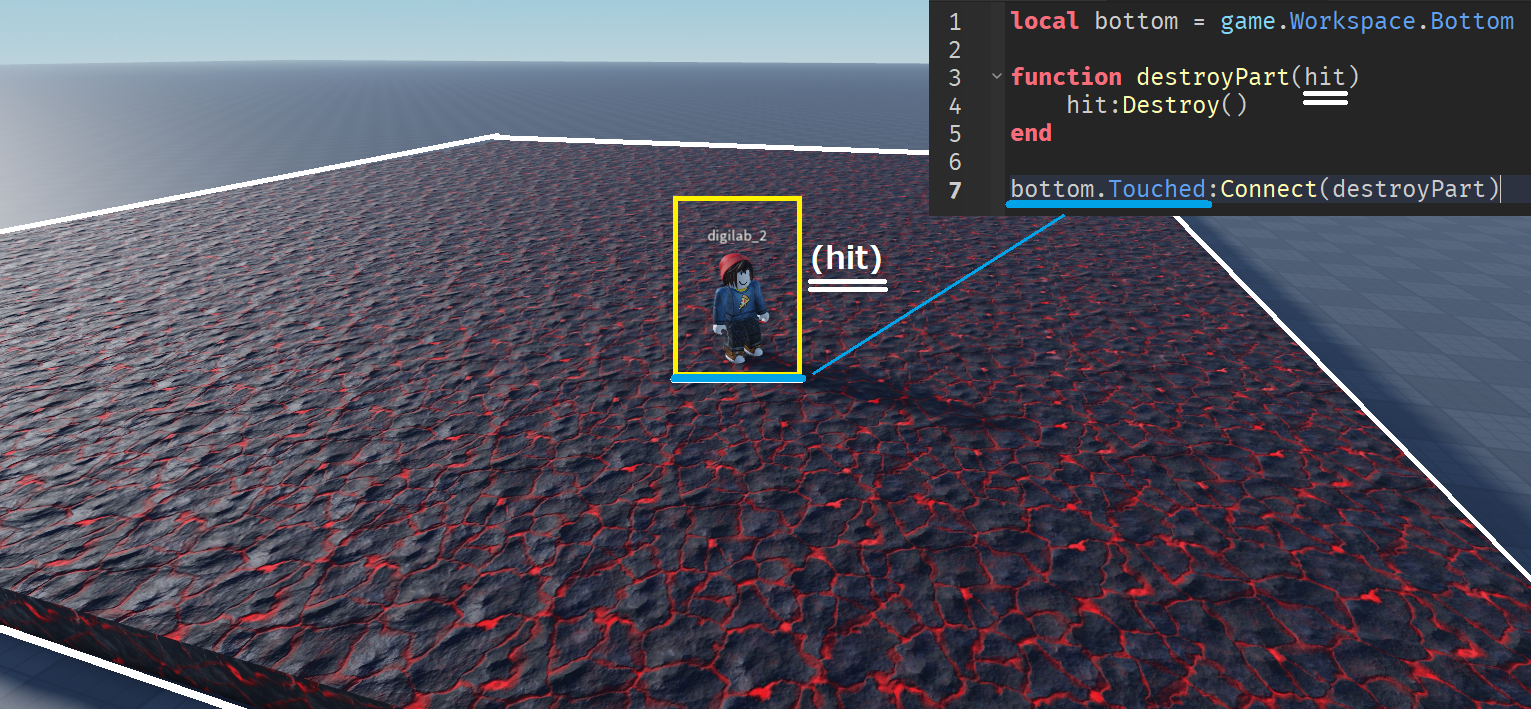
3. Since the character is touching the “bottom”, the Touched event sends the character as parameter into the “destroyPart” function. The hitting part (in this case, the character) is deleted.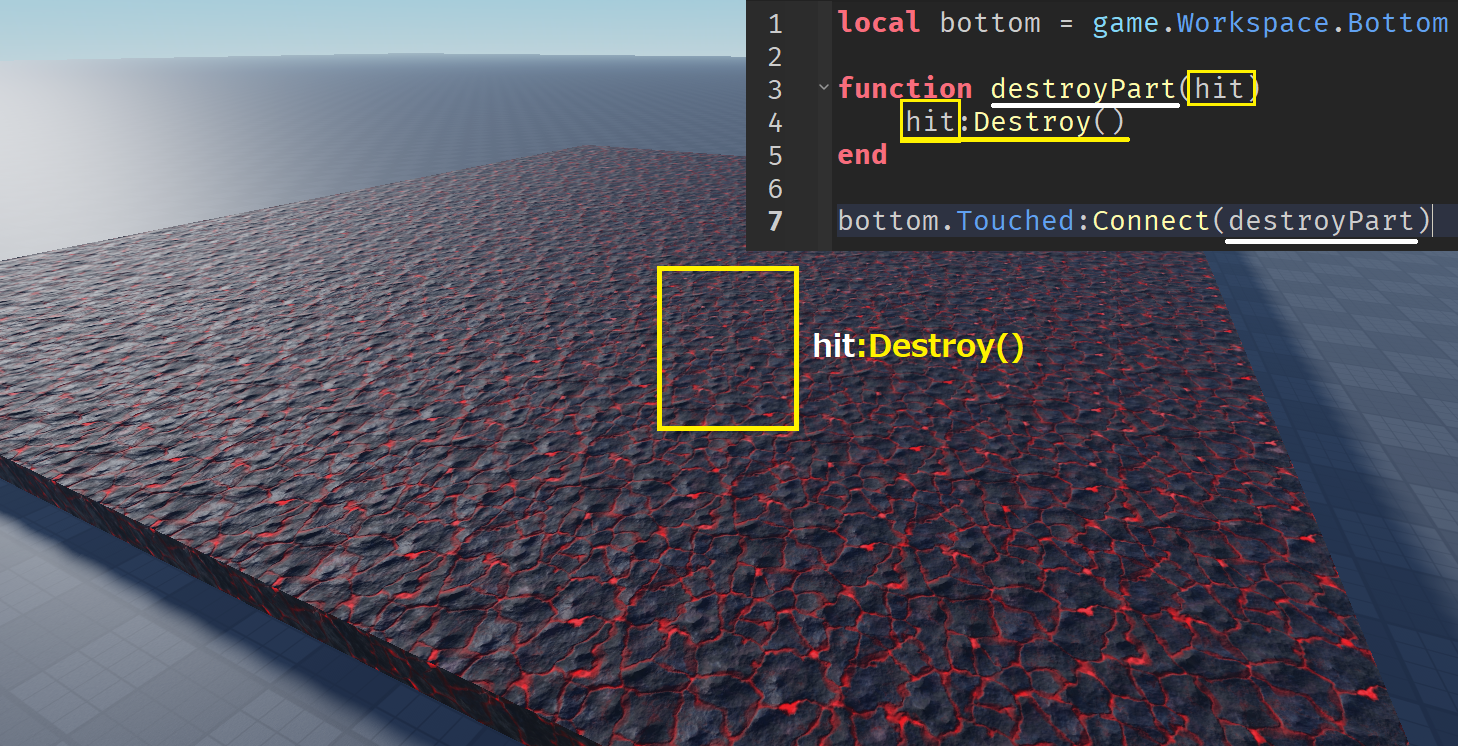
Now let’s check to see if you “bottom” part is functioning as expected:
6. Script for deleting things that touches the Top
Since we have created the function to destroy parts already, it is easy to add the script to delete anything that touches the Top:

Again, this is going to delete anything that touches the top, including player’s character and the floating plates as well: