Introduction
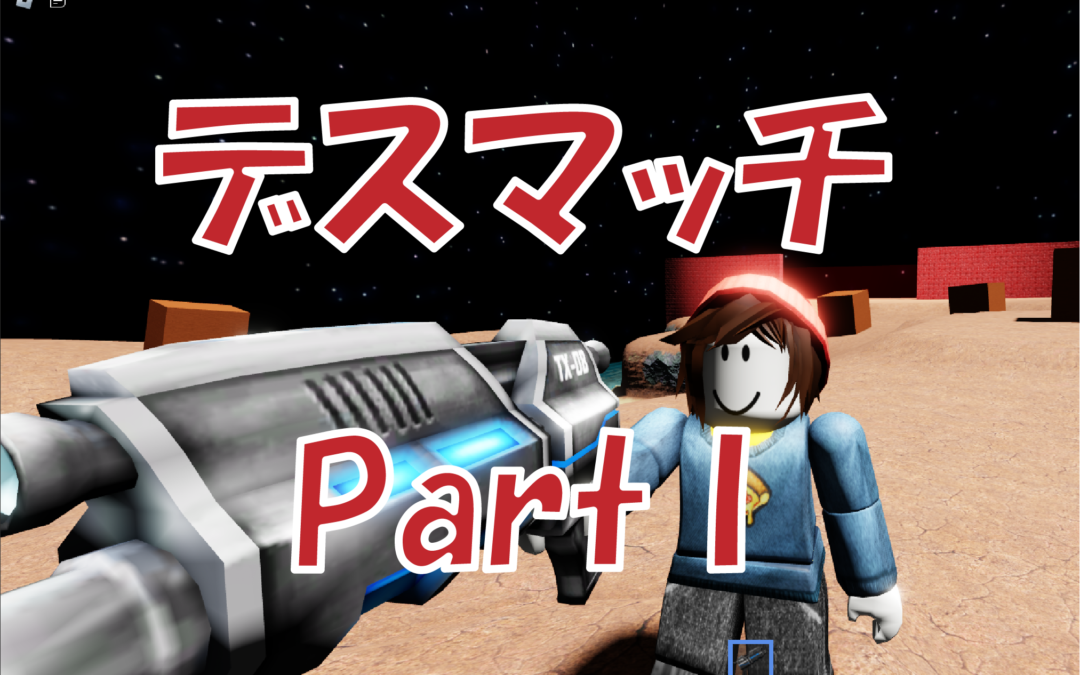
This is a two-team deathmatch 3rd-person shooting game.
We are going to learn how to create this type of multiplayer game using Roblox Studio.
This is a intermediate/advance level project, so it will take some time for you to finish it!
Let’s take a look at the following video gameplay:
Game Items (Visible)
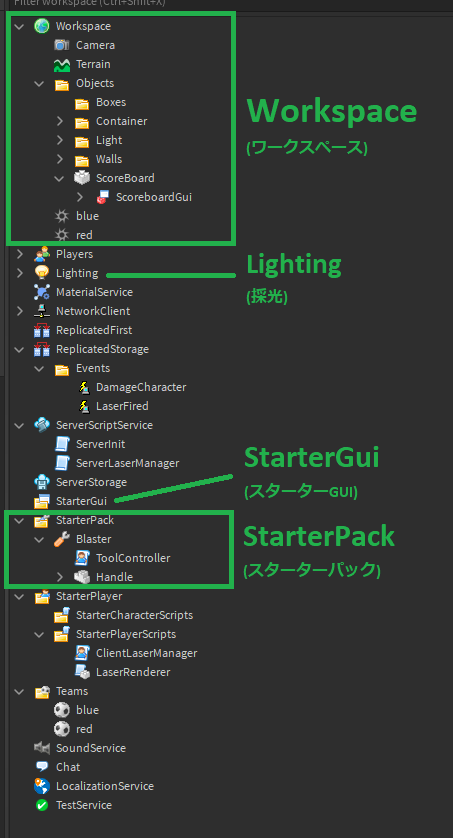
These are the VISIBLE things in a game, something we can see visually:
1. Workspace: the place we put our physical objects, for example, walls, in-game lights, boxes, our scoreboard, spawnLocations etc.
2. Lighting: the environmental light that controls the whole game lighting.
3. StarterGui: the place we put our game UI. We are not using it in this tutorial.
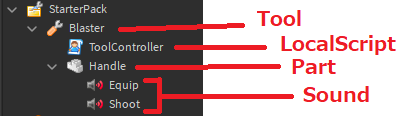
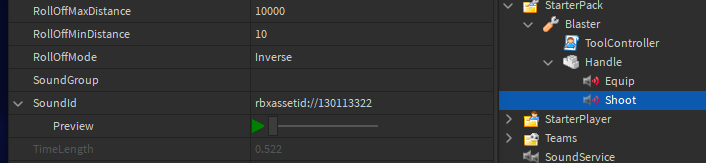
4. StarterPack: the backpack that every new joining player will be given. As shown in this example on the left, one “Blaster” is under the StarterPack folder, meaning each new joining player will be given a blaster when the game, or when the player is respawned.
Game Settings/Scripts (Invisible)
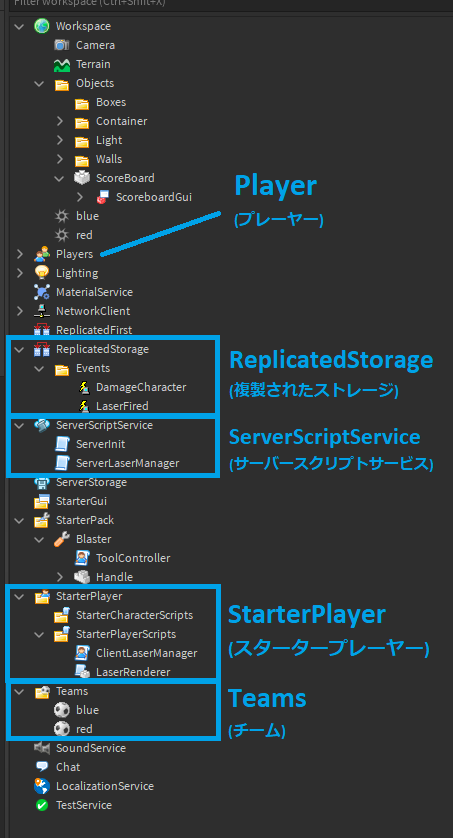
These are the INVISIBLE things in a game, something we cannot see directly. These are usually represented as settings and scripts:
1. Player: Each joining player’s information, including their teams, their backpack inventory, etc.
2. ReplicatedStorage: A place to store events. We will talk about more in events later on.
3. ServerScriptService: A place to put our server scripts. We explain more below.
4. StarterPlayer: A place to put our client scripts. Again we will explain that in the following sections.
5. Teams: A place to have our team settings. In our game there will be 2 teams blue and red team.
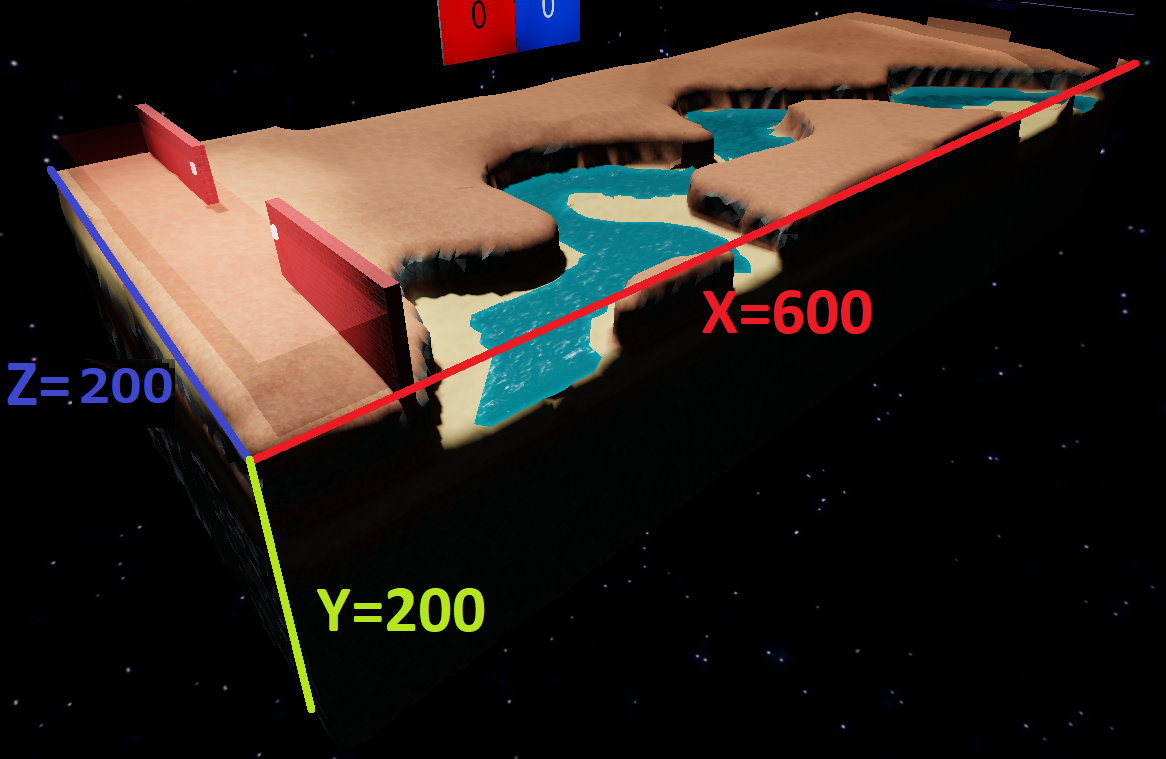
STEP1: Create the Terrain
The size of the Terrain should be (600, 200, 400). Feel free to create your own terrain with a similar size:
STEP2: Create the SpawnLocations
Each team (Red and Blue) will have their own SpawnLocation. Create one for each of them:
Red team spawn location name: red
Size: (30, 20, 200)
Position: (-280, 30, 0)
Transparency: 0.8
BrickColor: Maroon
Anchored: true
CanCollide, CanQuery, CanTouch: false
TeamColor: Maroon
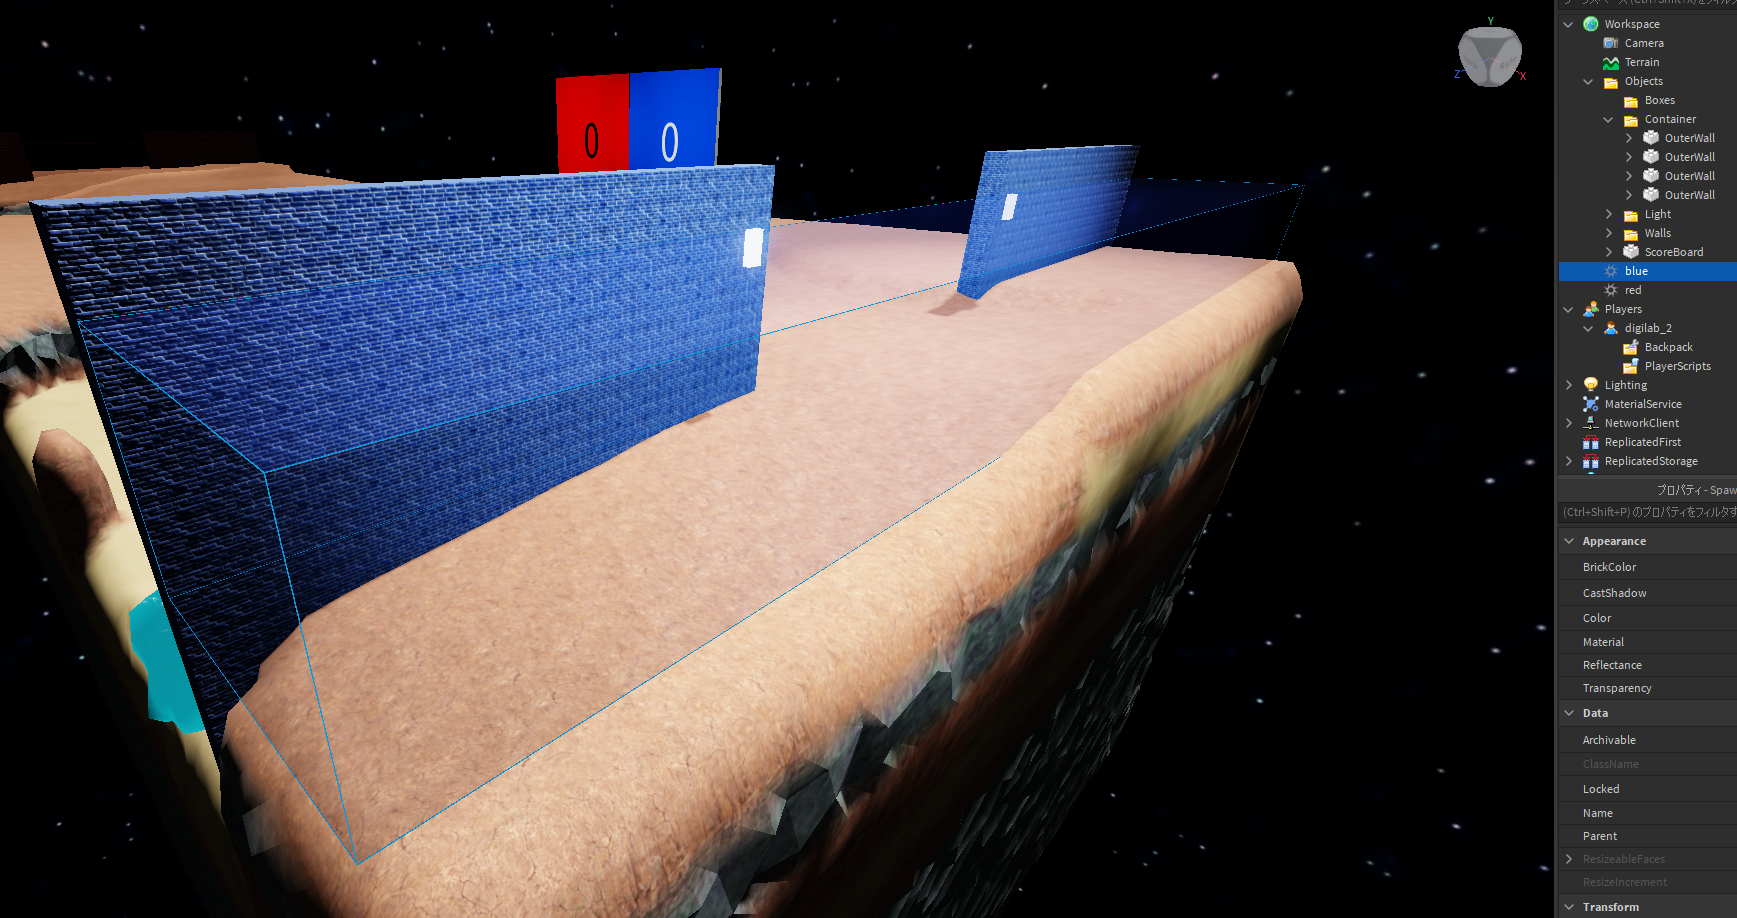
Blue team spawn location name: blue
Size: (30, 20, 200)
Position: (280, 30, 0)
Transparency: 0.8
BrickColor: Navy blue
Anchored: true
CanCollide, CanQuery, CanTouch: false
TeamColor: Navy blue
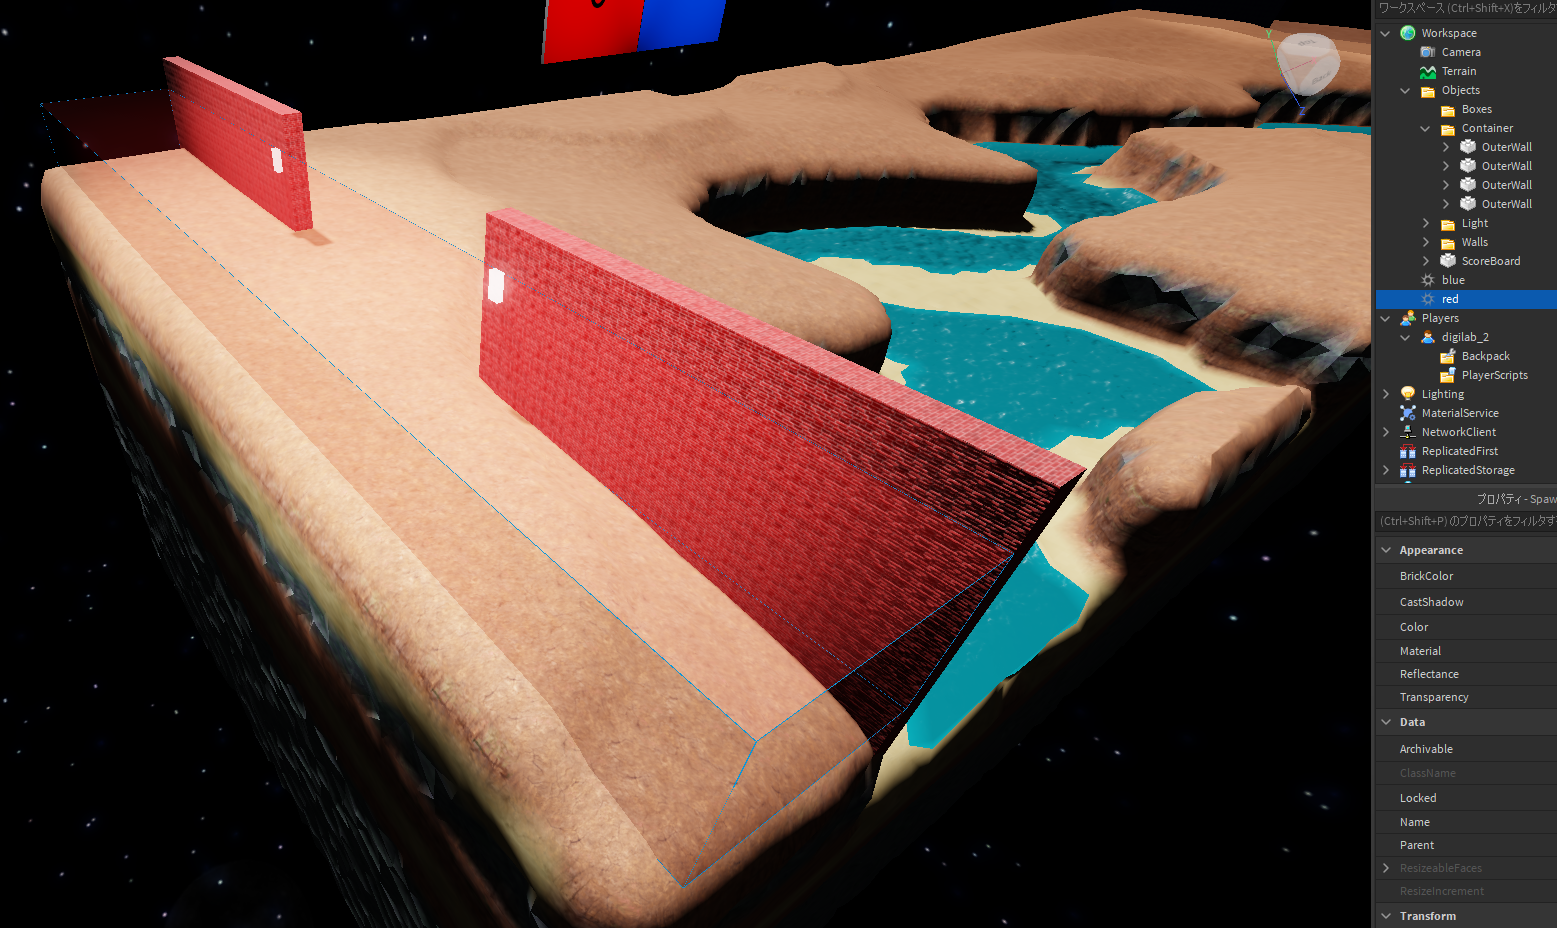
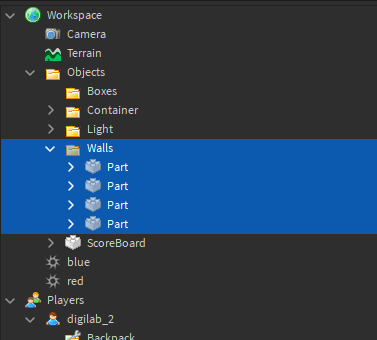
STEP3: Create Walls
We need two walls for each team:
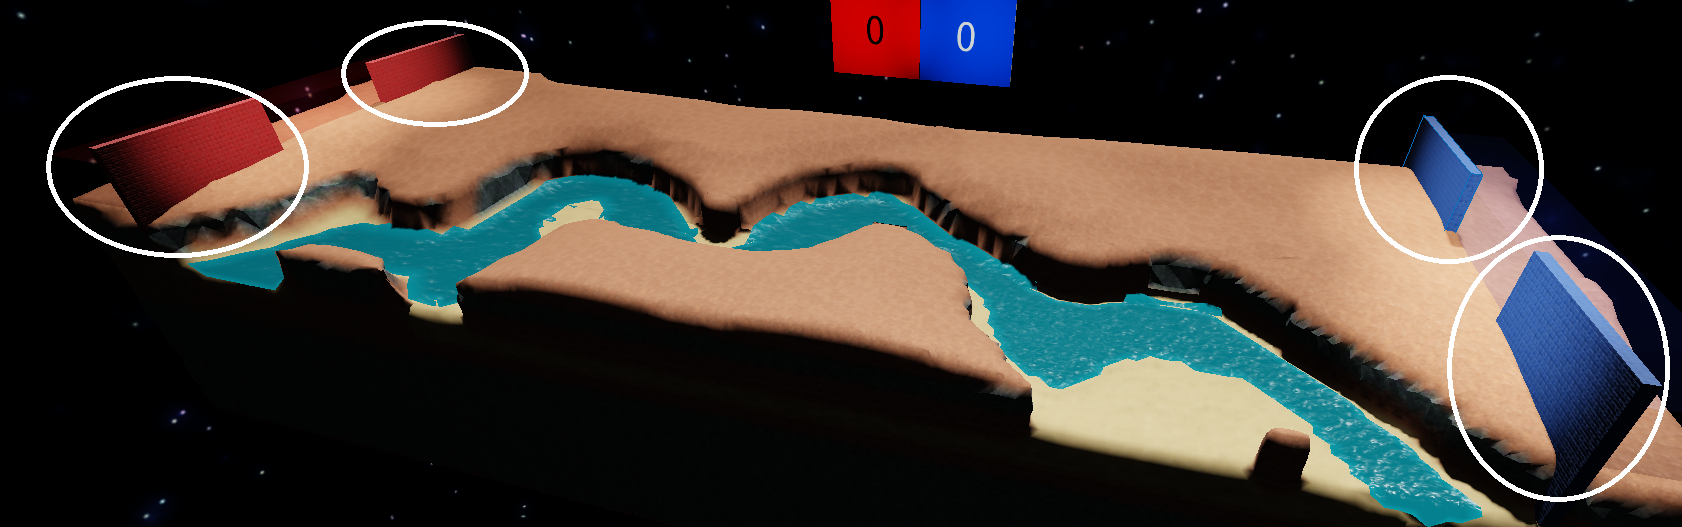
Each wall size: (4, 50, 70)
BrickColor: Maroon/Navy blue
Anchored: true
Walls file location: game.Workspace.Objects.Walls
STEP4: Create base lights
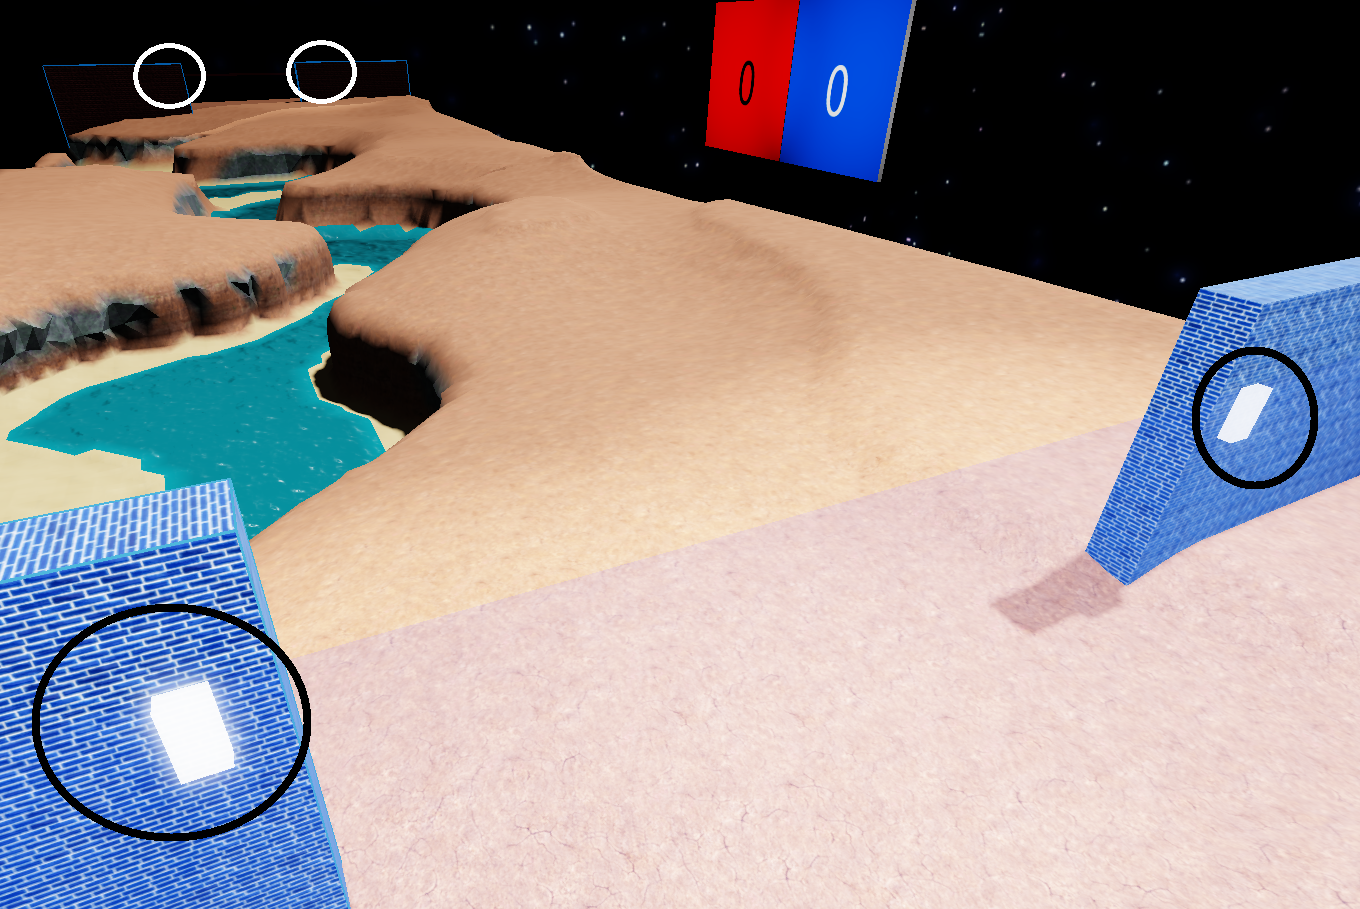
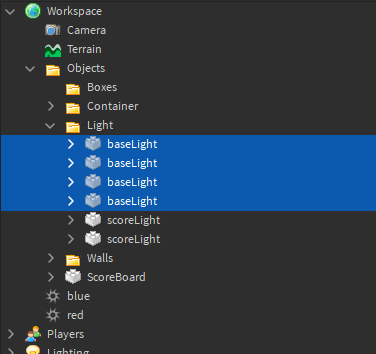
Each base light size: (4, 1, 2)
BrickColor: Institutional white
Material: Neon
Anchored: true
baseLight file location: game.Workspace.Objects.Light
STEP5: Create Score Board (surfaceGUI)
Let’s talk about what a GUI is!
GUI stands for Graphic User Interface.
We see many GUI example in our daily life:
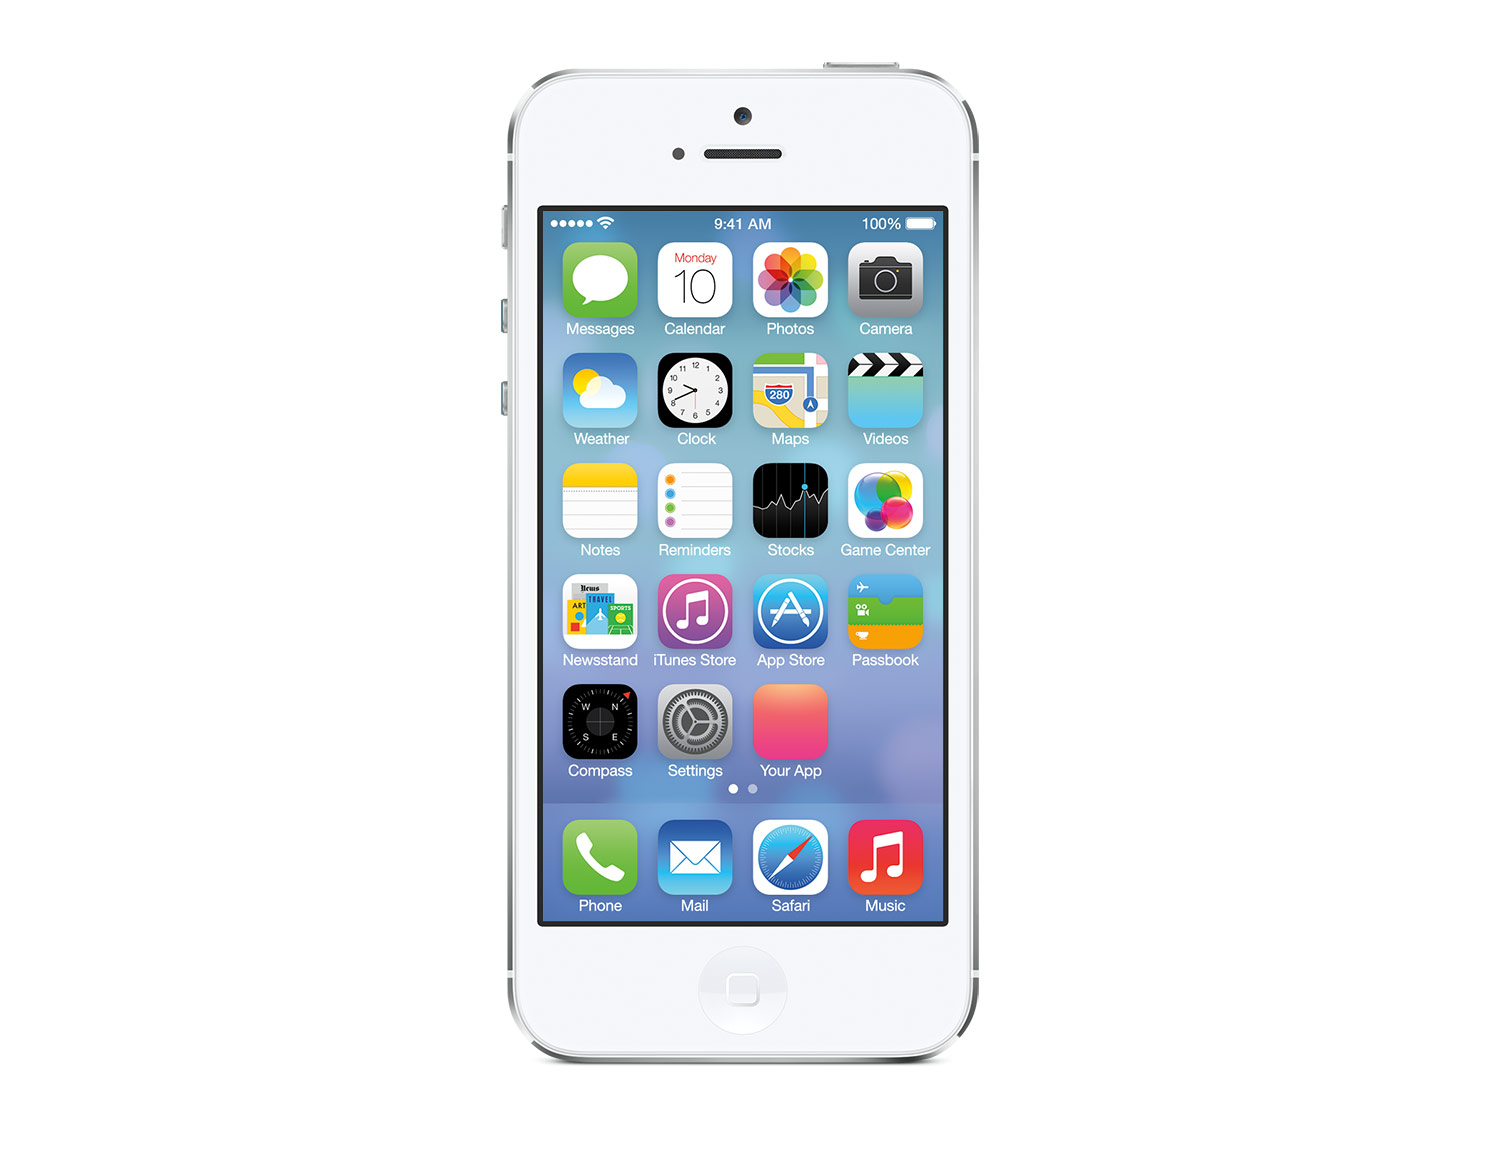
A GUI helps us to use our devices much easier! We can control the program more visually.
Without any GUI, the example above would look similar to this:
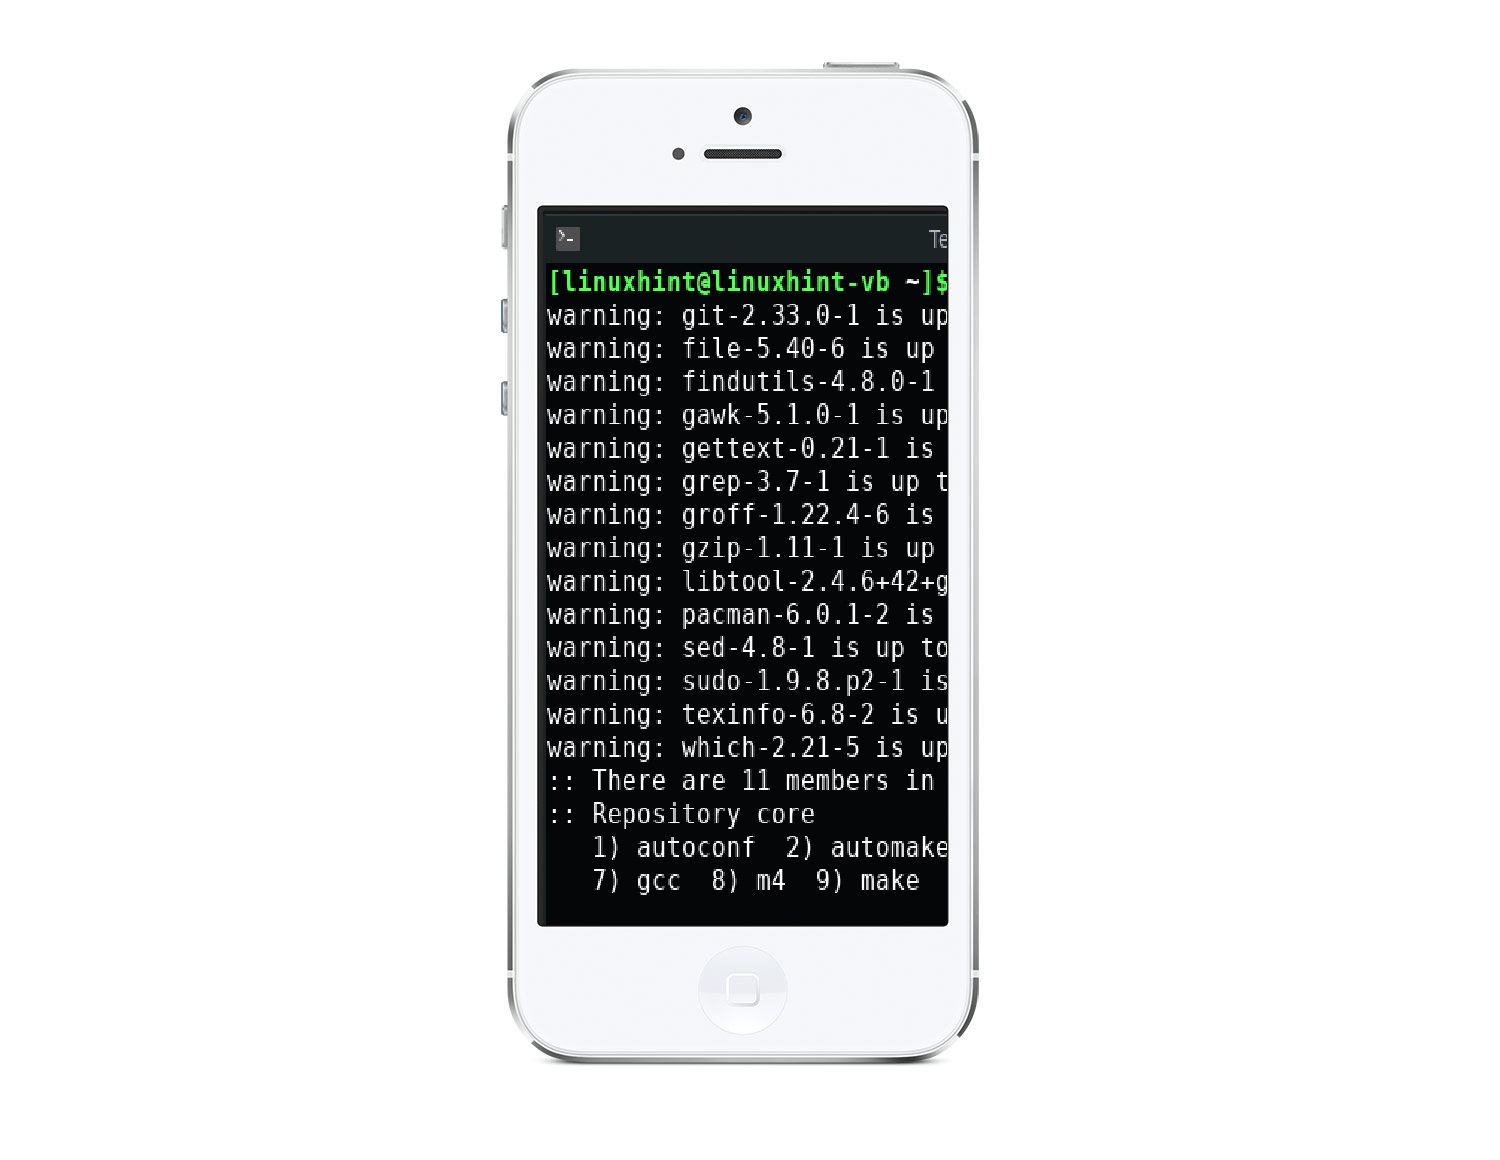
That’s why we need GUI in our lives, to control program in a more visual way.
In this game we have one GUI: the Score board. It will show each team’s point as the game goes:
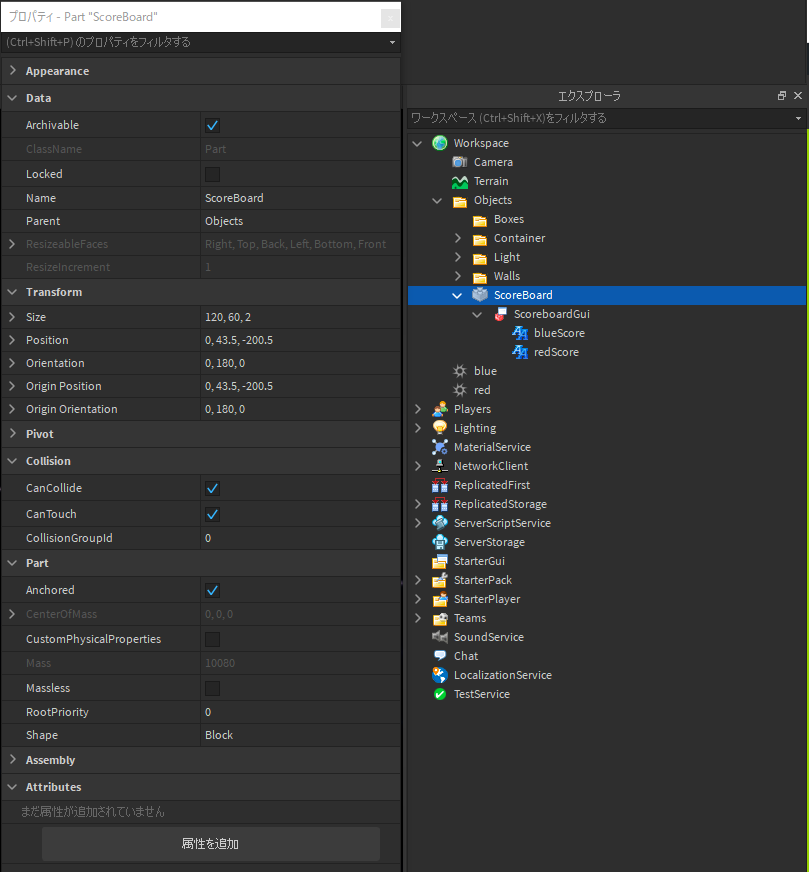
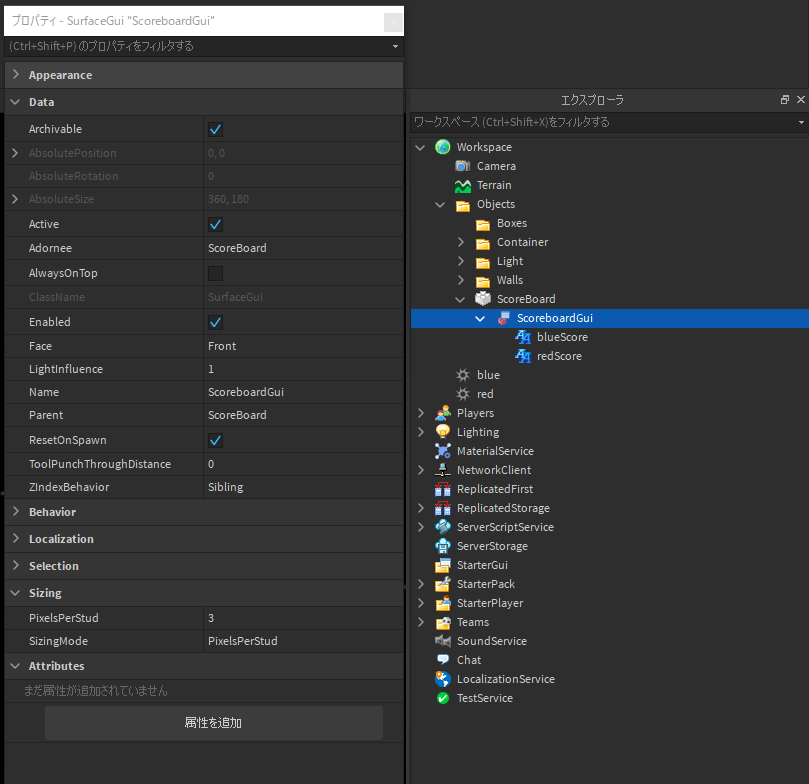
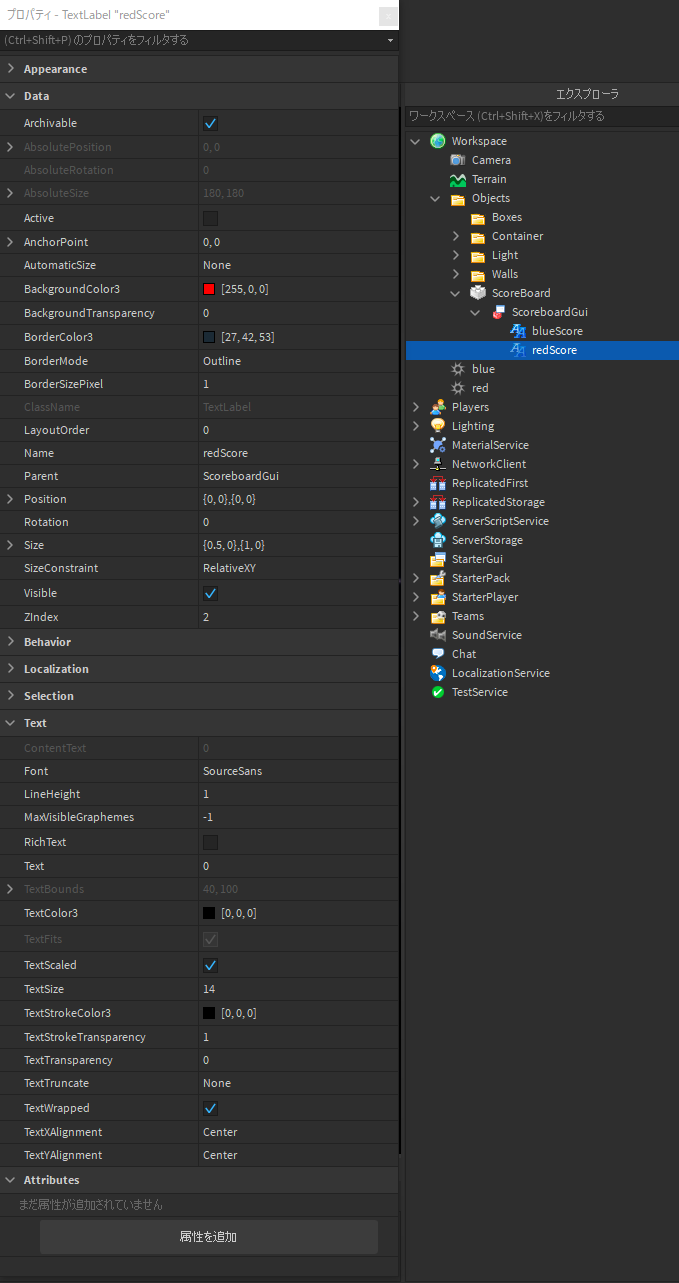
And here are the properties of the score board:
Part (ScoreBoard)
SurfaceGUI (ScoreboardGui)
Text (blueScore)

Text (redScore)
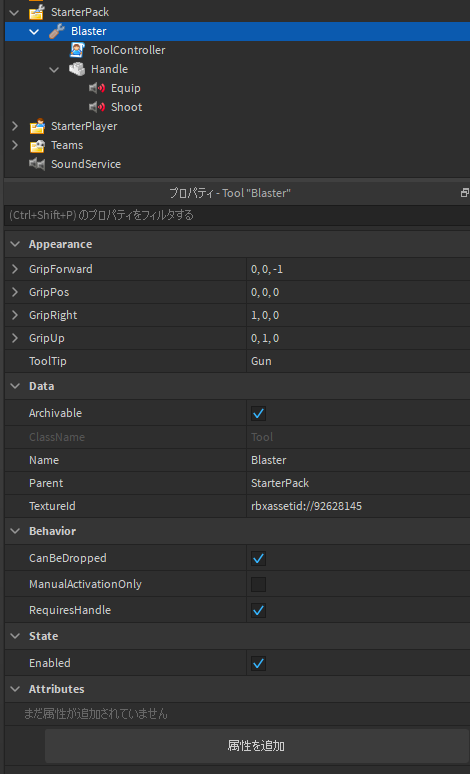
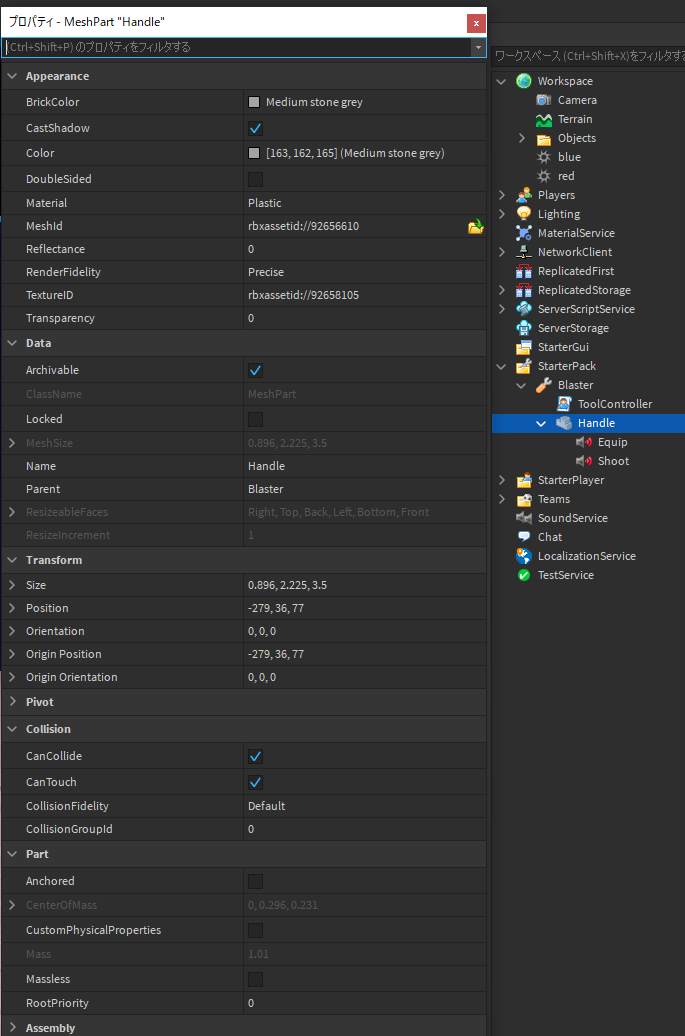
STEP6: Create the Blaster
Next we will create the gun for players!

We have taken care a big part of the visible items in game! Let’s move on to Part II for the fun part – scripting!